
Photography Basics for Northern Lights

When opportunities present for Northern Lights photography, they are spectacular to see.
Would You Feel Prepared?
Would you feel prepared if the Northern Lights were to shine brightly tonight? Or have you been searching the internet for photo tips, asking friends for ideas, and attempting to make sense of suggested lens and camera settings?
If you said yes to searching, I will help you feel more confident as I provide photography basics for the Northern Lights. I'll give you insights from my photo shoot, equipment, and camera settings.

The Northern Lights shine over the landscape.
Before I delve into camera settings and share my experience for your benefit, here is a list of suggestions to make your outing as successful and comfortable as possible:
My Miscellaneous List:
Warm clothes—I decide based on how cold the weather is, and I usually take more than I need.
However, at times I’ve been happy for extra available layers when there’s a cool breeze or I’m out longer than anticipated.
Gloves that make it easy to use my camera controls, or mittens with a flip-over top that either frees or covers my fingers.
Food and a hot drink -I never leave home without them.
A fully charged cell phone (I charge it on the way out if necessary), a phone charging pack, a headlamp, a flashlight, winter boots, and a travel blanket.
When Things Go Wrong
A key point for photography basics for Northern Lights is being prepared for opportunities, including having your equipment handy and ready to go.
This is unlike my recent experience when I headed out without expectations due to dense fog. It equated to being unprepared when, later that night, the sky unexpectedly cleared, and a light show of shows lit up the night sky as I headed for home.
To say I was unprepared was an understatement!
My experience will help you avoid similar frustrations. Knowing what didn't work and what did is valuable.
In the beginning, what could go wrong did!
After pulling to a safe parking place, I scrambled for my equipment only to discover I had no headlamps (they’re invaluable).
The “wrong” lens was on my camera for capturing the landscape.
My tripod head was incompatible with the lens I wanted to use.
When photographing the Northern Lights, I used a slower shutter speed of eight seconds. Because I needed to support the camera, I steadied it on my rear spare tire, which didn’t work well.
Photography Basics for Northern Lights - a tripod is invaluable!

I need my tripod!
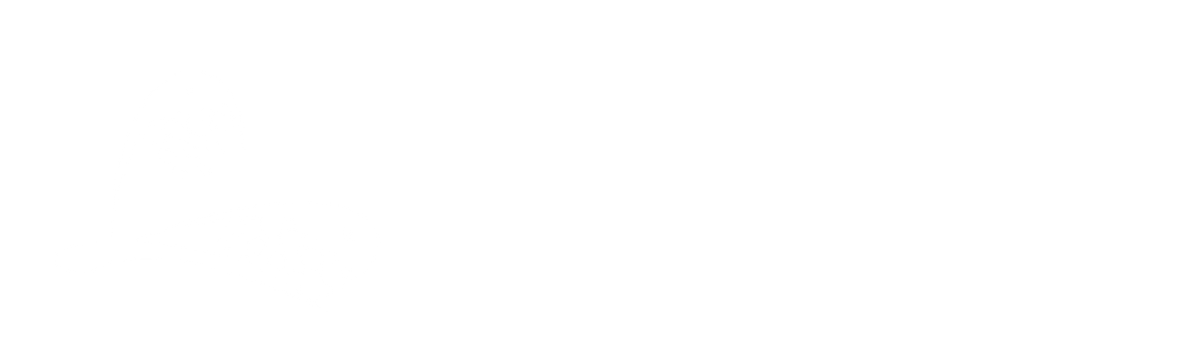
Camera Setting: aperture f/4, shutter speed 8" (seconds), ISO 1250, focal length 24mm. Hand holding the camera.
The inability to steady the camera for eight seconds caused trails of light from vehicles and distant farmyard lights, along with excessively blurry Northern Lights. After several "failed" photos, sometimes the best action is to slow down and regroup.
The situation improved after I took my advice, fixed my tripod setup, and attached the camera. If you don't have a tripod, is there something you can use to steady the camera? For example, the roof of my vehicle may have worked, but I didn't think about that at the time. You can even use a large rock, if there's a suitable one nearby, or scout around your location and see what you can find.
Recommended Equipment
A tripod- because it’s worth repeating.
A camera that can handle low-light situations, either a mirrorless or a DSLR.
A lens that provides a wide-angle composition. A wildlife lens, such as a 150-600mm lens, is much less suited to its narrow field of view than an 18mm.
If possible, a lens with the capabilities to use a wide-open aperture of f/2.8 or even f/1.4.
The commonly suggested starting point for camera settings, which you can adjust as needed, is f/4 or a lower aperture, such as f/2.8, a shutter speed of 10 seconds, and ISO 1600.
Charged batteries.
Sufficient storage space on your memory, or media cards, or take extra.
However, the question is, “What if you don’t have a lens adjustable to that kind of aperture?” In that case, use what you have. If you have decided you want a lens with that aperture capability, now could be a fun time to get one. Because it’s what I have, I use my 24-120mm lens with an aperture capability of f/4.
Quick Tips:
Remember to turn OFF the image stabilization on your camera body, the lens, or both when using a tripod.
Interestingly, when in the ON position, your photos can have reduced sharpness even when the camera is stabilized.
Using the in-camera self-timer or an external shutter release trigger helps to reduce the chance of blurry photos caused by camera shake.
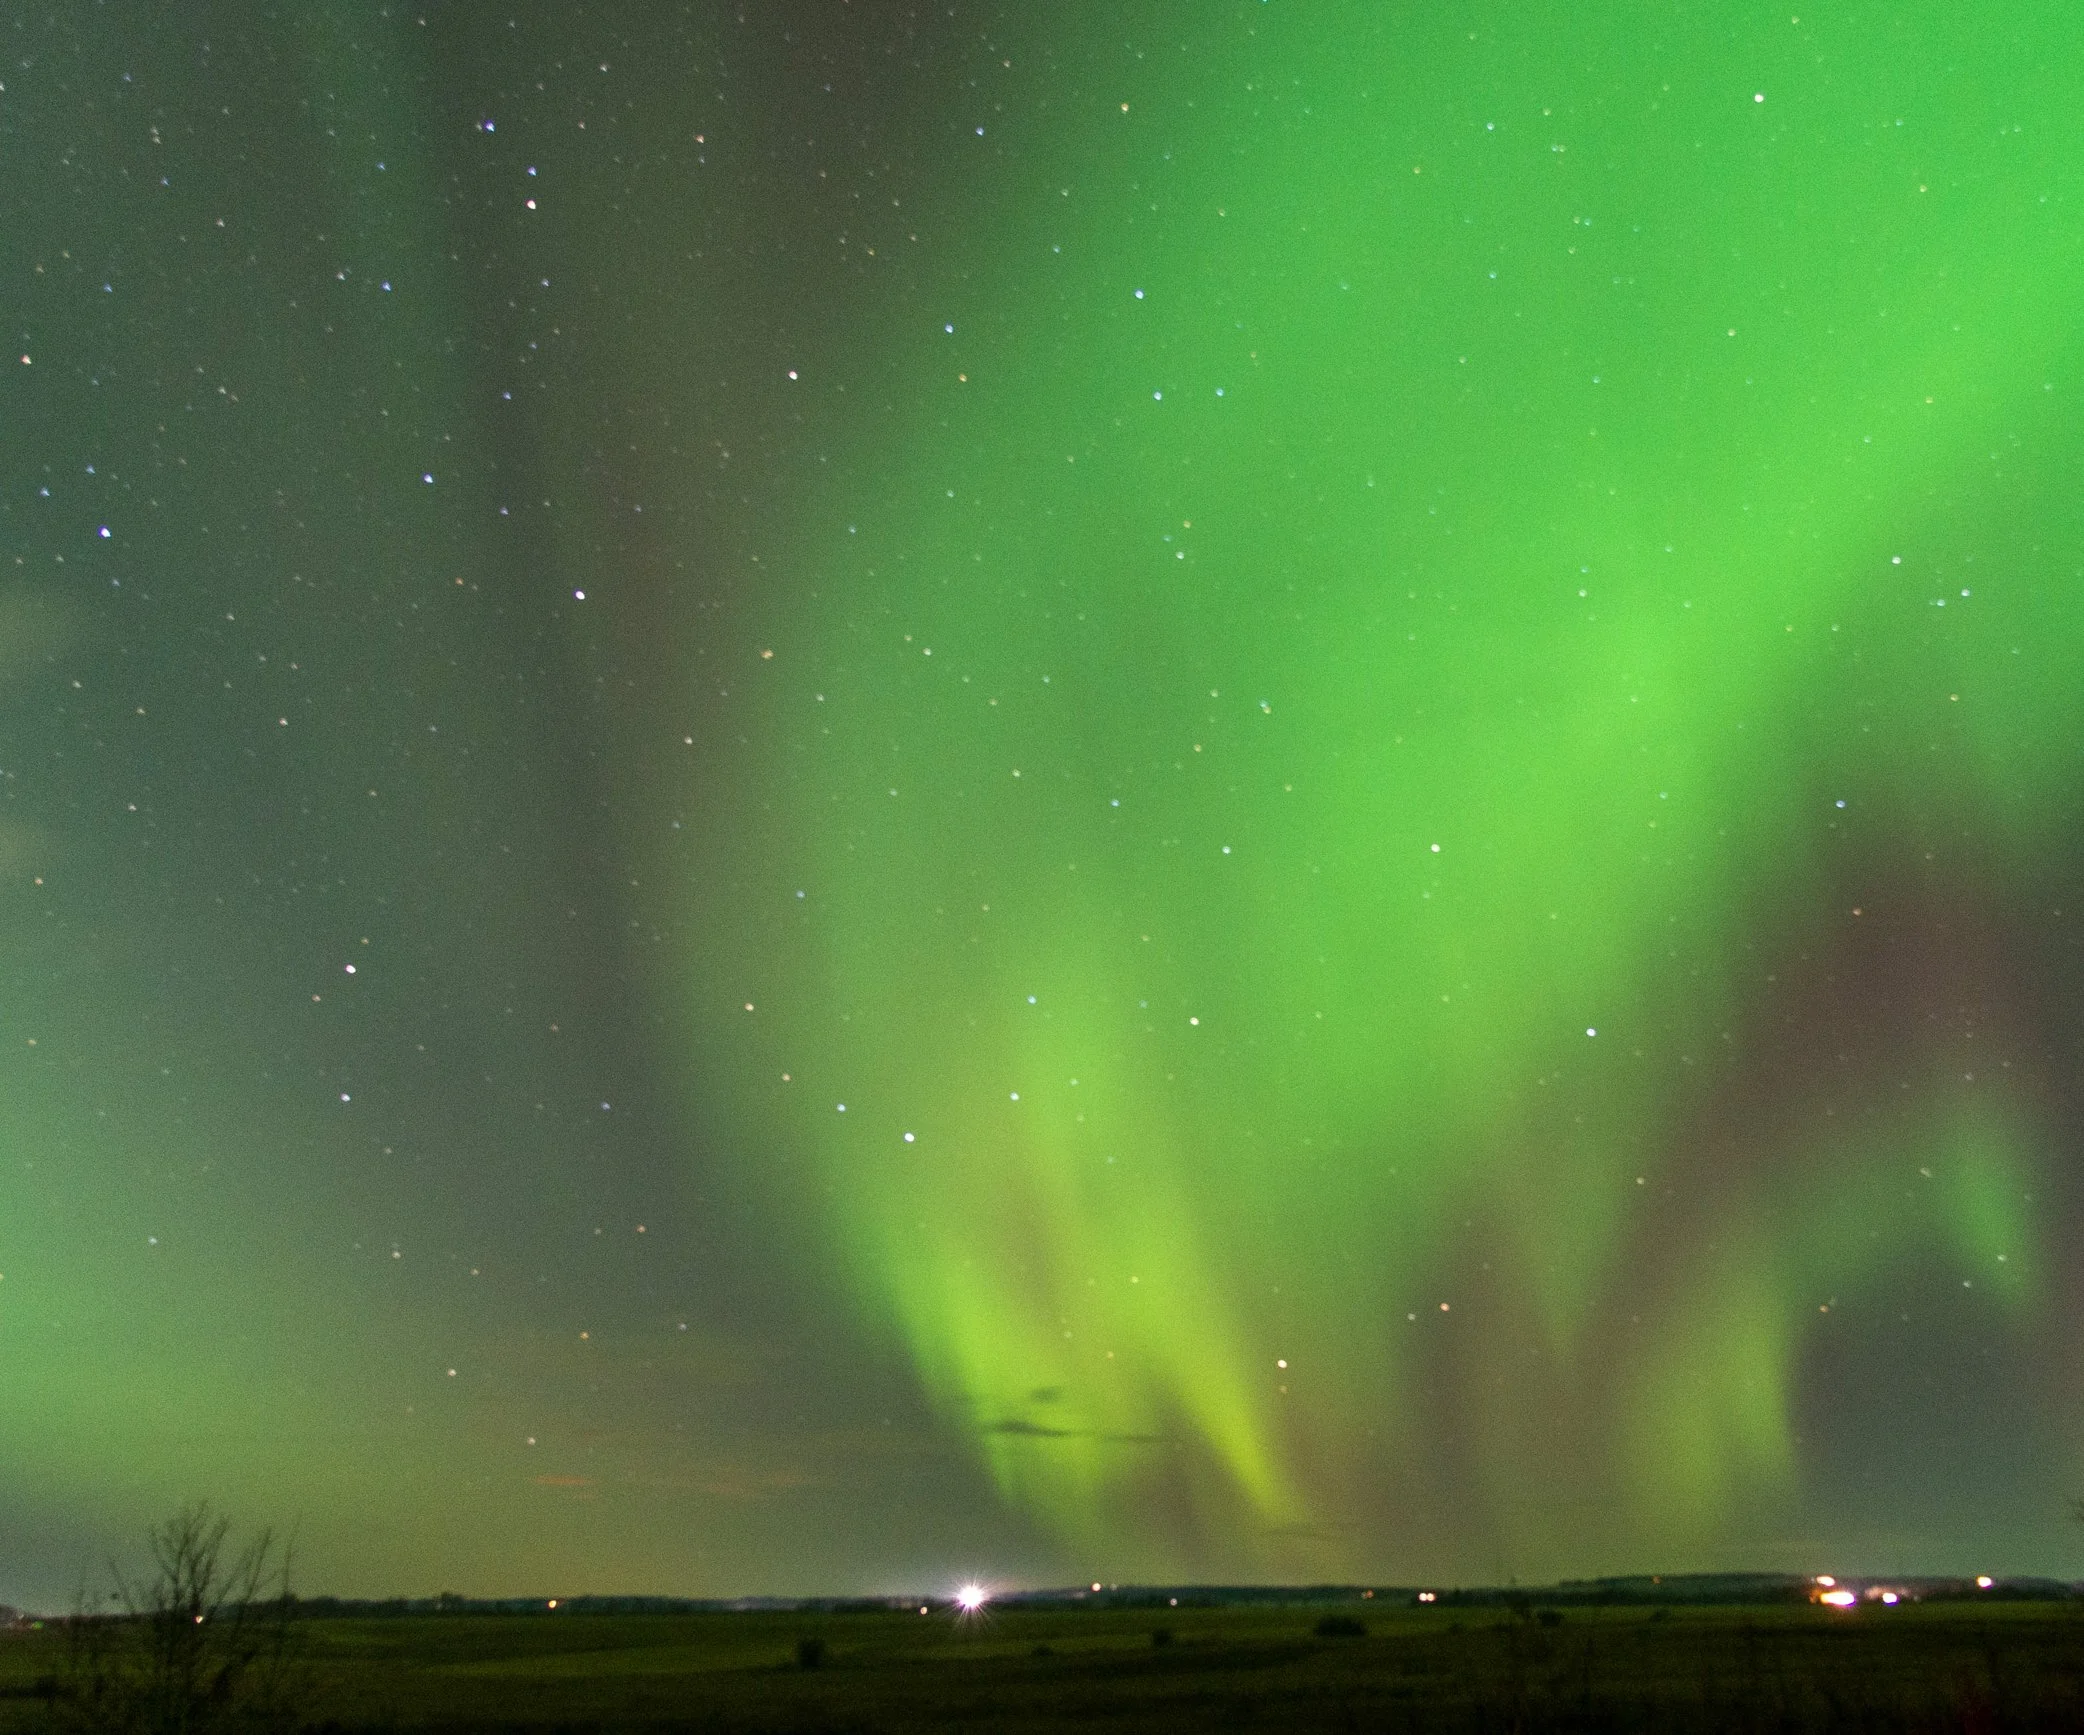
Camera Setting: aperture f/4, shutter speed 30" (seconds), ISO 1250, focal length 24mm. Using a tripod.
Note the apparent improvement with using a tripod, even with the shutter speed increasing from 8 seconds to 30 seconds. Would you agree it's worth the investment and the time to get set up?

Camera Setting: aperture f/4, shutter speed 10" (seconds), ISO 2500, focal length 24mm.
Choosing Camera Settings
Initially, it can take experimenting with camera settings to achieve the desired results. To get a sense of the light and conditions, I often begin with:
f/4 aperture - the most light my lens can let in.
30” (seconds) for the average shutter speed.
Manually setting the ISO to 1250 (not auto mode).
24mm for the widest angle of view (24-120mm lens).
Why I Used Particular Settings:
A wide open aperture is advantageous for allowing as much light as possible in through the lens.
Beginning with a low ISO avoids digital noise and grainy photos.
A 30-second shutter speed as a starting point.
When considering photography basics for the Northern Lights, you may want to take the time to experiment with your camera settings. Even if you're happy with the results, you can make adjustments to vary them.
Why, then, would you want to?
Increasing the ISO enables you to use a faster shutter speed.
Increasing the shutter speed captures the movement faster, which results in more clarity and details in your results.
You avoid the streaks of star trails, unless you want them in your photos.
You see your results faster because you're not waiting 20 to 30 seconds when 1 to 10 seconds works.
Although I was happy with most of my results, I was too captivated to change my settings, which was my mistake. What I would do next time:
Although a lower ISO is optimum, I would increase it to at least 3200 to enable a faster shutter speed, when necessary.
If moonlight or additional light was available, a 1250 or lower ISO could work perfectly, and help avoid digital noise or grainy photos.
Remember that when viewing images in playback on the LCD, you can be fooled into thinking the exposure is good when it's not.
Looking at a bright LCD screen at nighttime can be misleading, and you could end up with underexposed or too-dark photos. As you build your skills with photography basics for Northern Lights, learning how to read your camera's histogram on your LCD screen will be of great benefit.
I suggest checking your camera manual for help accessing the histogram display, and you can read about it here:

Camera Setting: aperture f/4, shutter speed 10" (seconds), ISO 2500, focal length 24mm.
Camera Setting: aperture f/4, shutter speed 30" (seconds), ISO 1250, focal length 24mm.
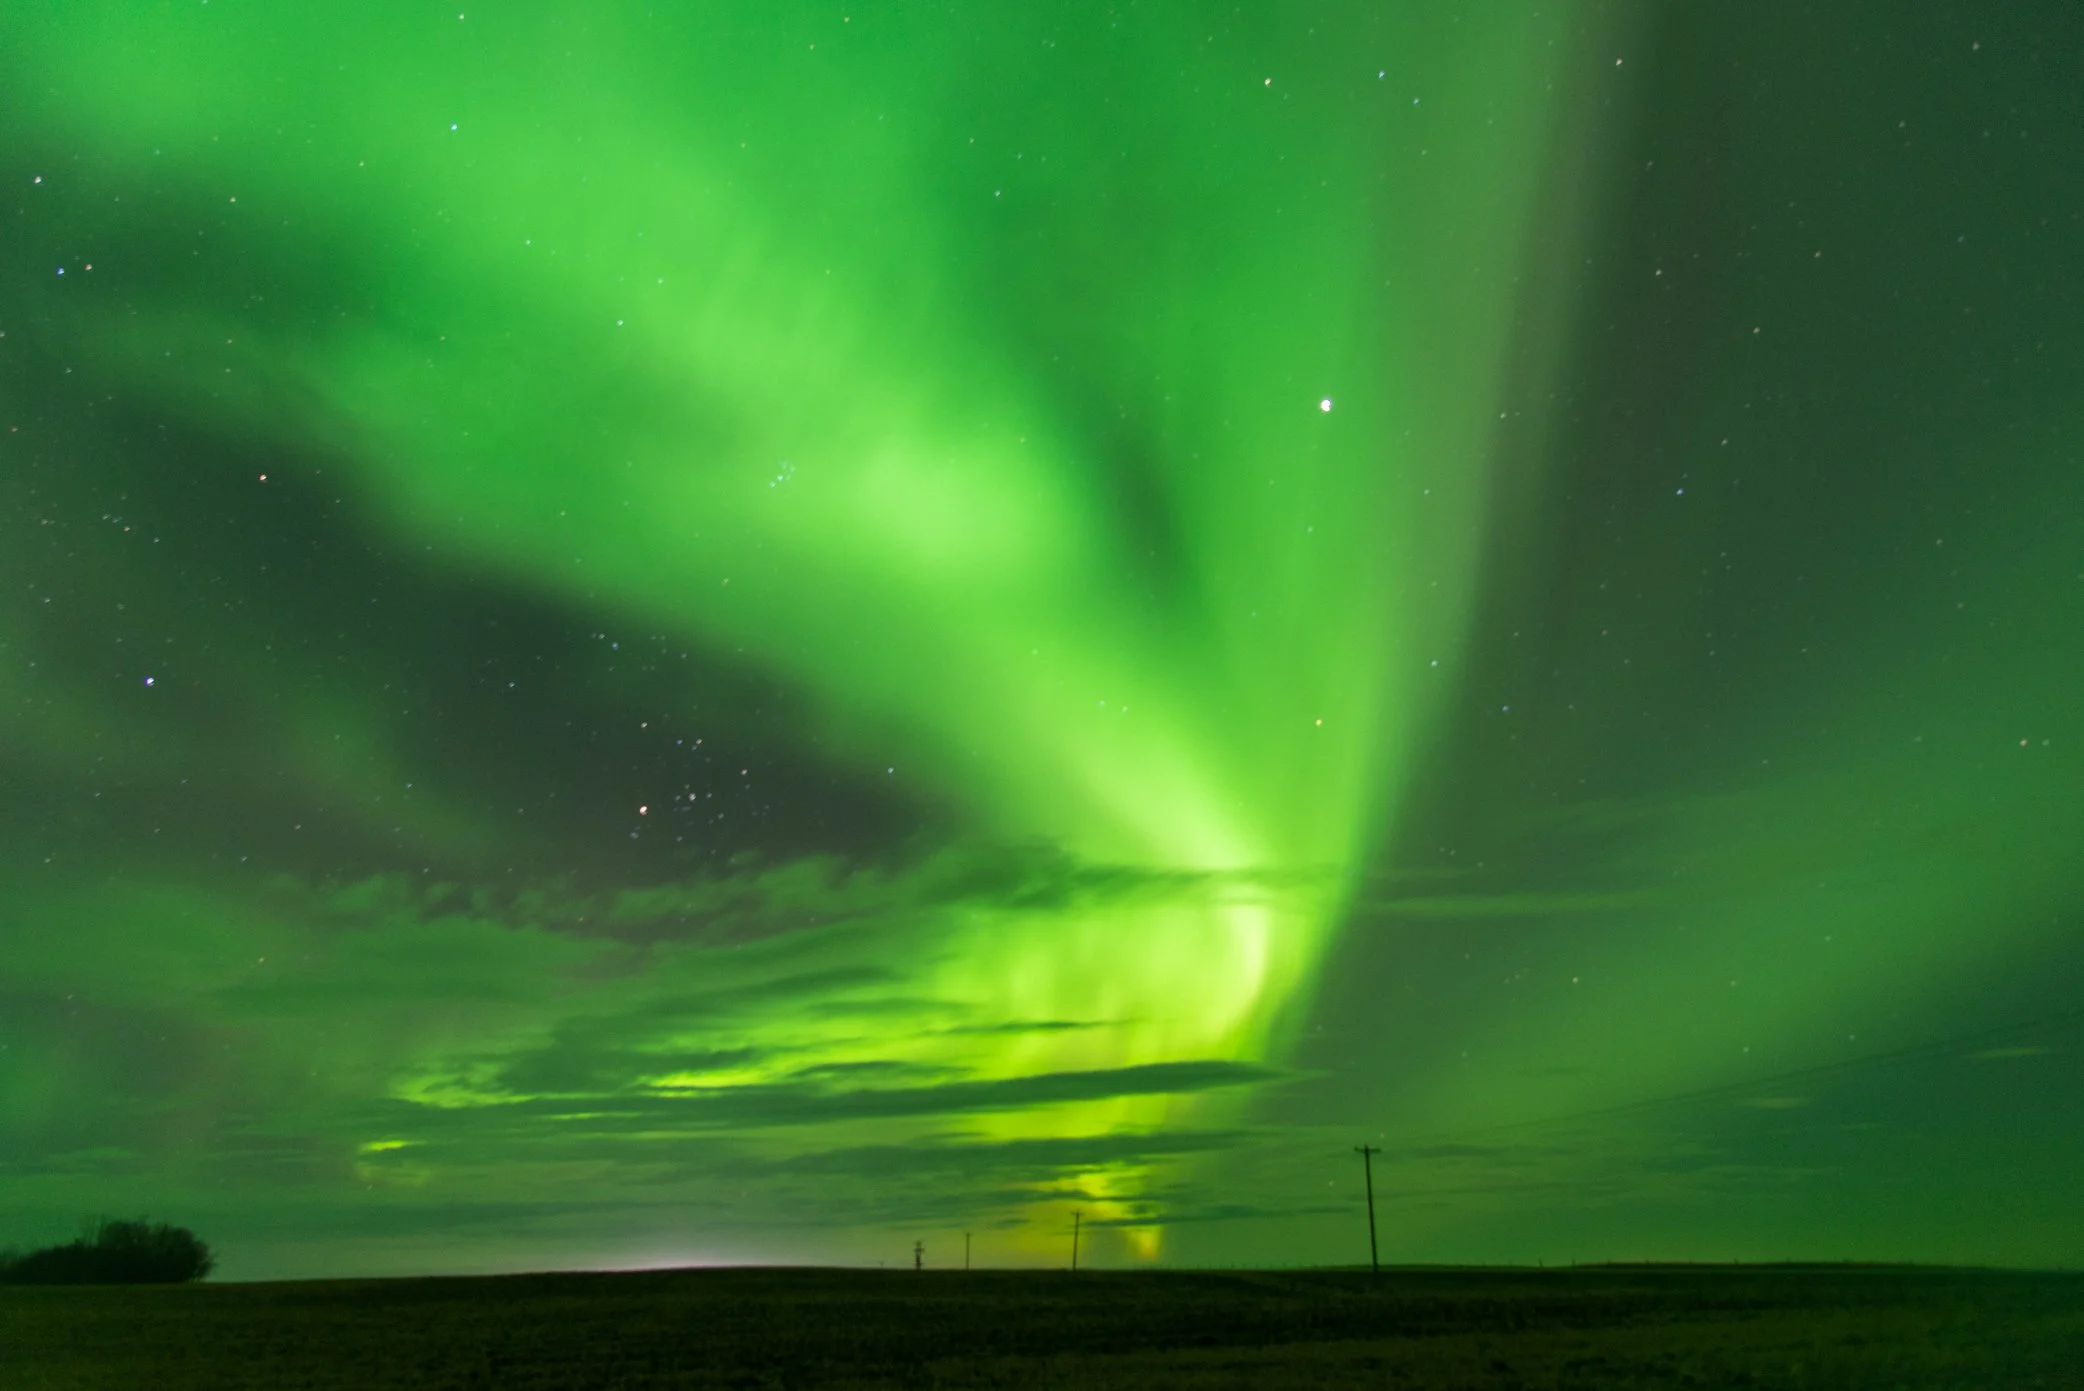
When the Northern Lights change colour and keep on going, it’s worth staying up far beyond bedtime. On this particular evening, when it was quiet except for the occasional coyote howling in the distance and the peaceful sounds at night, it was an incredible experience.

Camera Setting: aperture f/4, shutter speed 10" (seconds), ISO 1250, focal length 35mm.
For the capture above, I changed my shutter speed from 30” (seconds) to 10” and aimed the camera up toward the sky immediately overhead for a different effect.

Camera Setting: aperture f/4, shutter speed 15" (seconds), ISO 1250, focal length 35mm.
Remember to experiment with your composition and change the orientation when considering photo basics for Northern Lights. For example, experiment with:
Taking photos in the landscape, or horizontal, camera orientation.
Also, take photos in the portrait or vertical orientation.
Northern Lights taken in the landscape orientation.
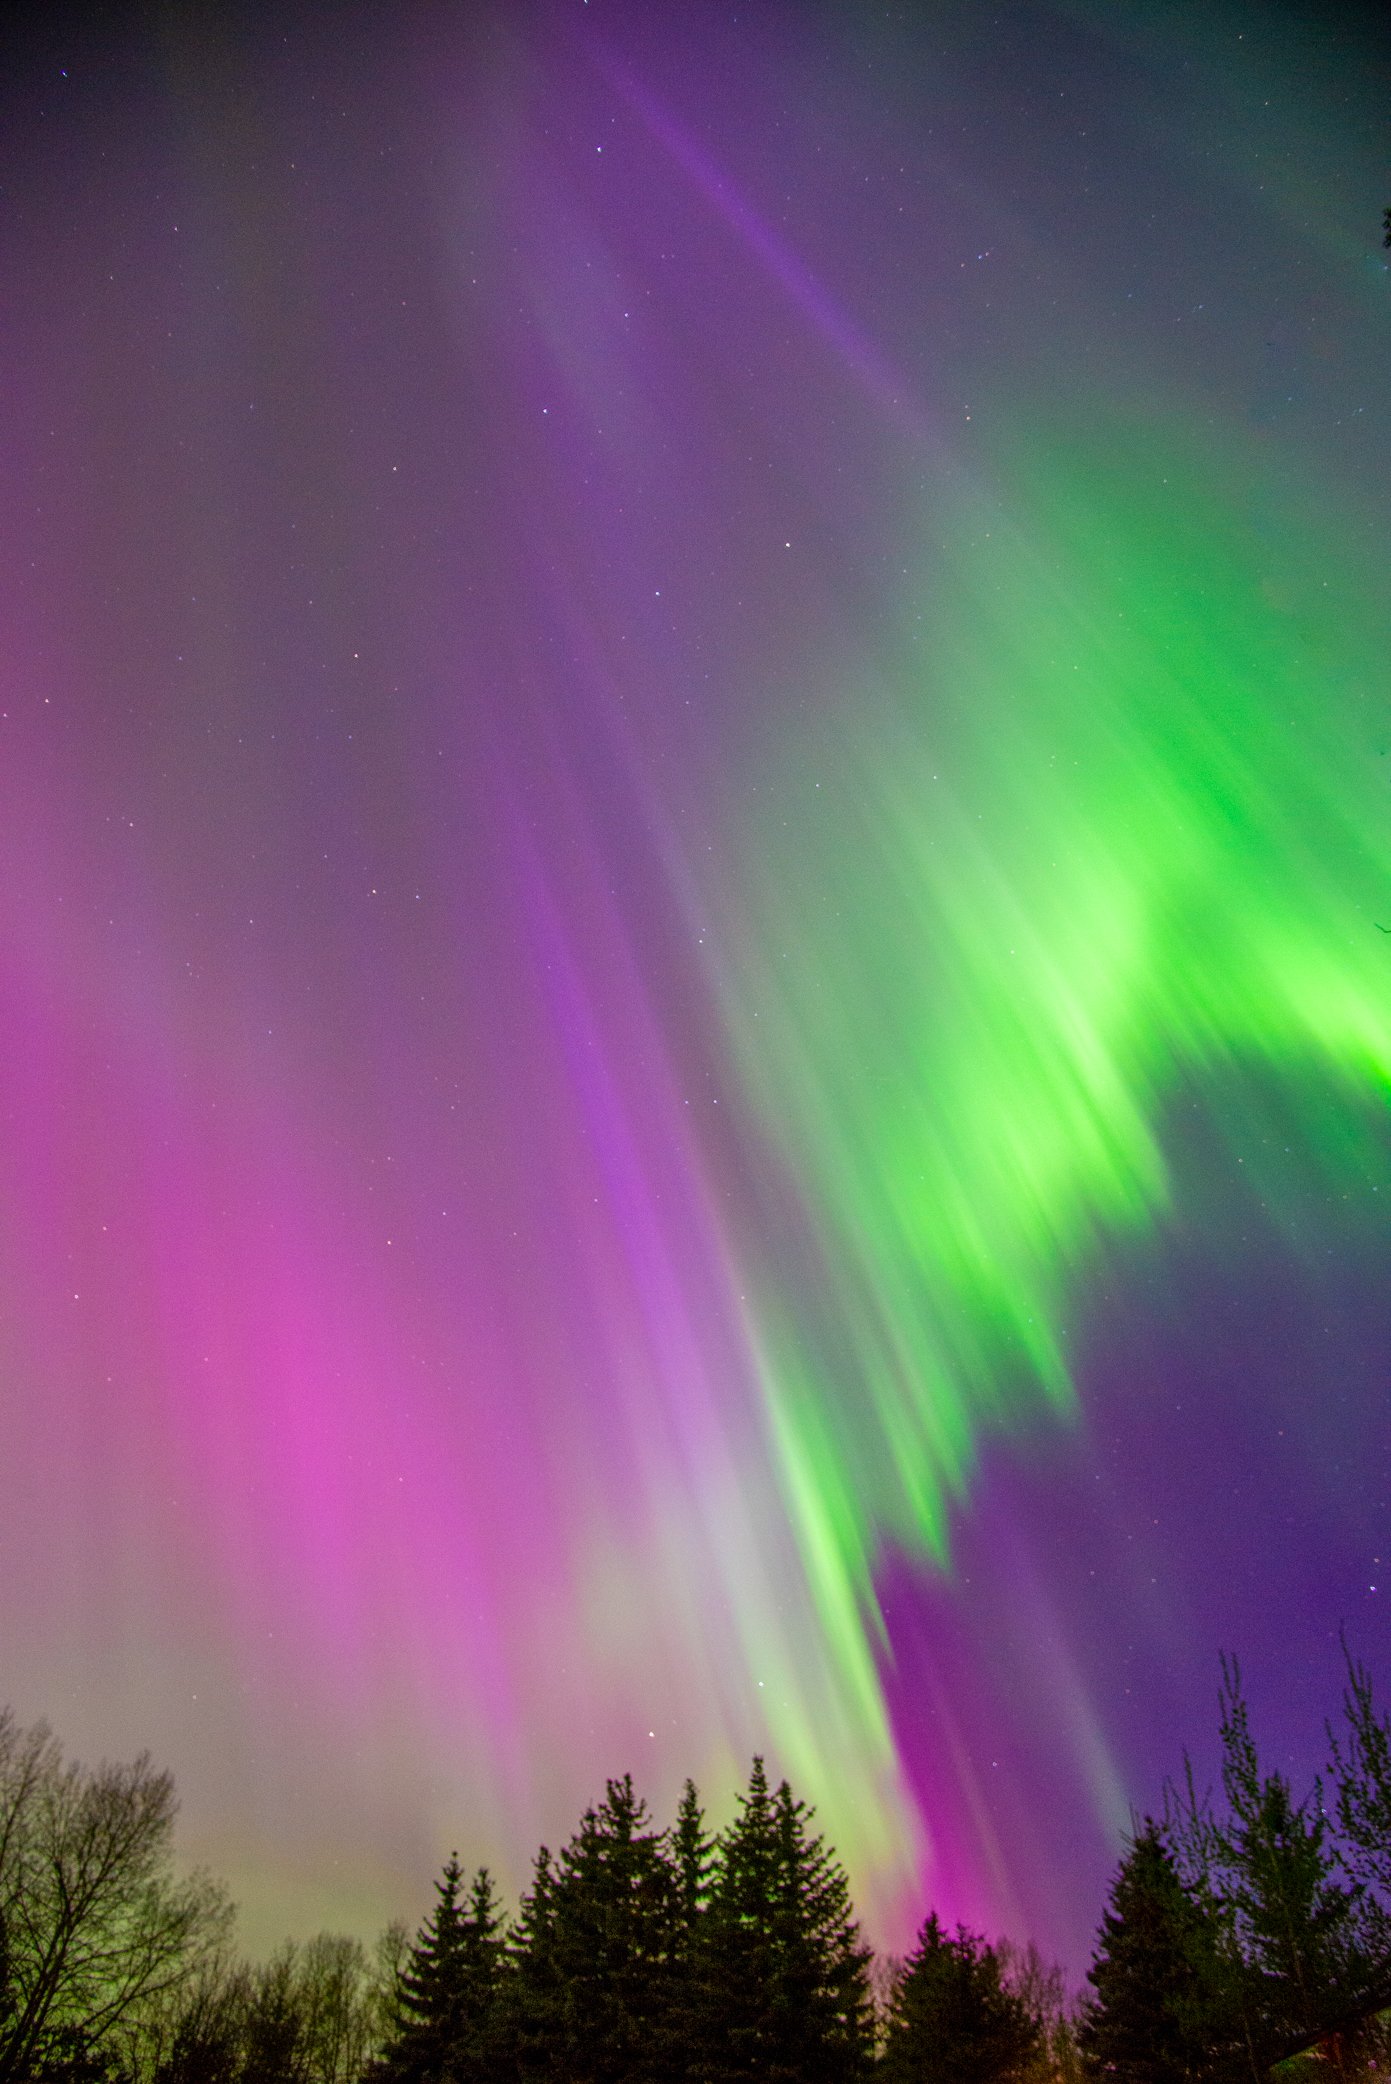
Changing to a portrait orientation, photographing the Northern Lights provides a variety of compositions for your collection.
In Conclusion
Photography basics for the Northern Lights are just the beginning. Initially, taking the time to set yourself up for success pays off. I keep a grab bag ready, ensure all required batteries are charged, adjust to my “starting point” camera settings before leaving home, and slow down long enough to use my tripod during show time.
At times, the best-looking opportunities fail to materialize, and other times, you may be exuberantly surprised, like I was the night the fog cleared!
I have skimmed the surface here, and I hope this has inspired you to stay up late for fun and successful photo shoots. If you want more in-depth information, including resources, gear, and insightful tips for taking photos and reading solar data, I highly recommend Paul Zizka's Guide to Viewing and Photographing Northern Lights.