ISO Photography Basics for Beginners
If you are delving into photography and have encountered the confusing term ISO, you're in the right place to understand ISO photography basics. Short for International Organization for Standardization, it may sound difficult, but understanding ISO for the beginner photographer is easier than you may think.
What is ISO?
ISO refers to the sensitivity level of your camera's sensor to light. In basic terms, the lower the ISO, which is represented by numbers, the less sensitive to light the sensor is, and the higher the ISO, which also numerically represents the more sensitive it is.
ISO camera settings range from a lower limit of 100 to a higher limit of 6400, which is standard for most cameras. However, as equipment evolves and changes, your camera may go even higher or lower.
Understanding how ISO can help you successfully take photos when you're frustrated with your results will be beneficial and extremely helpful in certain photo shoot situations and conditions.
ISO is used to help increase the brightness of your image in low light conditions or when you need a faster shutter speed.
Simply put, I describe ISO in easy-to-understand language this way...
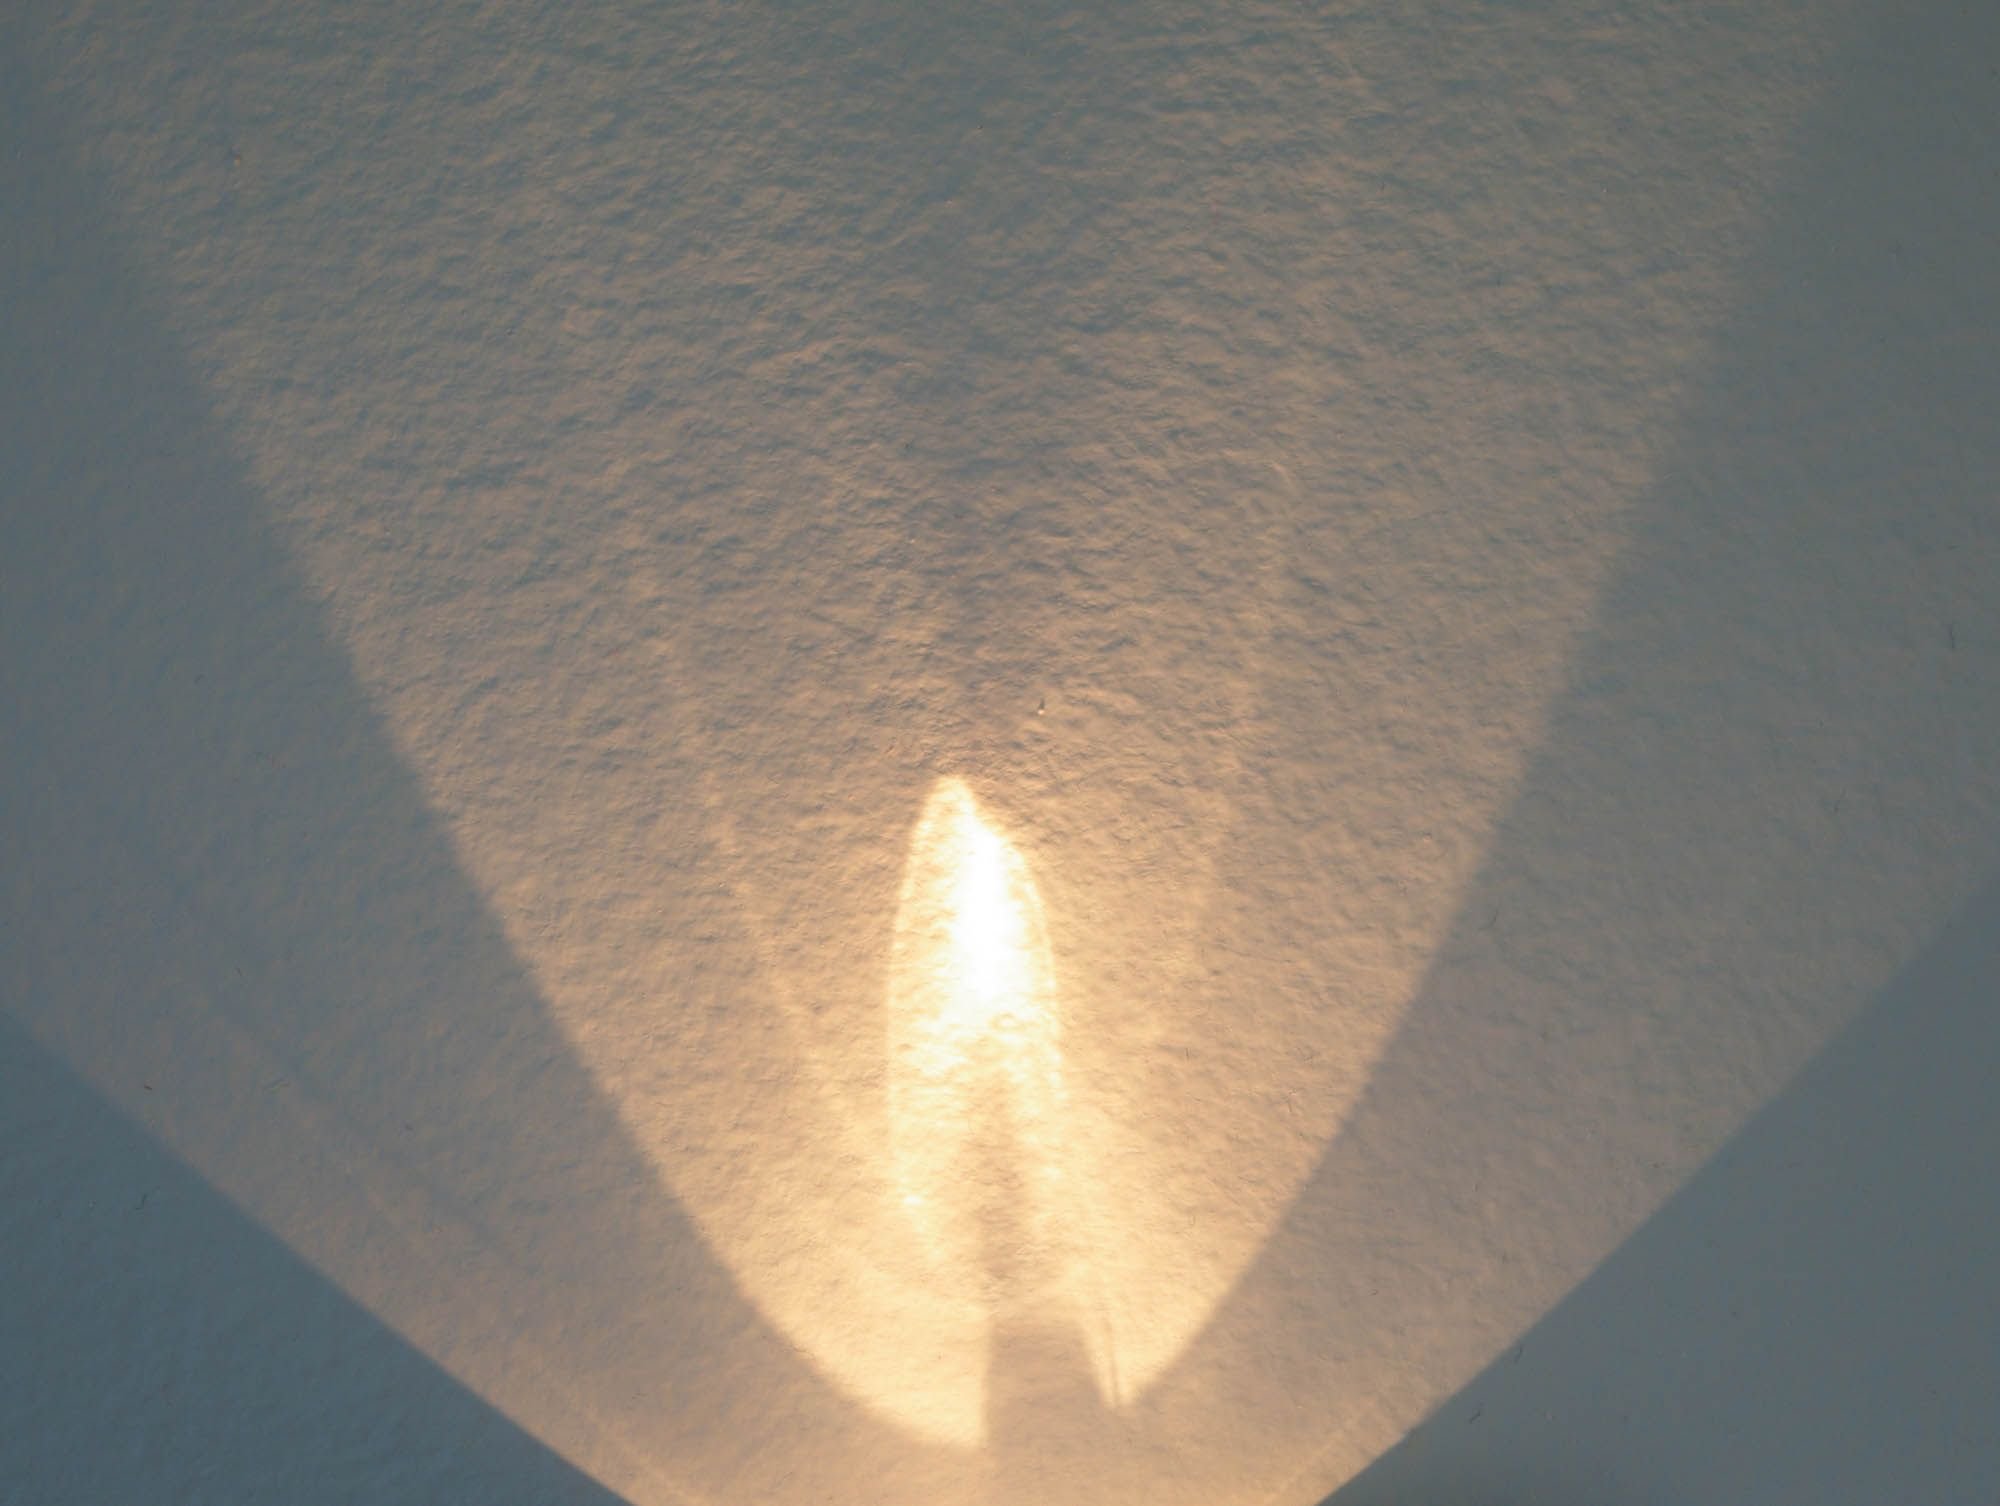
Think of ISO as a flashlight for your camera to assist you when you need extra help.
Key points about ISO:
You can use the camera's Auto ISO setting and let it assist you in capturing the desired results.
Manually adjusting the ISO values allows for increased control over exposure.
ISO is one of three components belonging to what's referred to as the exposure triangle.
The other two components are aperture and shutter speed.
The lower the ISO, such as 100, 200, or 400, the less sensitive the sensor is to light; it is often chosen when there's ample lighting.
The higher the ISO number, such as 1000, 1600, or 3200, the more sensitive the sensor is to light and often used in low-light situations, and for capturing action when a fast shutter speed is necessary.
High ISO values can produce digital noise, resulting in a grainy and displeasing result.
Using ISO With Additional Camera Exposure Settings
ISO photography basics for beginners involve finding the optimal balance between having enough light to expose your image and using the optimum aperture and shutter speed while preventing too much digital noise.
As previously mentioned, ISO is one of the three components of the exposure triangle, along with aperture and shutter speed. Learning to balance these three elements is necessary for achieving well-exposed images.
Suggested ISO Settings:
1. Lower ISO settings, around 100 or 200, are usually sufficient for those bright, sunny days and when the available light is abundant.
2. A mid-range ISO of 400 or 800 provides increased sensitivity, which makes it helpful when dealing with indoor or overcast situations.
3. Higher ISO settings, such as 1600 and above, are usually saved for low-light conditions and when you need a faster shutter speed, such as for action shots.
Numerous cameras include an Auto ISO setting, automatically adjusting ISO based on the available light. This feature can be a great starting point for ISO help for beginners, but why not learn how to adjust ISO manually??
How to Find the ISO Setting:
Option One:
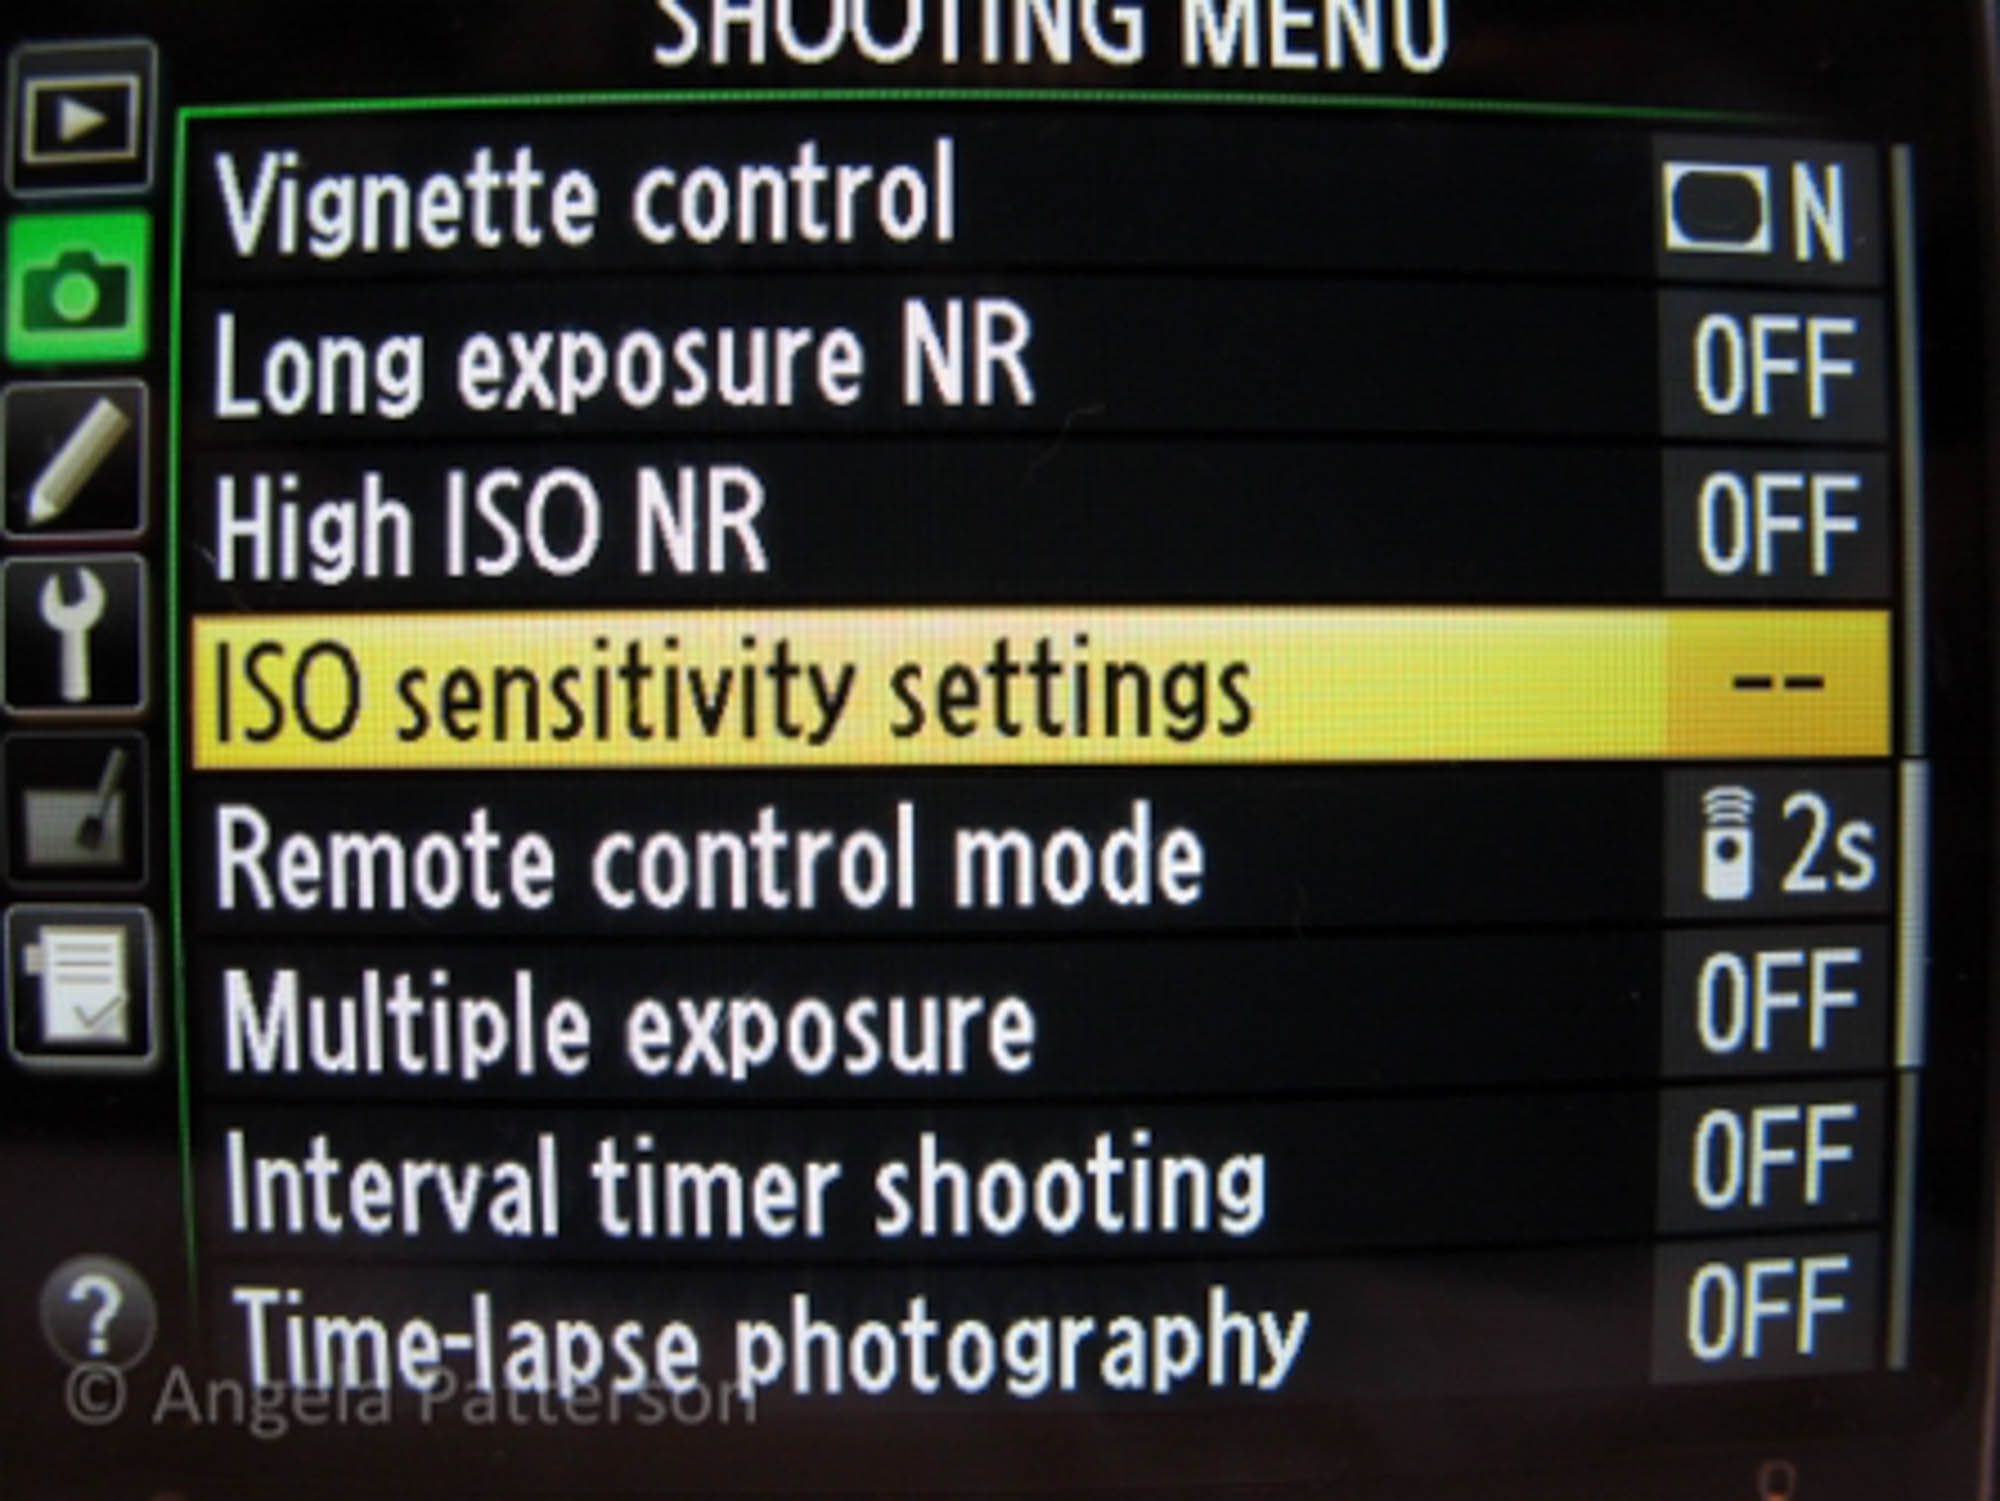
Go to the camera Menu.
Look for the camera icon and press the down arrow on the dial with OK in the center to highlight it.
Now you're at the Shooting Menu.
Press the right arrow to get to the Shooting Menu.
Find ISO sensitivity settings within the Shooting Menu.
Press the right arrow on the rotary dial with OK in the center to access the settings.
Scroll up or down to a desired setting (number) and press the OK button.
You have now manually adjusted the ISO.


Option Two:
On the back of your camera body, look for a quick access button with the letters ISO beside it.
Press the button and rotate the main command or rotary dial to the desired setting.
Observe the setting displayed in the control panel or viewfinder as you adjust the dial.

Examples of ISO Settings:
These three examples below were taken in the camera manual mode setting. The different exposures were created by adjusting only the ISO while the aperture and shutter speed constant; aperture f/6.3, shutter speed 1/30 of a second throughout.
Observe how the ISO number doubles each time, resulting in double the amount of light sensitivity. If you changed the numerical value from 3200 to 1600, you would halve the amount, just as you would again from 1600 to 800.

Example 1: ISO 800
Example 2: ISO 1600

Example 3: ISO 3200
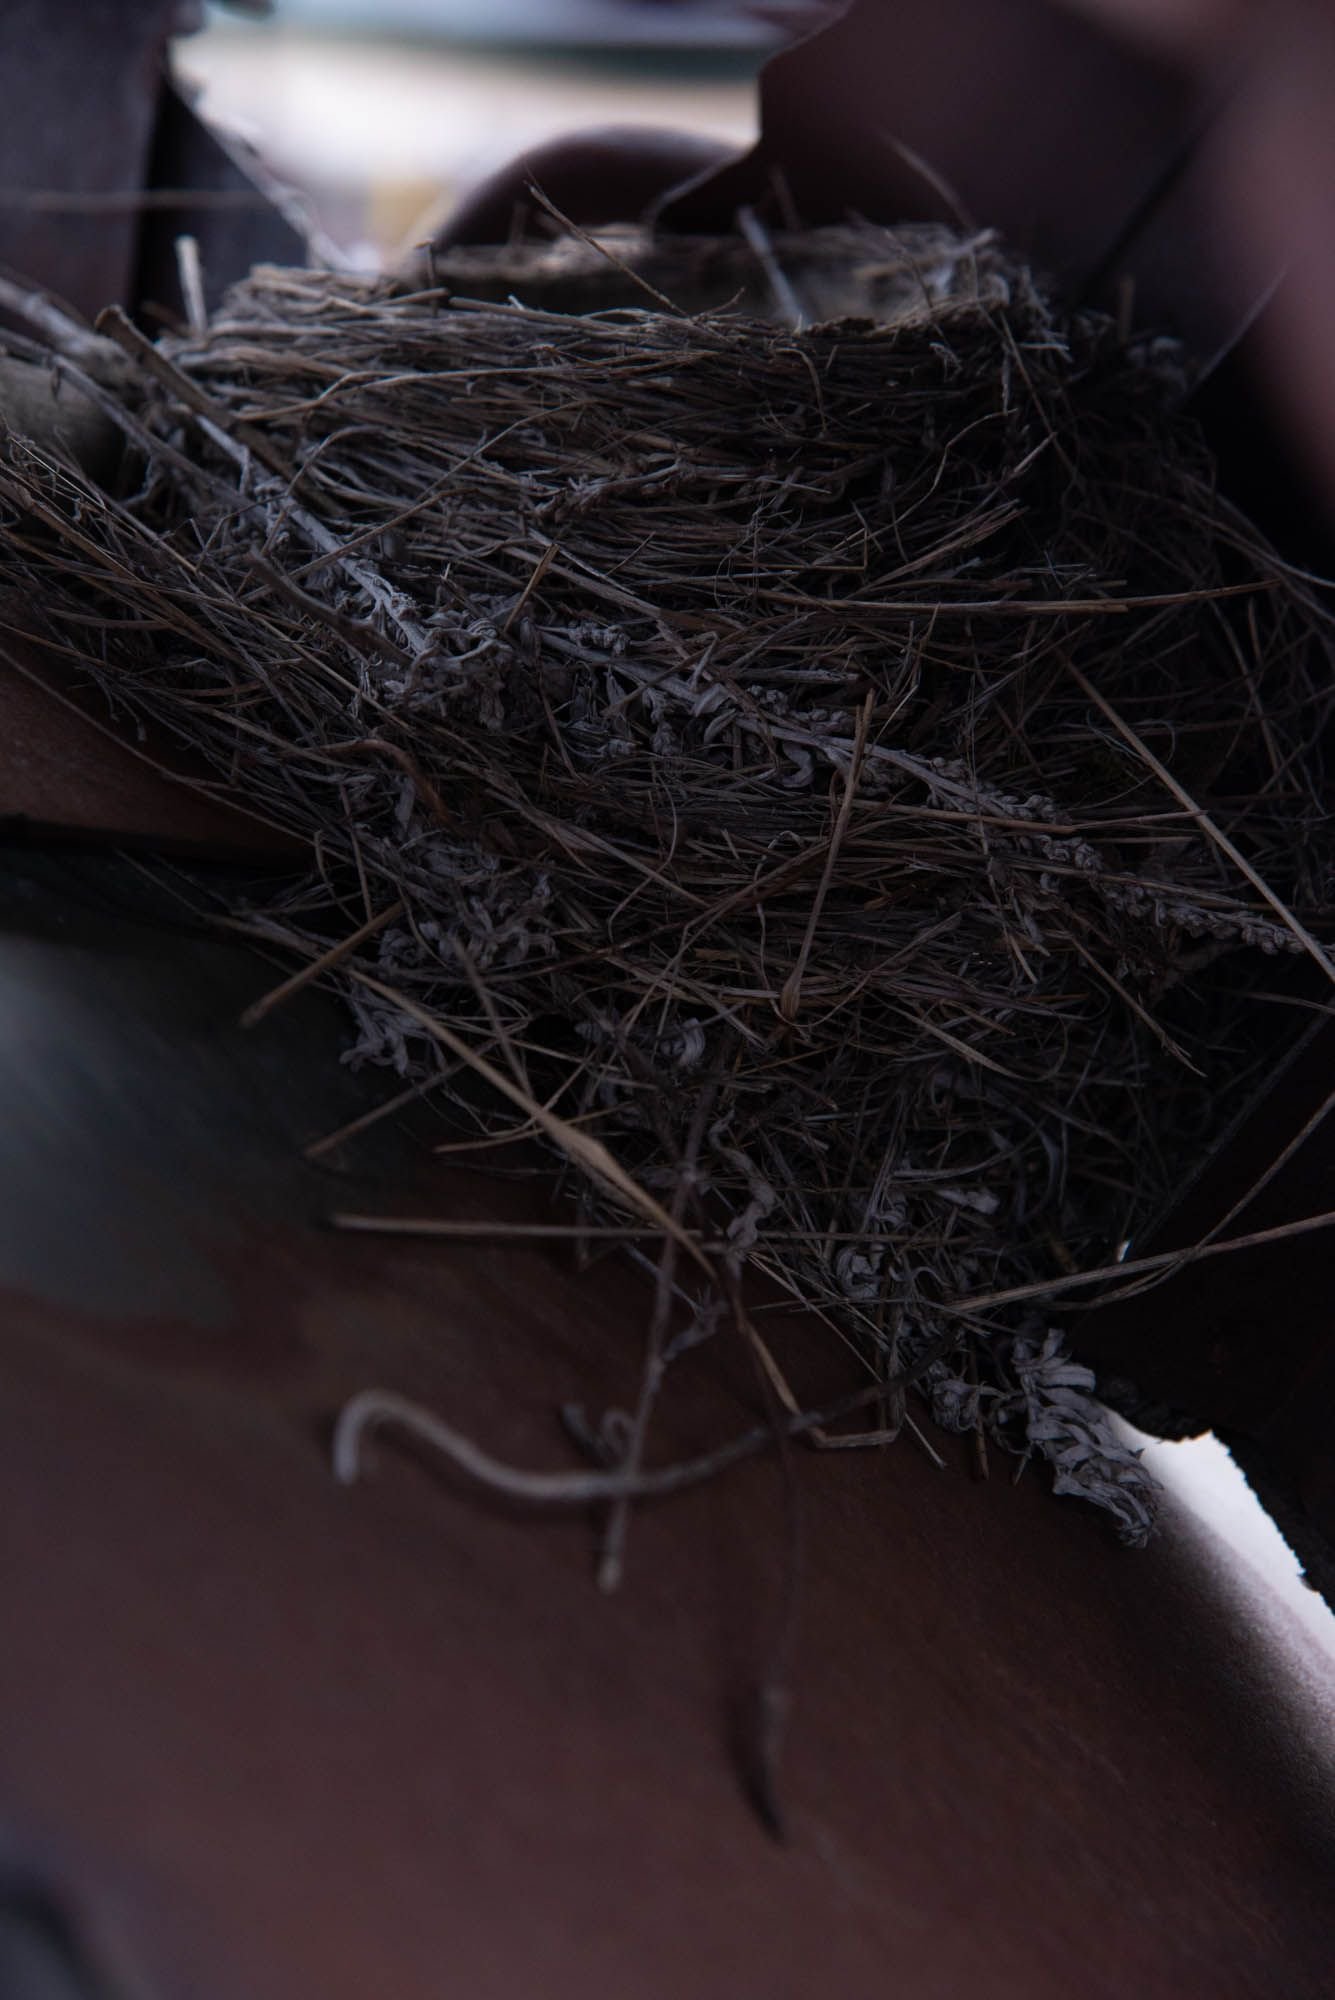
The bird nests below below were taken in the camera aperture priority mode. The exposures were created by manually choosing a constant aperture of f/6.3 but varying the ISO settings. The camera automatically adjusted the shutter speed in reaction to the ISO variables, resulting in the same exposures, as noted below.

Example 1: ISO 800 at 1/3 of a second.

Example 2: ISO 1600 at 1/8 of a second.

Example 3: ISO 3200 at 1/13 of a second.
Can you Change the ISO Value When in the Camera Auto Mode?
Yes, you can. However, you will discover that the option to do so in specific camera shooting modes is unavailable. In that case, your camera may display a message, or the text changes to grey, indicating you cannot utilize it.
When you change the ISO in the camera's automatic mode, the camera will adjust the aperture and shutter speed for the best results.
The key to understanding ISO for the beginner photographer is to experiment.
Be willing to change the ISO value and observe how the aperture and shutter speed change if you're in the camera's automatic or semi-automatic modes, such as aperture or shutter speed priority.
If you're comfortable using the camera manual mode, experiment with different ISO values and discover how it can help you, especially in low light conditions and for capturing fast action.
Remember, there's no right or wrong ISO speed.
It mainly depends on the light conditions and what you're comfortable with.
Initially, it may be enough to be aware of ISO and observe how it changes when using the auto ISO setting.
ISO settings can play an important role in indoor or night photography as high ISO lets you capture well-lit images in low-light situations without a flash.
The higher the ISO value, the greater the incidence of digital noise and grainy-looking photos.
By experimenting, you can discover your digital noise comfort level and when it is too much. Sometimes, you may need to sacrifice quality to get the shots, but at least you'll be better informed when making the decision.
Determining when it's okay to push that ISO setting, understanding the noise that comes along with it, and deciding when it's worth the trade-off is part of mastering ISO.
ISO photography basics for beginners could seem intimidating initially due to the varied effects of ISO on image quality and exposure. Have fun experimenting with ISO settings, and allow your newfound understanding of ISO to expand your photography skills!