Exposure Triangle for Beginner Photographers
The exposure triangle is a fundamental concept in photography. It consists of three key elements that work together in the camera to create optimum exposure in your photos.
The three key elements are:
Aperture
Shutter Speed
ISO
When you shoot in automatic mode, the camera controls the exposure, which is comprised of the aperture, shutter speed, and the ISO working together, and affecting each other.
Exposure is the amount of light that hits the camera’s sensor or film. In simpler terms, it’s about how light or dark your photos look.
I’ve included examples below with camera settings to help you see how your choice of settings, or what the camera determines when interpreting your scene or subject in the automatic camera mode, affects the results.
As a side note, white balance can also affect your results, although it’s not considered in the exposure triangle. White balance is likely the culprit if you’ve experienced strange color hues in your photos. You can read about it here: Why Your Camera Changes Picture Colors.

Aperture
A visual example of a lens diaphragm overlapping blades and corresponding f-stops, or aperture.
The Aperture and the Exposure Triangle for Beginner Photographers.
The Aperture, also known as the f-stop, controls the amount of light entering the lens. A diaphragm component consisting of overlapping blades controls the aperture.
The characteristics of the diaphragm and blade design will vary depending on the type of lens and its quality, but they should look similar to the visual example below.
As the photographer, you can adjust the aperture manually to different f-stops in the aperture priority camera setting and the manual mode camera setting.
The smaller the f-number, or f-stop, the greater the amount of light admitted through the lens.
This is helpful for low-light conditions or creative uses such as blurring the background, a shallow depth of field, also referred to as bokeh.
Depth of field refers to how much of your photo is intentionally focused from the front to the back.
The more significant the f-number, the less light is admitted, which is optimum for keeping everything focused, such as what you see on a postcard or in landscape photography.

Shutter speed
Here are examples of shutter speeds and how your camera may display them. These times are all fractions of a second, even when not shown as such, as with the top row.
The Shutter Speed and the Exposure Triangle.
Shutter speed determines the length of time the camera’s sensor is exposed to the amount of light. In other words, the time it takes your camera to capture your scene or subject.
A fast shutter speed, such as 1/1000 of a second or faster, freezes motion when capturing action such as sports, birds in flight, fast-moving children, and pets.
A slow shutter speed, such as 1/30 of a second, lets in light for a longer time. Using a slower speed produces creative motion blur for flowing water or light trails, compared to freezing the action in crisp detail with no intentional blur.
If you see a shutter speed accompanied by a “ symbol, like inches or a quotation, your shutter speed is displayed in seconds. Four seconds would look like this: 4”, for example.
As the photographer, you can adjust the shutter speed manually in the shutter speed priority camera setting and the manual mode camera setting.
Sensor sensitivity
ISO refers to the sensitivity level of your camera's sensor to light, represented by numeric values. For example, 100, 200, 400, 800, or 1600.
The ISO and the Exposure Triangle.
ISO controls the sensitivity of your camera’s sensor to light. Simply put, it’s like having a flashlight or torch for your camera when and if you need one, as the camera’s sensor reacts according to the ISO value when you increase the sensitivity.
ISO values are displayed numerically and may be revealed as 100, 200, 400, 1600, or 3200, for example, and are helpful in the following situations:
A low ISO, such as 100 or 200, is often used in bright conditions when a high ISO is not necessary to obtain the correct exposure.
A high ISO, such as 1600, 3200, and higher, amplifies the sensitivity and is helpful in low-light situations, allowing for a faster shutter speed if necessary and helping capture a correct exposure.
Higher ISO settings can cause digital noise, resulting in your photos having a grainy, unflattering texture, and something to be aware of.

Extreme digital noise
I took this photo at dusk, years ago, when my first digital camera created digital noise at any numeric value over 800.
f/11, 1/250, ISO 3200.

Overexposed with incorrect settings for the available light.
f/7.1, 1/400, ISO 1600. This could be corrected with a faster shutter speed, reducing the ISO, or making adjustments to both if I wanted the f-stop to stay at f/7.1.
The fawn, above, resulted in overexposure following a low-light morning waterfowl photo shoot at a local park. Not thinking ahead, “just in case,” my manual mode camera settings were correct for low light. Unfortunately, when I rounded the corner, a fawn stopped to stare at me in full sunlight. I had time for one photo before it ran off to catch up to Mom, and I ended up with a blooper result.
ISO in the Triangle Can be Confusing, and Here’s Why.
Please take a look at the high ISO numeric values in the two examples above.
Exposure is the amount of light falling per unit area on the sensor. Technically, there is some debate about whether ISO is an exposure component because it simply amplifies the sensor values. According to common diagrams depicting an exposure triangle, some photographers don't consider it an actual component, which can be misleading and confusing.
How to Avoid Overwhelm and Confusion.
Regardless of opinions and charts, rest assured that either you or the camera can affect the outcome of your photography by changing the aperture, shutter speed, and ISO—one at a time or in combination—based on your scene or subject and the available light.

Exposure triangle information.
The control panel displays exposure triangle information: aperture f/11, shutter speed 30 seconds, ISO 100.
The Exposure Triangle Ultimate Goal
Introducing the exposure triangle to beginner photographers helps you become aware of its three widely accepted key components: aperture, shutter speed, and ISO.
The ultimate goal for you, the photographer, or the camera in the automatic setting is to:
Balance these three components to achieve an ideal exposure.
An ideal exposure is when your photo is not too bright (overexposed) or too dark (underexposed).
Learn how to use the three settings and capture the shots you want - action, creativity, optimum exposure, and whatever you desire as the photographer.
My ideal exposure.
f/9, 1/320, ISO 1250
The exposure above is an example of an exposure I desired, and the one below is not. Consider the insight regarding the exposure triangle for beginner photographers. Here, the key component is the observed difference in the shutter speed.
The exact amount of light is being admitted in the lens at f/9, the ISO remained the same, and the key point is the faster shutter speed, below. In other words, the camera captured the scene faster, resulting in the same amount of admitted light but for a shorter time, which wasn’t long enough.
Too dark an exposure for what I wanted.
f/9, 1/1250, ISO 1250
By becoming aware of the exposure triangle, you will gain more control over your results for correct exposure, creative use, and capturing action.

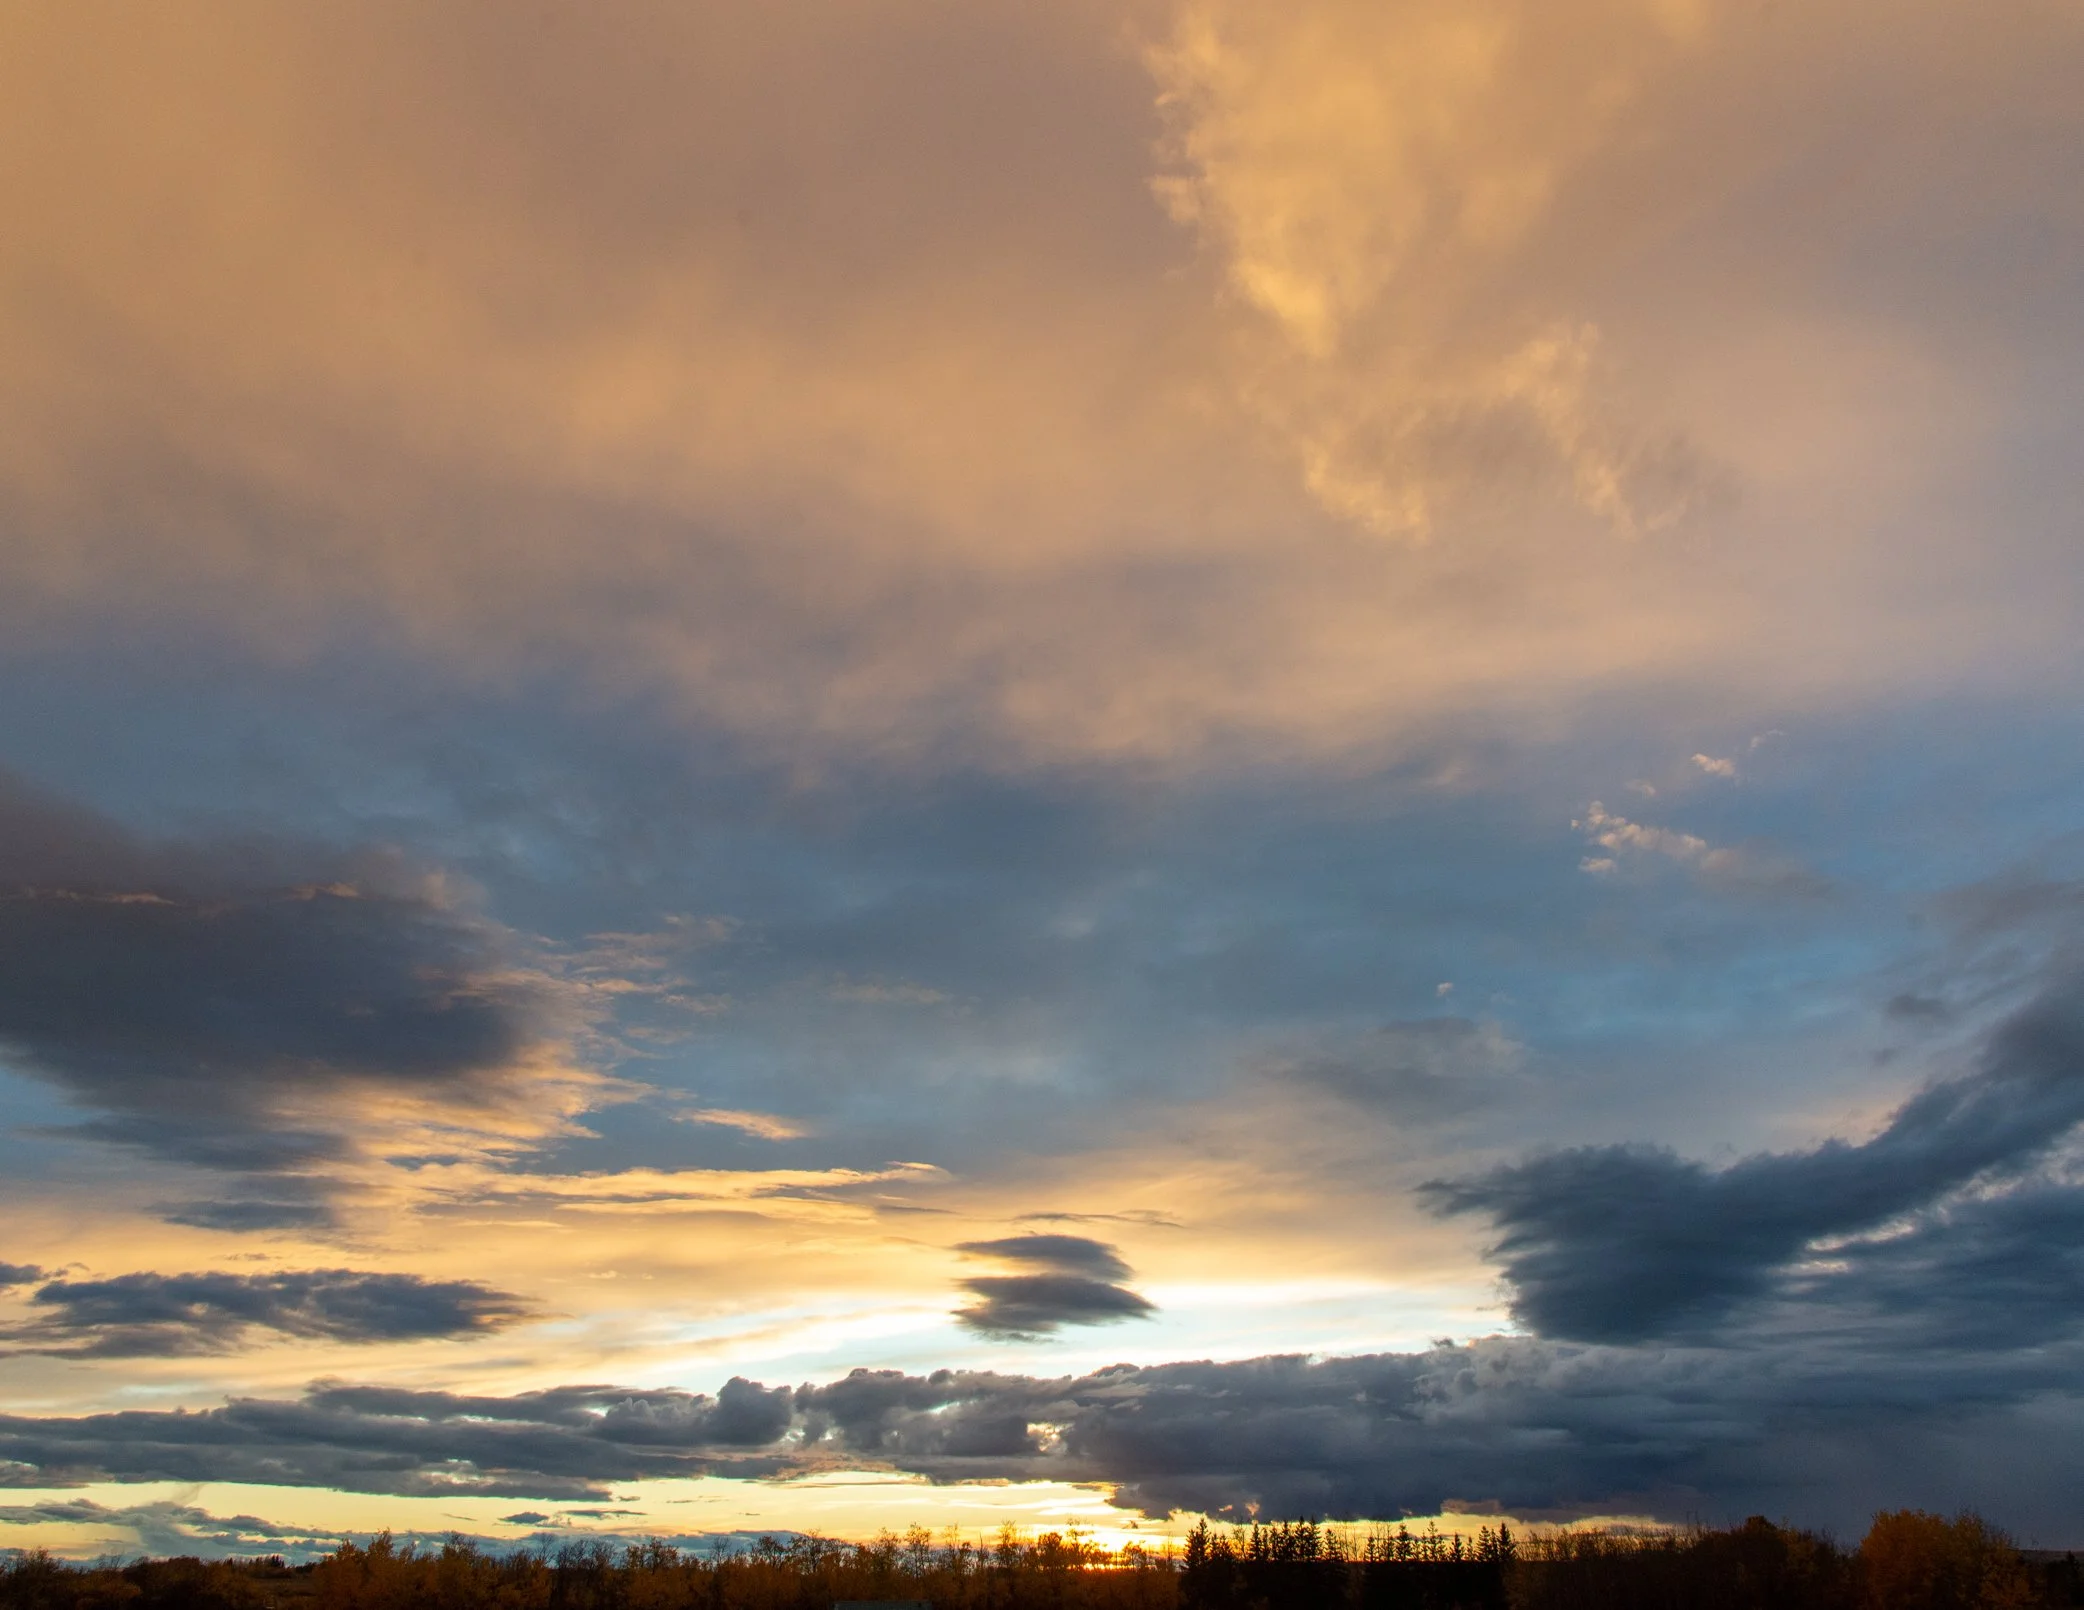
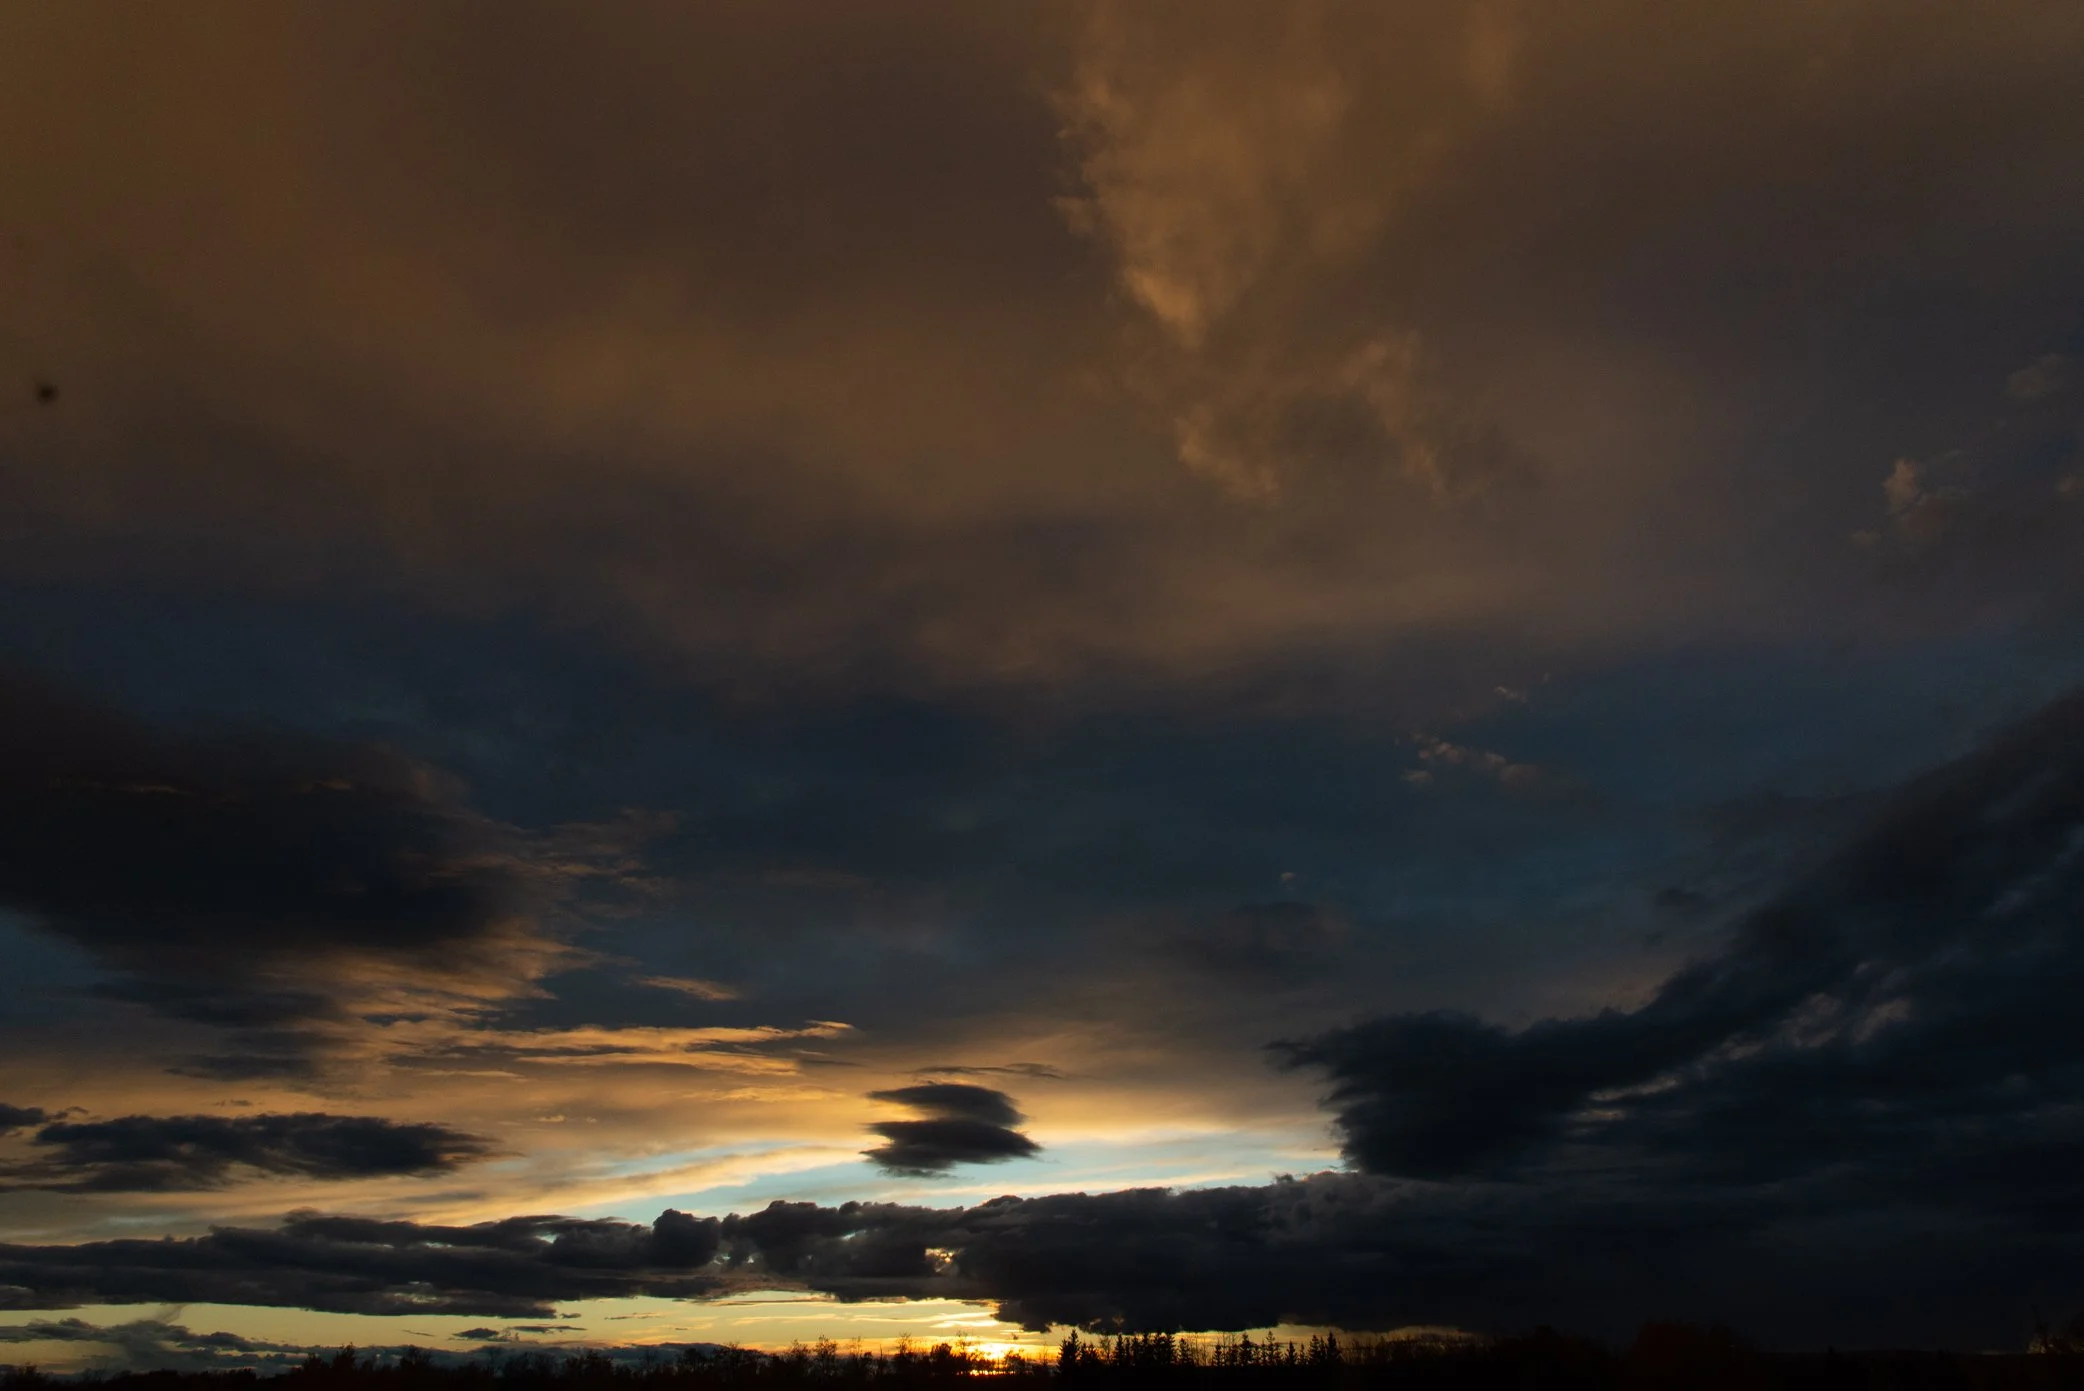
A sunrise in the early light.
f/13, 1/400, ISO 2000.
The above and below examples only required a small adjustment as the light changed. The slight increase to a longer shutter speed of 1/250 of a second, below, accounted for shifting light as the sunrise progressed.

At times, the exposure setting adjustment is minor
f/13, 1/250, ISO 2000
Contrasting subjects and lighting can require consideration when deciding on the exposure triangle setting for beginner photographers.
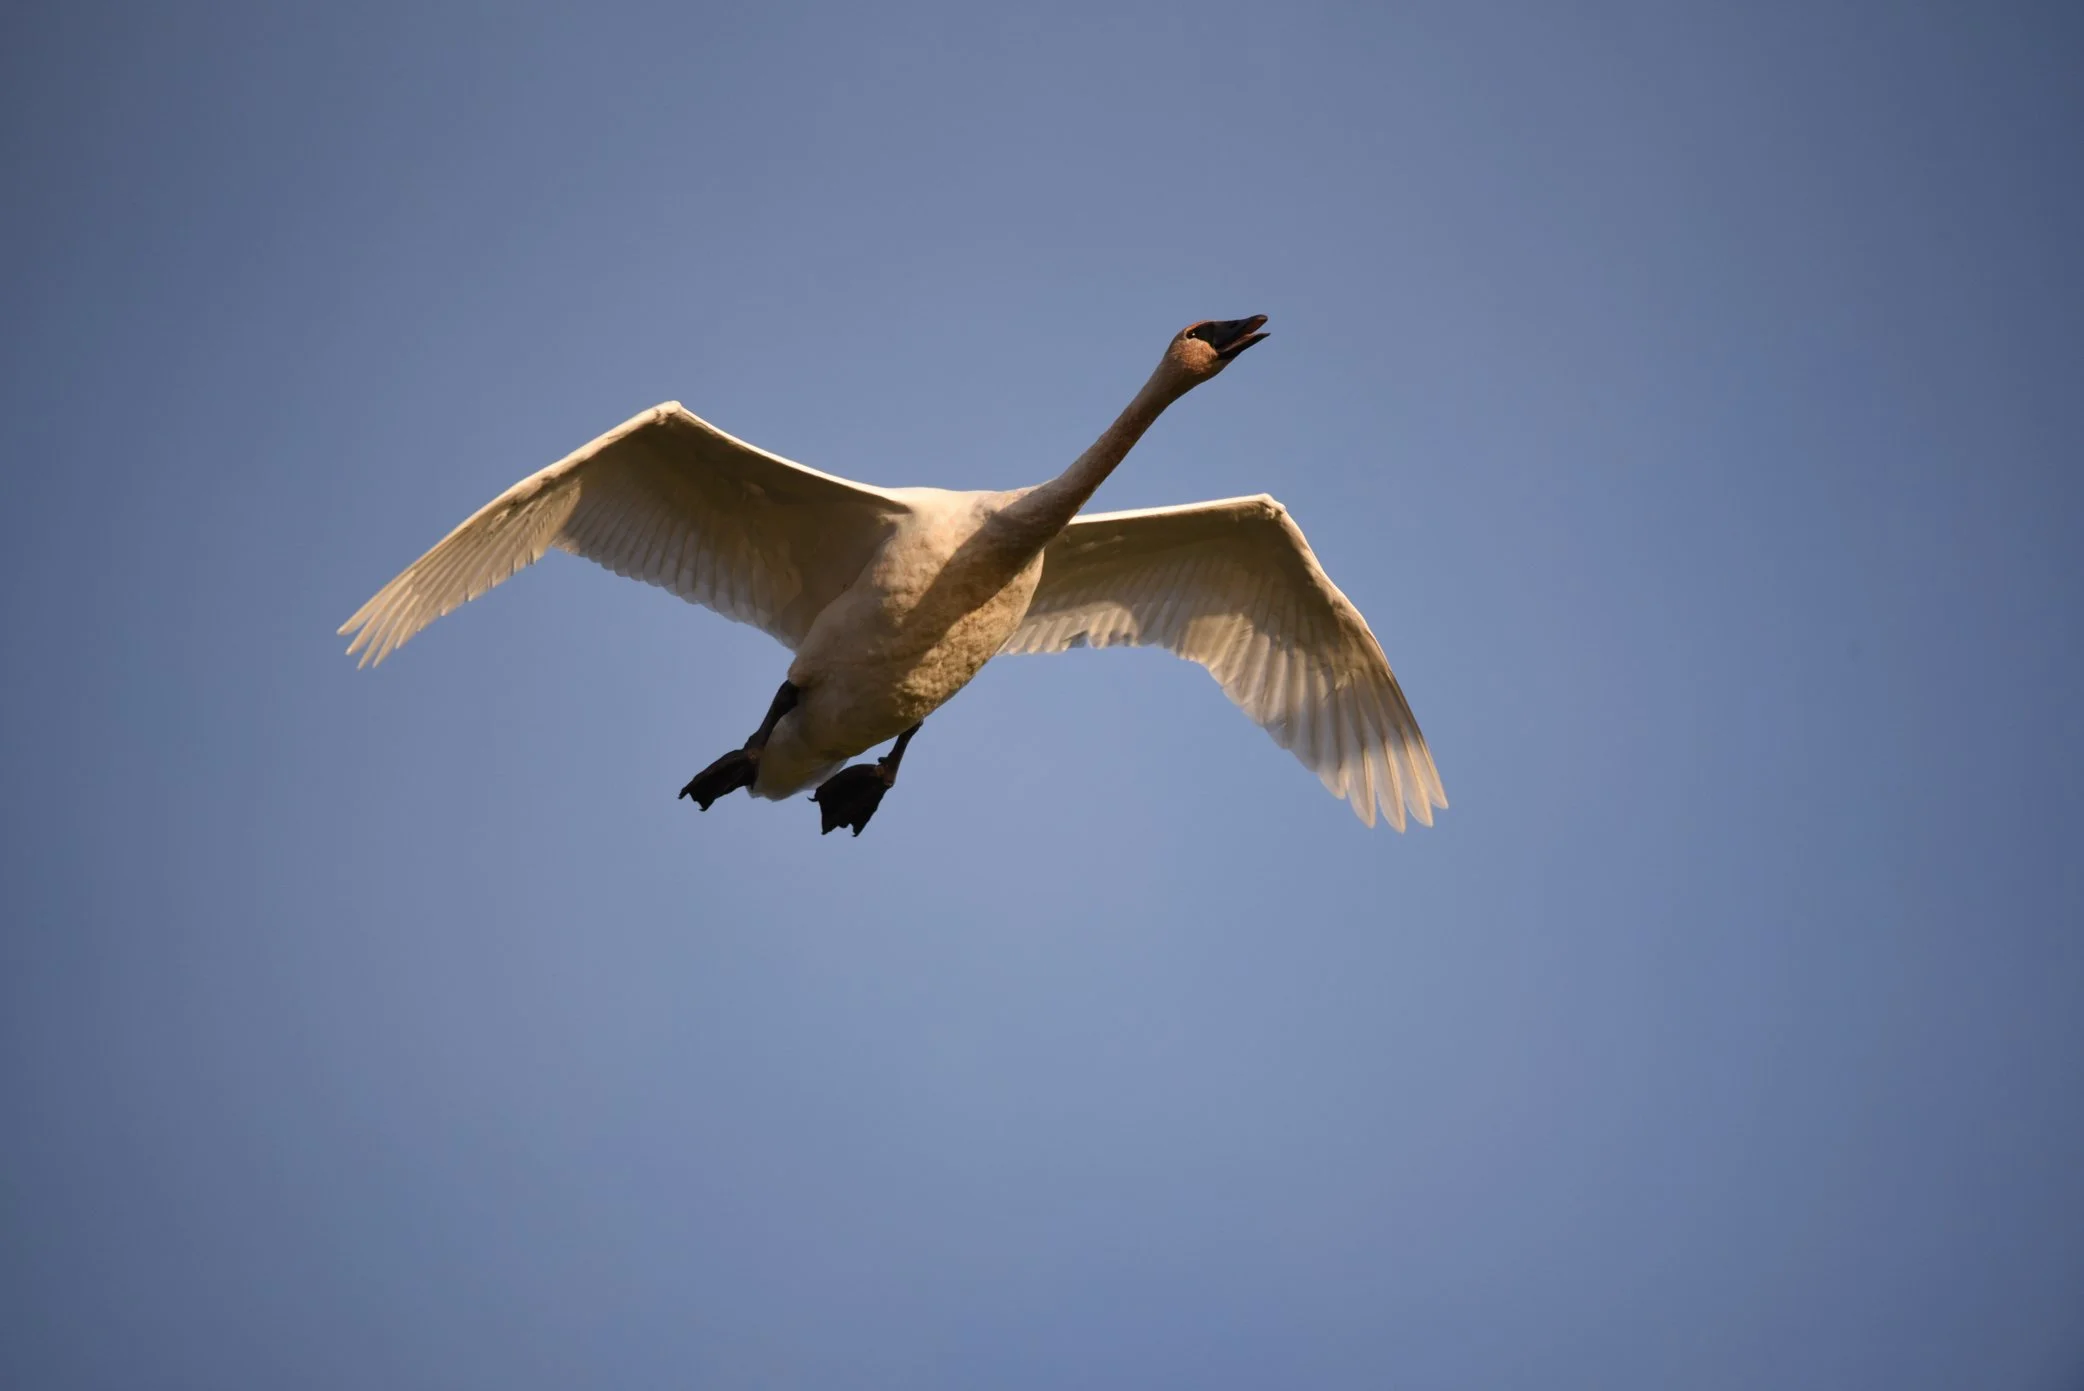
The same subject, a Trumpeter Swan, in a different light.
f/6.3, 1/2000, ISO 1000.
When comparing the above and below Trumpeter Swan photos, note the difference in the lighting. The subject is the same, two big white birds, although one is illuminated by the setting sun, with a blue sky background. The other is against a bright gray sky in different natural lighting conditions.
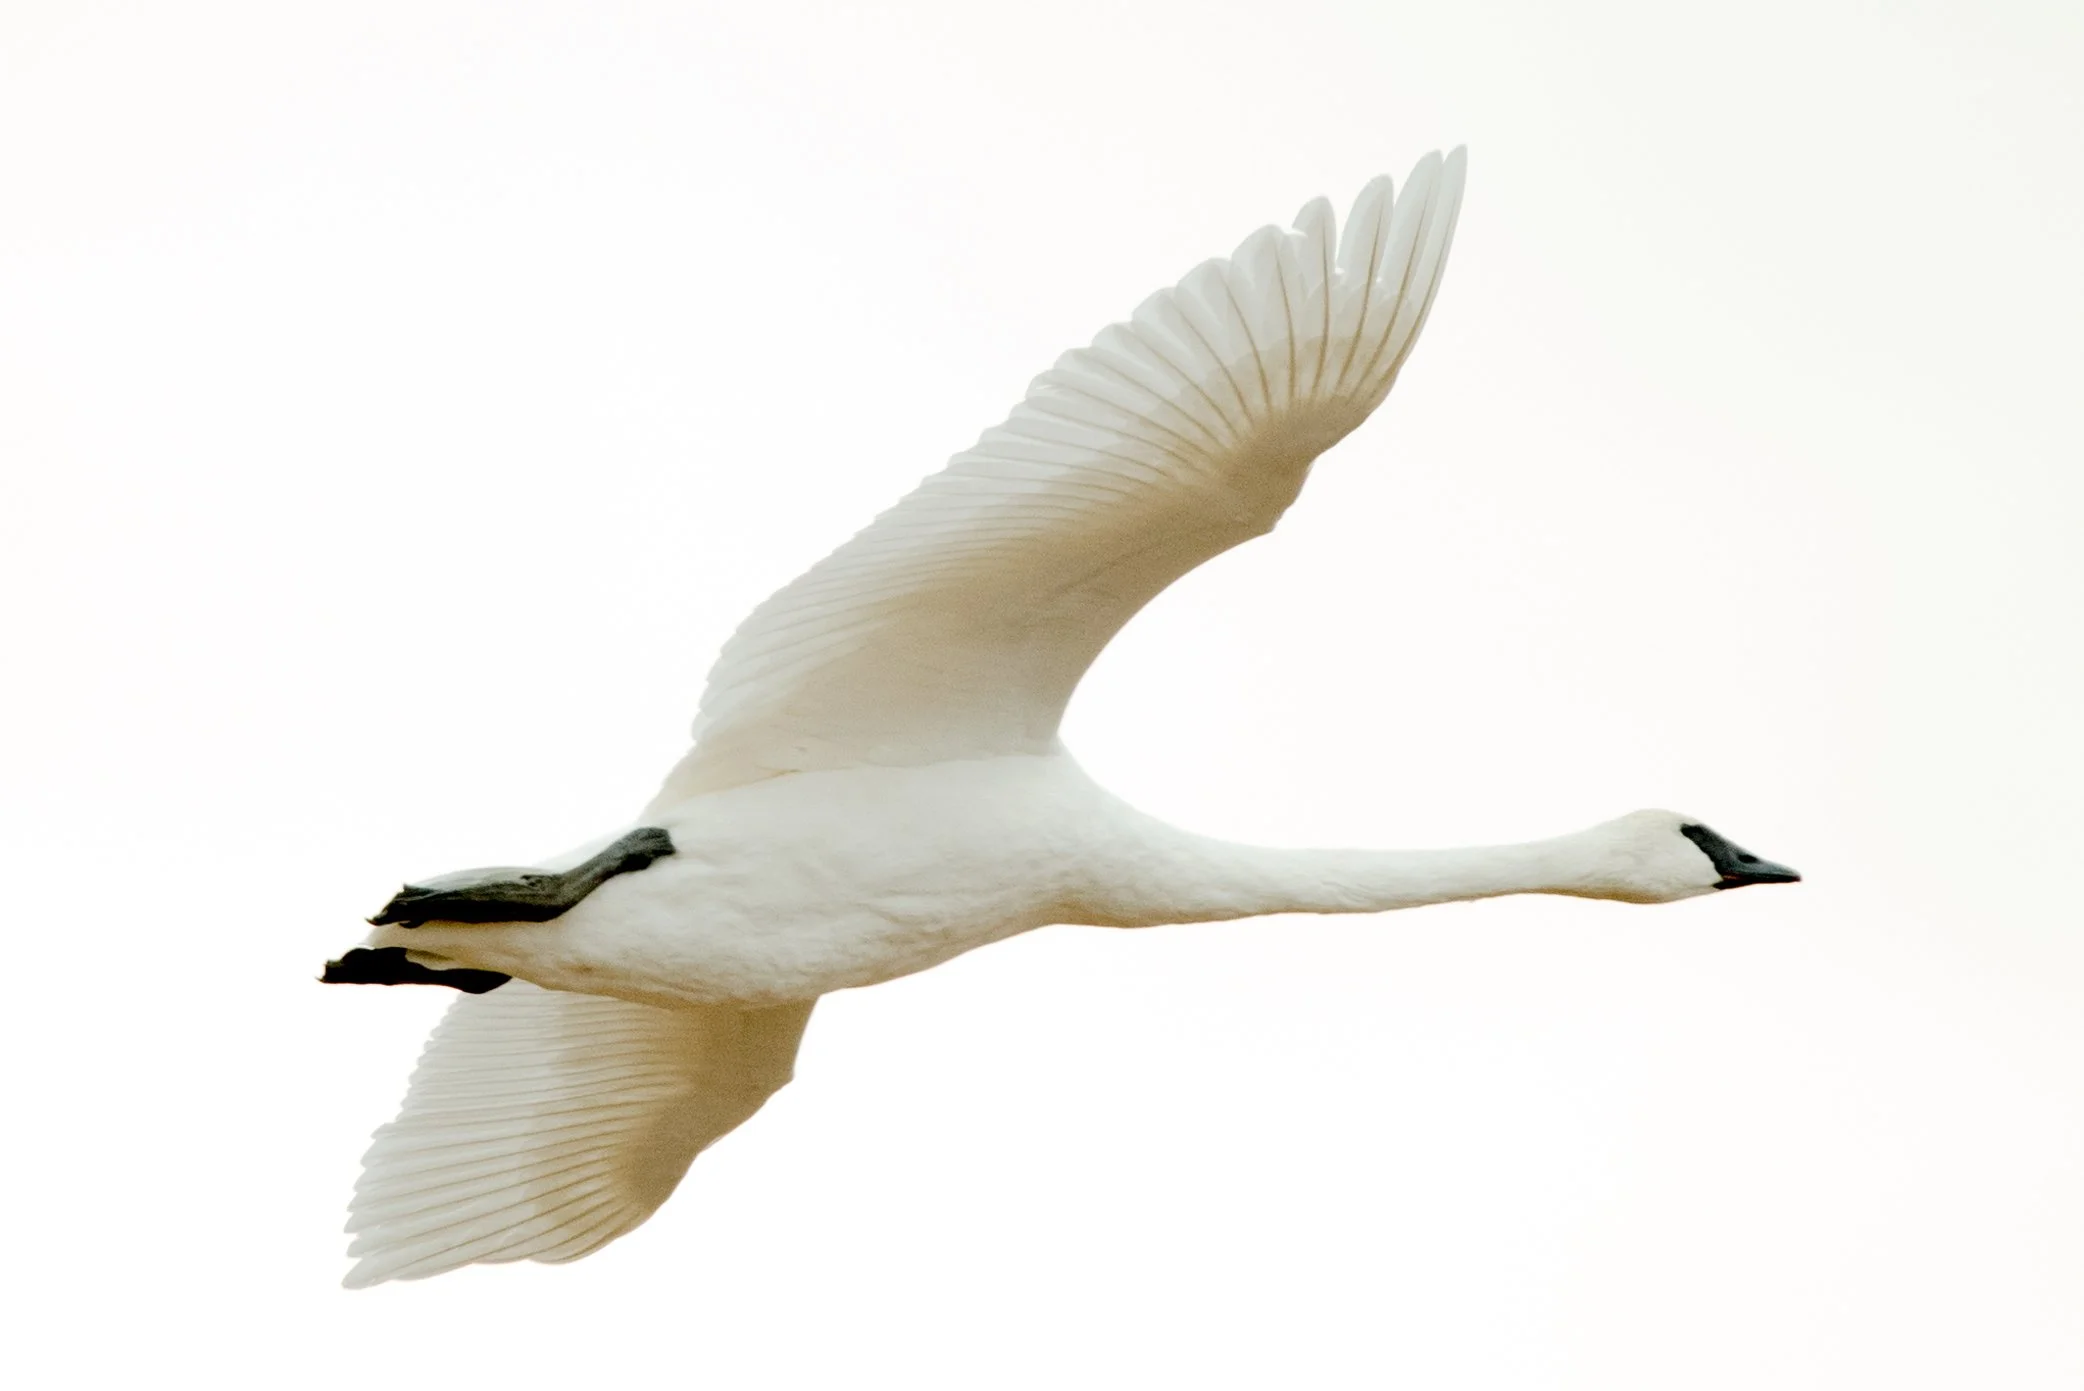
A Trumpeter Swan in different light conditions.
f/6.3, 1/1250, ISO 1600.
In this situation, please keep in mind the difference between aperture and ISO. A better choice for the first photo may have been ISO 1250 or 1600, slowing down the shutter speed to 1600 or 1250, or adjusting both slightly. The trick, at times, is to anticipate when you don’t know what may be coming your way at any given time.
Operating your camera in the automatic, aperture priority, or shutter speed priority mode can be highly beneficial for capturing your subjects. A challenge when using the camera manual mode is being spot-on with the exposure in quick, contrasting situations, such as a white Trumpeter Swan one minute and a beautiful Red-winged Blackbird the next.
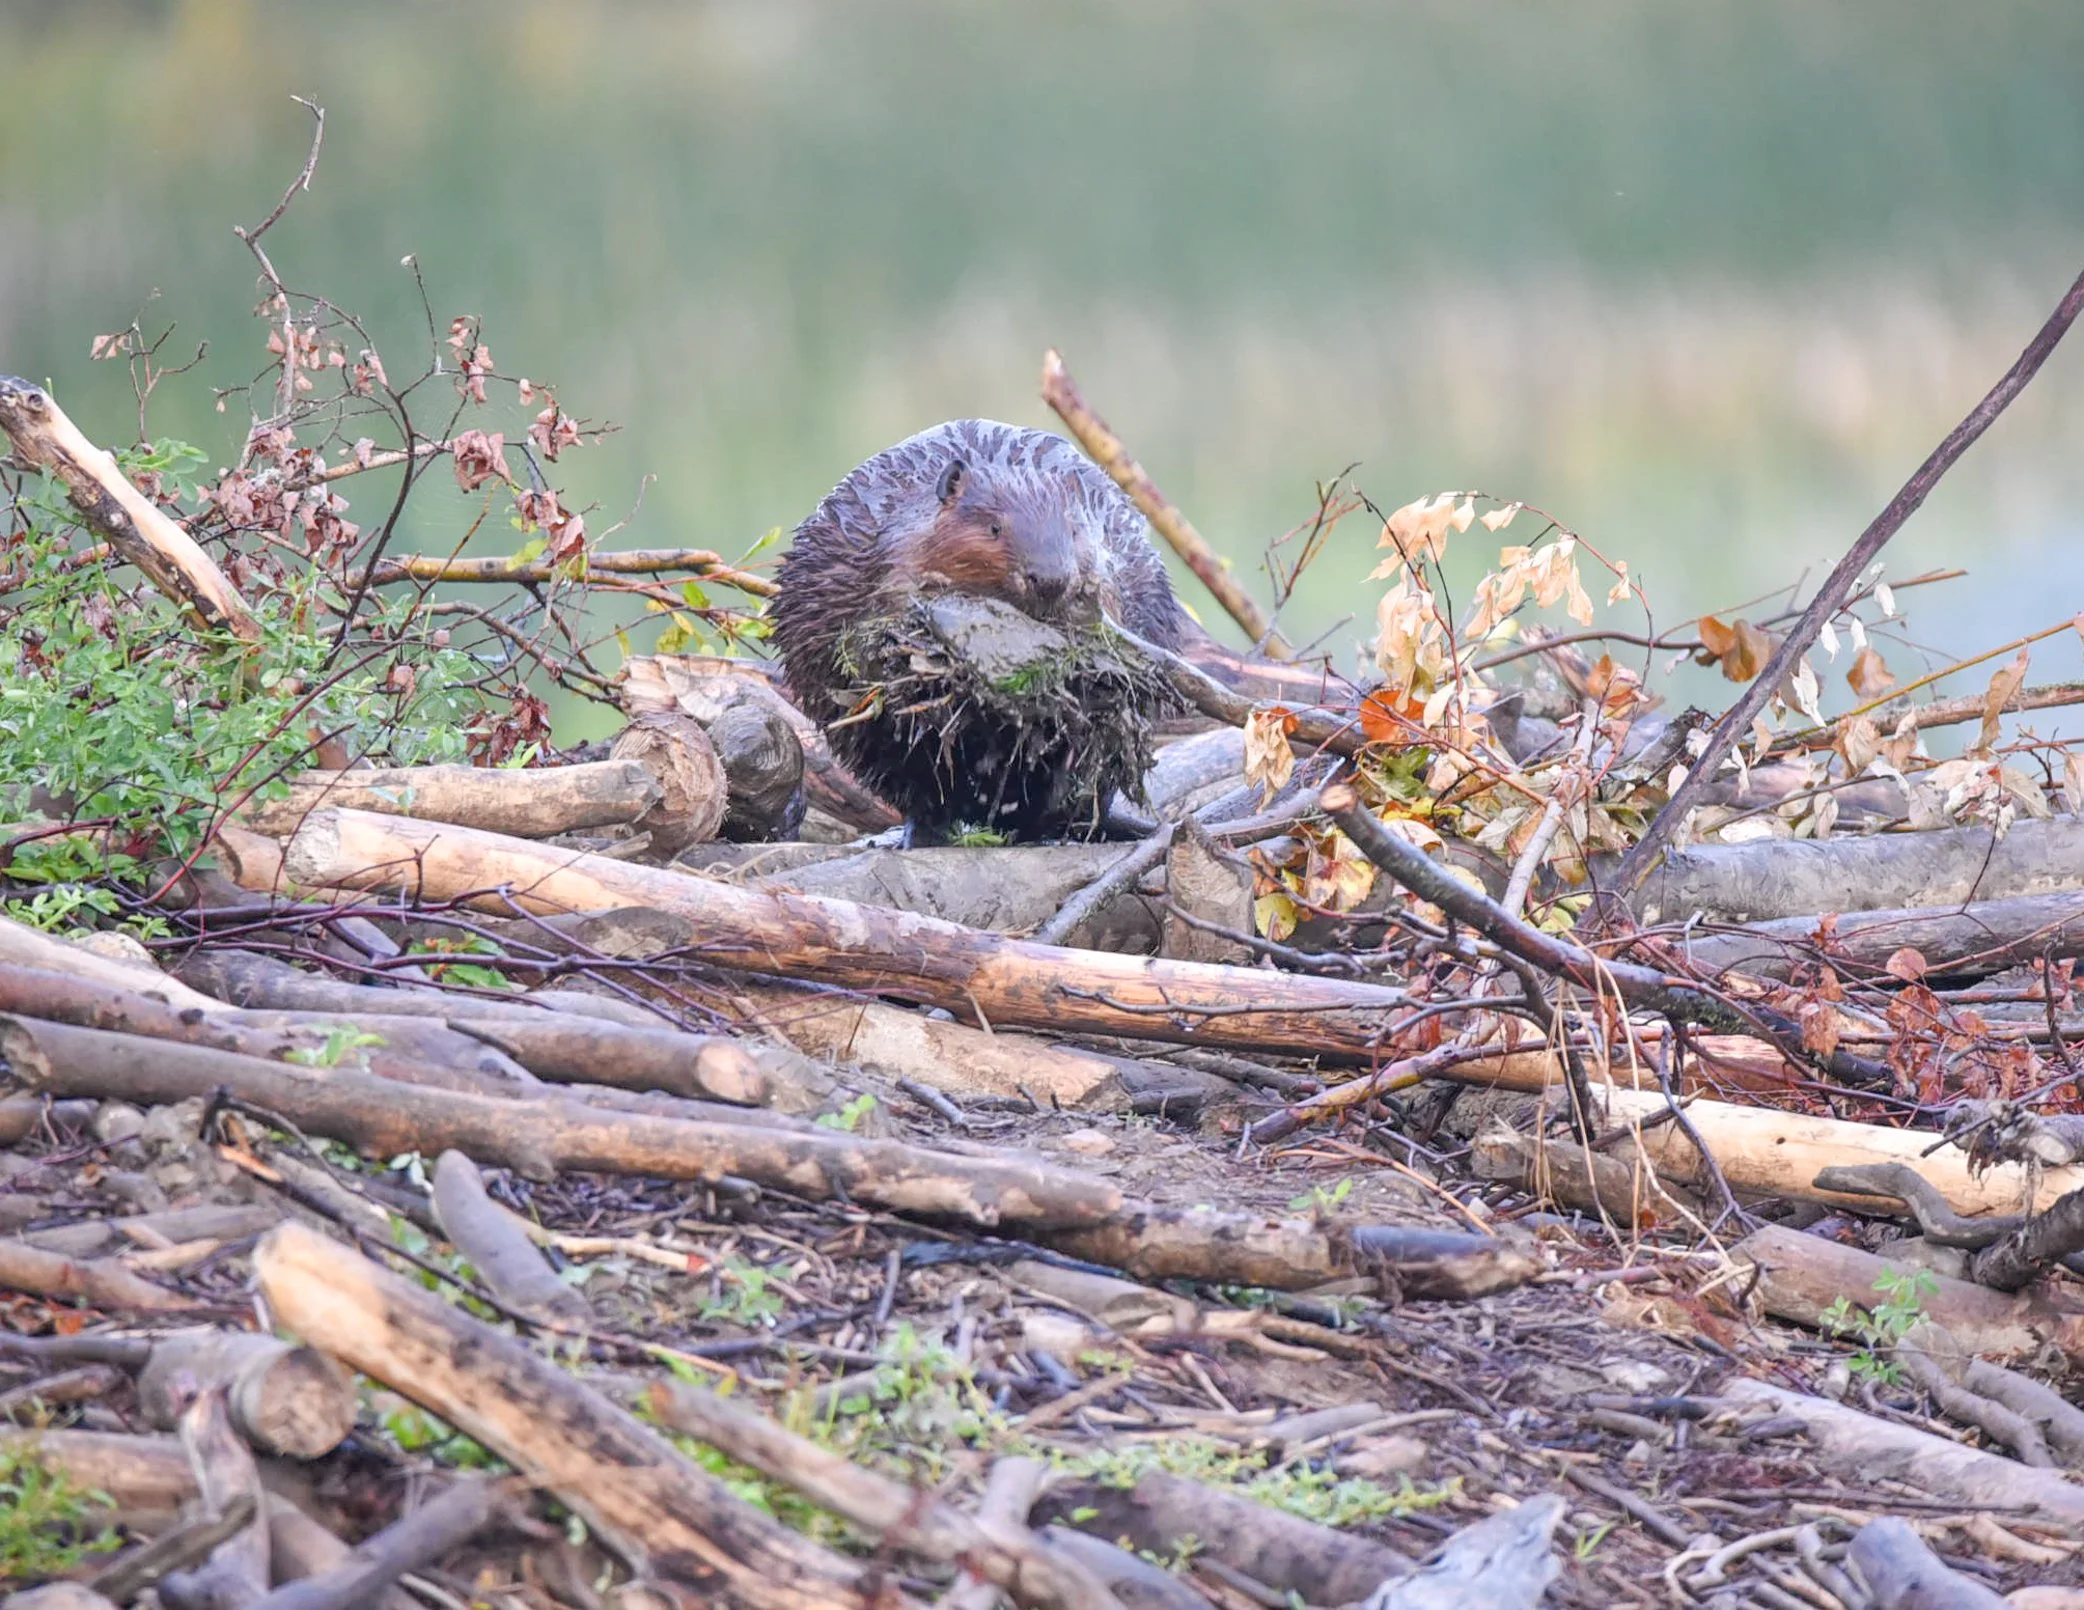
I love bright cloud cover lighting.
f/6.3, 1/250, ISO 2500.
Considering my camera settings and the exposure triangle for beginner photographers, what do you think the light conditions were? If you thought cloud cover and low light, you are right. If you’re not sure, the clues are in the numbers:
f/6.3 does not let in vast amounts of light compared to the earlier chart, compared to f/2.8, for example. However, when my lens is fully extended, that’s the limit for the opening of the lens to admit light.
A 1/250 shutter speed is relatively slow to capture action. Although the beaver wasn’t moving too quickly, it still moved quickly enough that the motion could result in subject blur. A slower-than-preferred shutter speed indicates the light was not sufficient for faster.
The 2500 ISO is also a strong indicator of low light at 8:09 AM, when I took the photo.
If you questioned why I didn’t increase the ISO until I could choose a more desirable shutter speed, such as 1/1000, that’s a good thought. I prefer to balance out what I can go with for the slowest shutter speed to keep my ISO as low as possible. In any situation, I prefer ISO 1000 and lower, although that’s obviously not always possible.
In Conclusion
One way to familiarize yourself with the exposure triangle if you’re a beginner photographer is to begin in the camera’s automatic setting and:
Observe and become familiar with the three elements while using your camera in the automatic setting.
When reviewing your photos using the camera playback display, begin paying attention to the aperture, shutter speed, and ISO numeric value.

The Playback provides information for you.
f/6.3, 1/200 shutter speed, ISO 2000, camera mode A - aperture priority, Auto2 is white balance, NEF is a RAW file format, as compared to the familiar JPG.
Additional support.
Making sense of the exposure triangle for beginner photographers, photography in general, and your camera can be daunting, to say the least. I experienced this feeling numerous times when I began my photography adventures.
Consequently, I created a self-paced online course for beginner photographers. I teach aspiring photographers how to use their cameras confidently and gain newfound photography skills in a fun way, including aperture, shutter speed, and ISO, complete with guided, hands-on, fun photo shoot exercises.
If this sounds like a fit for you or you would like more information and details, please visit my online course page, 37 Ways to Improve Your Photos in Minutes.