

Rainy‑Day Photography: Two Practical Ways to Protect Your Camera Gear
With an upcoming sports photo shoot on short notice and a forecast for a wet weekend, my attention turned to how to protect my camera gear while maintaining easy access to the buttons, dials, and the zoom ring.
Ease of maneuvering the zoom ring to adjust my focal length was my top priority, but I found it a bit tricky to figure out as the commercial rain covers I had on hand didn’t offer the flexibility I needed.
After a frustrating amount of research, I finally found a doable rain hack. Unfortunately, I don’t recall the site where I found it, but the how-to is described below.
Tip #1 for protecting your camera gear during rainy-day photography.
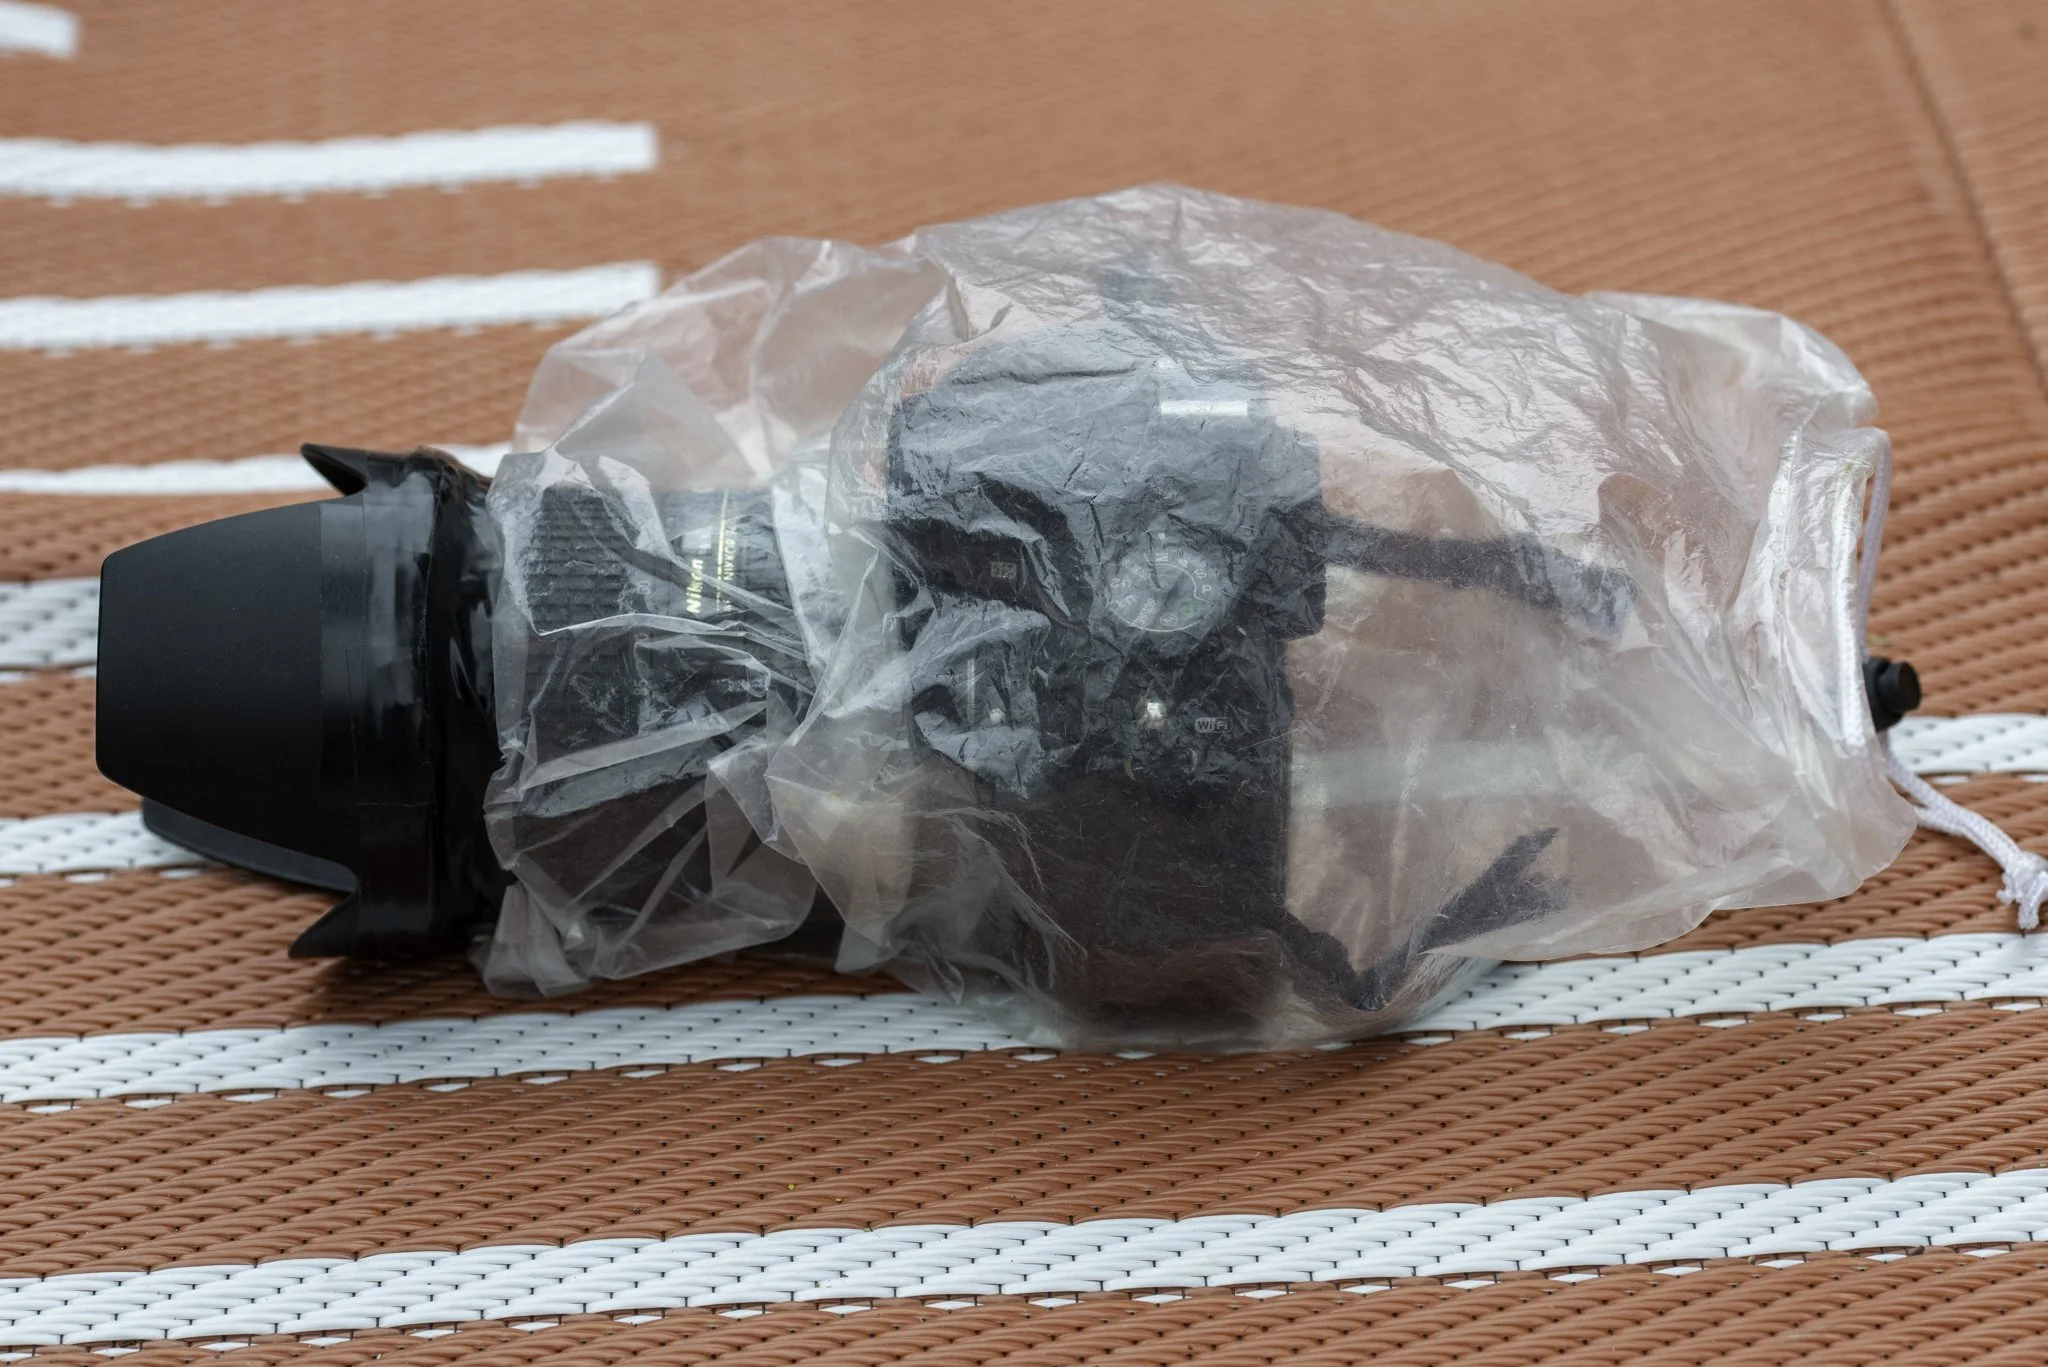
The final result with a rain cover, lens hood, and electrical tape.
My process:
First, I modified a large lens/camera sleeve by cutting it to a suitable length for use with a 28-300 mm lens, and tested it with the lens fully extended.
Next, I attached my lens hood, placing the plastic where the hood meets the lens.
Finally, I attached the plastic to the lens hood with electrical tape.
I considered using an elastic band to hold the plastic on the hood, but it wasn’t secure enough given the hood’s shape.
Ease of use:
I experimented with my left hand outside and inside the bag, finding it easier to quickly zoom and change focal lengths with it inside.
Be aware!
I discovered the hard way that when the lens was at 28mm, some of the plastic would fall over the short edge of the hood and end up in the photo.
In one case, I ended up with a burst of five blurry grey photos of a rain cover, and in others, a corner of the photo was a grey blotch.
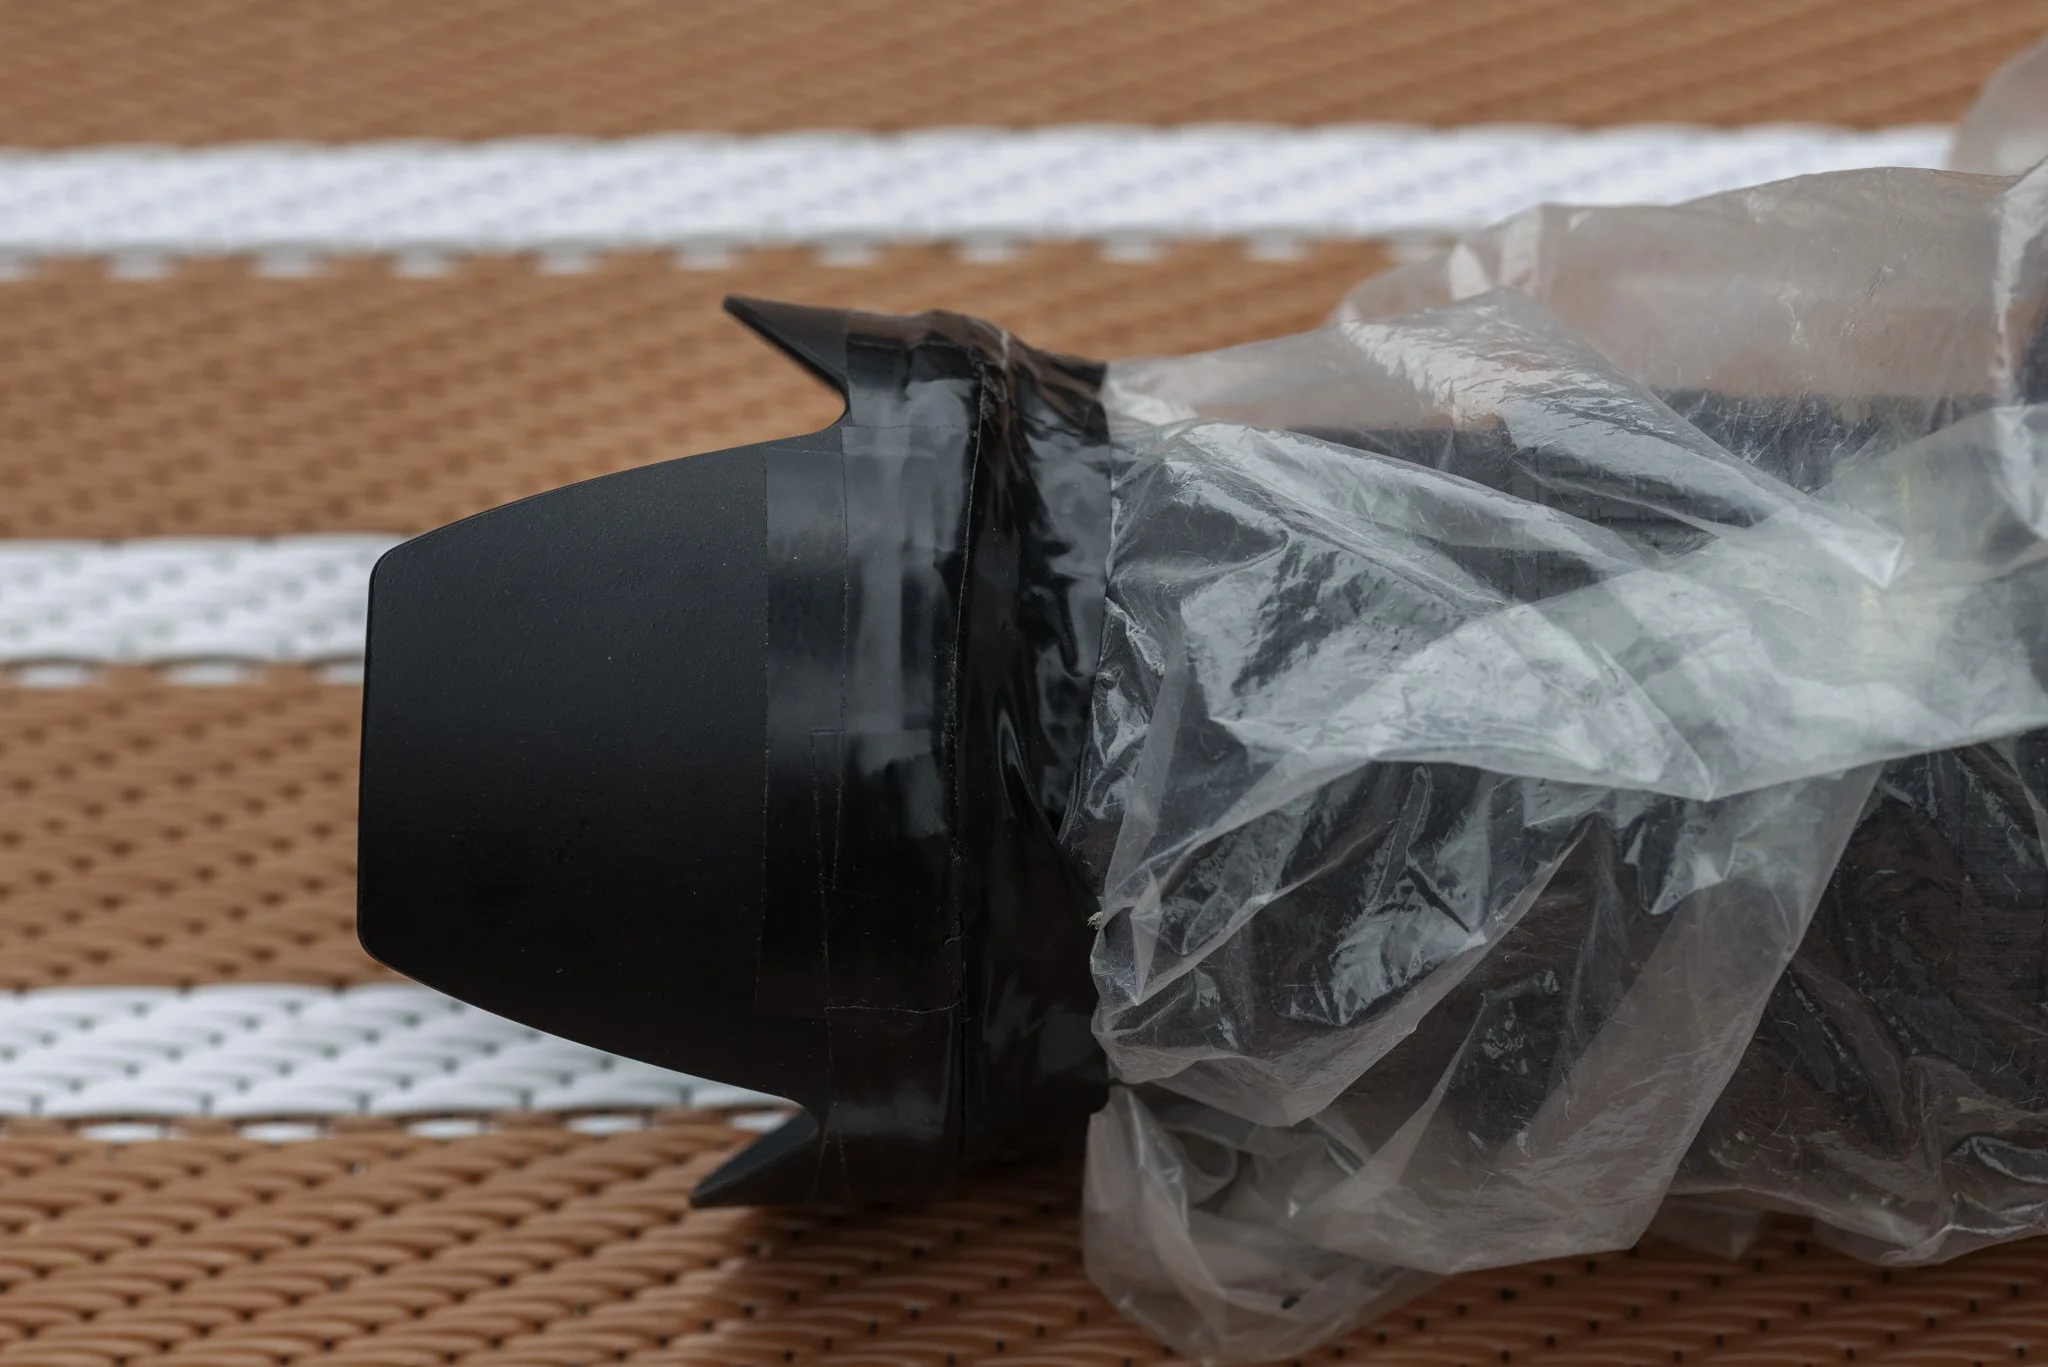
A budget-friendly and practical way to protect your camera gear, with a rain sleeve and electrical tape.
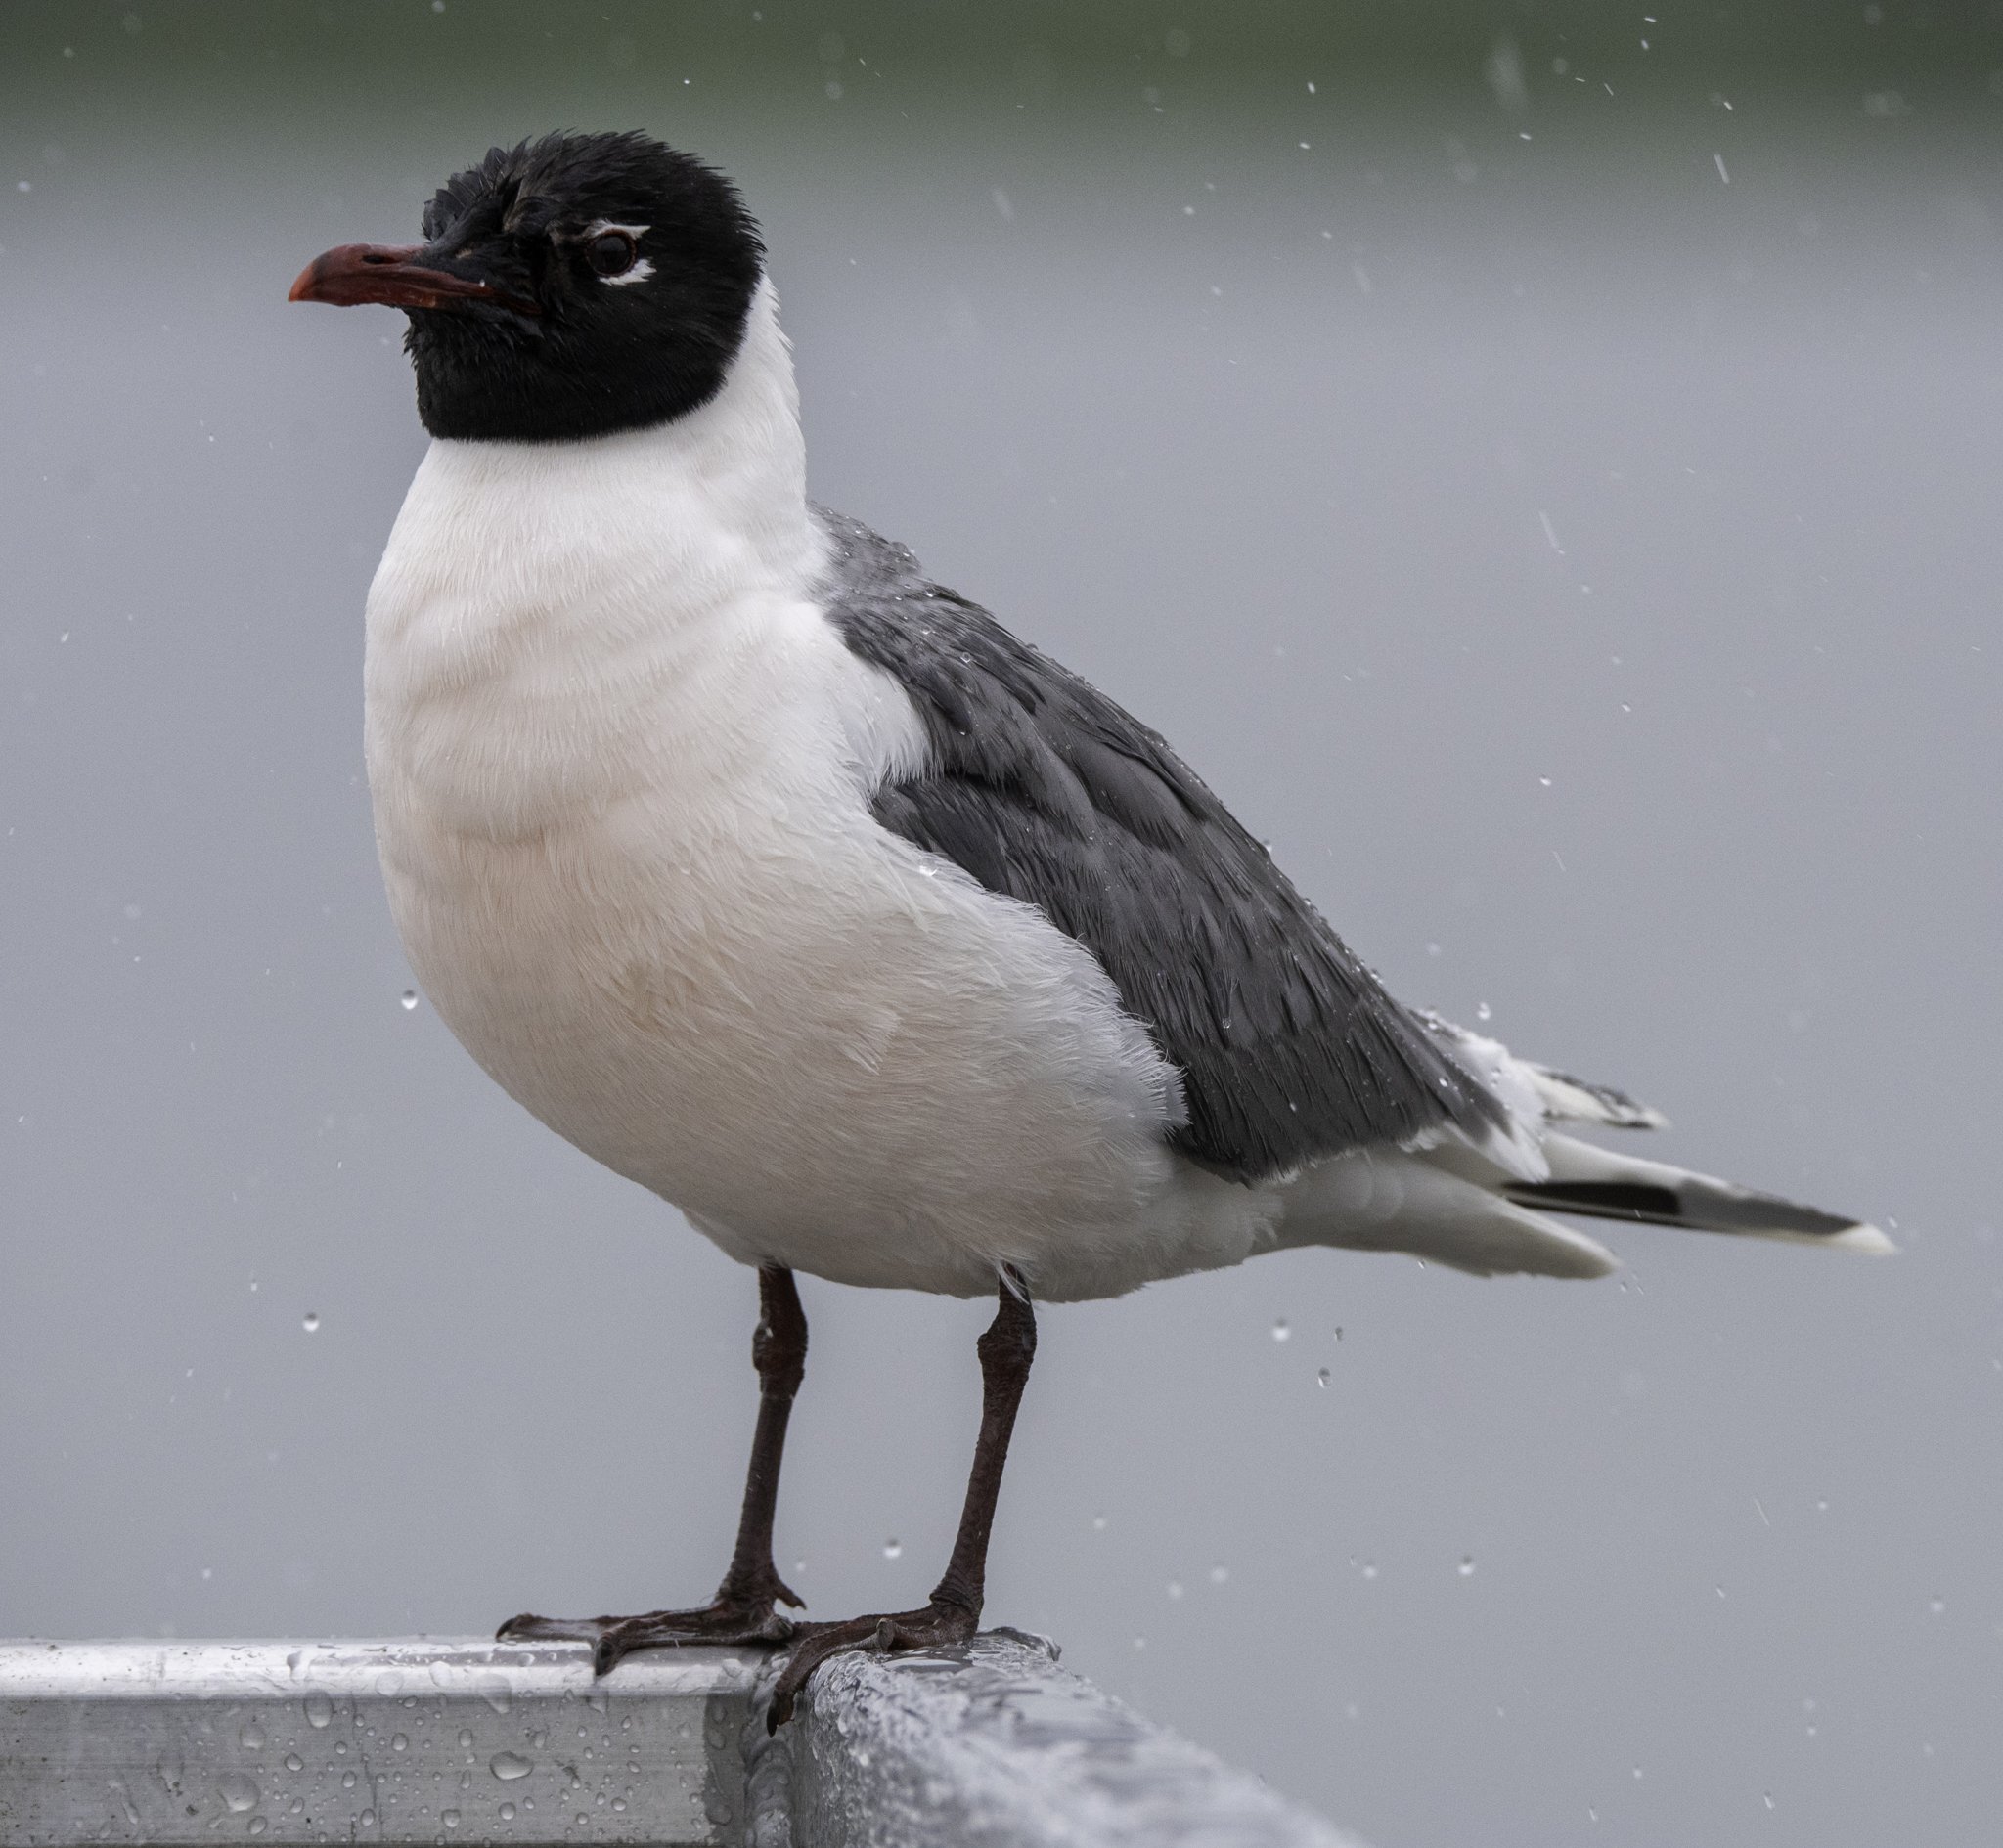
A wet Franklin’s Gull, rain soaked me, and dry camera gear during a second outing testing practical ways to protect camera gear.
Tip #2 for protecting your camera gear during rainy-day photography.
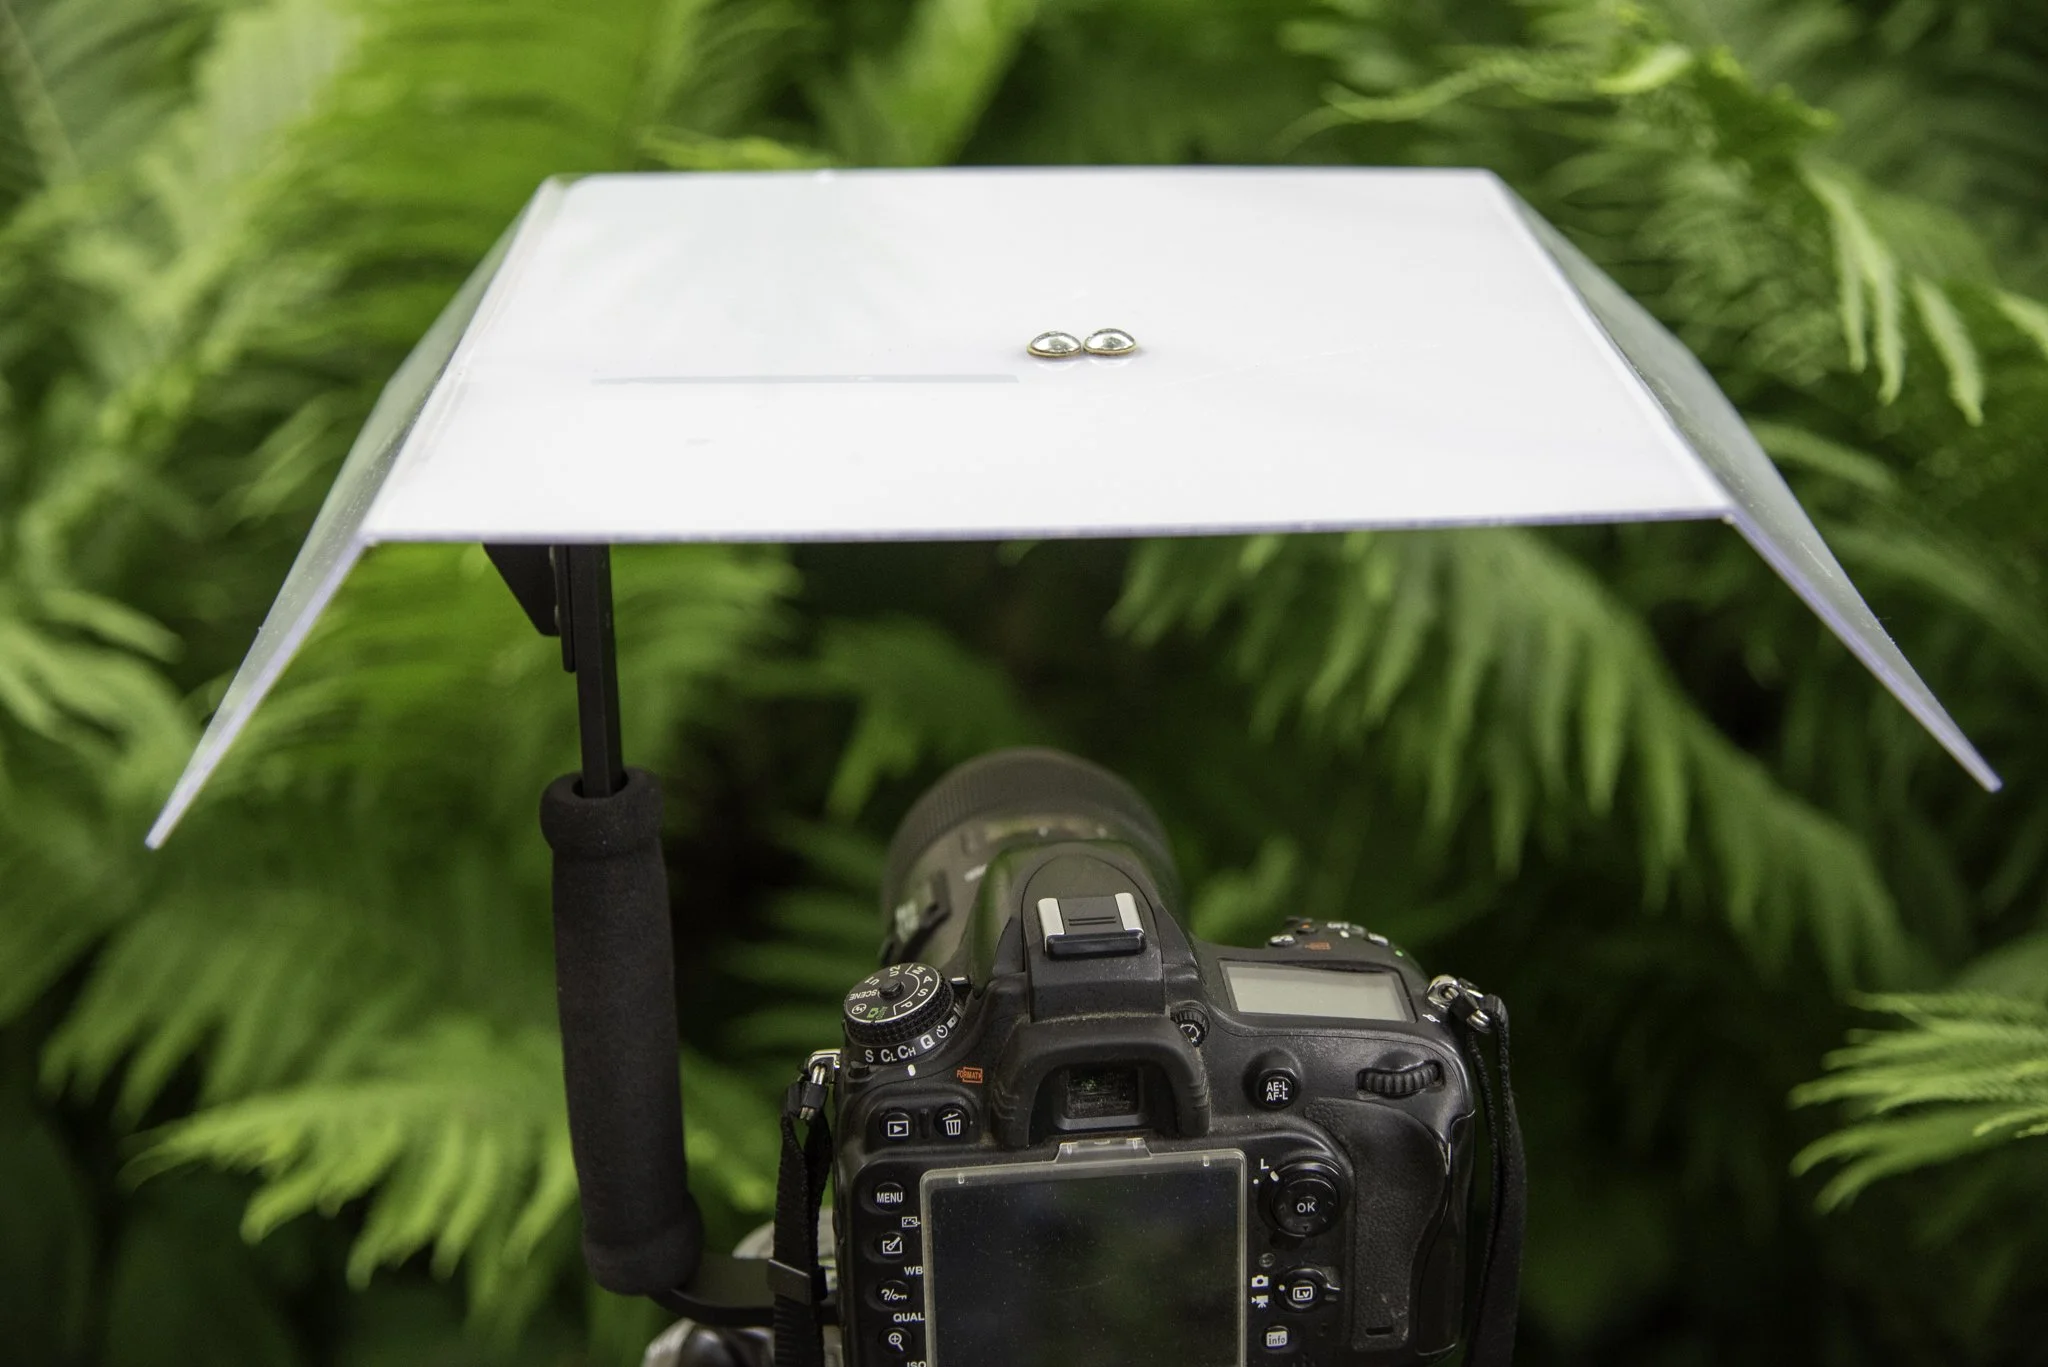
Custom-shaped Lexan material attached to an external flash bracket.
Above, I’ve modified an idea that suggested using 1/8” clear acrylic Plexiglass, cut to 8” x 12”, and glued to a cold shoe extension.
Why I modified a Plexiglass, cold shoe design idea:
I didn’t have a cold shoe extension, or anything usable in its place, and it was too short notice to order one.
When I called the local camera store looking for a cold shoe extension, they suggested a bracket extending from the underneath of the camera would be sturdier than the cold shoe extension.
Plexiglass is rigid and can break, while Lexan can be molded.
Details:
Cost at the local auto glass shop for the Lexan was $42.00.
12” x 16” includes a 3-inch overlap on each side.
Size was calculated for use with a 28- 300 mm.
In hindsight, I may have added a couple of inches front to back to make it 14”, but it worked as is.
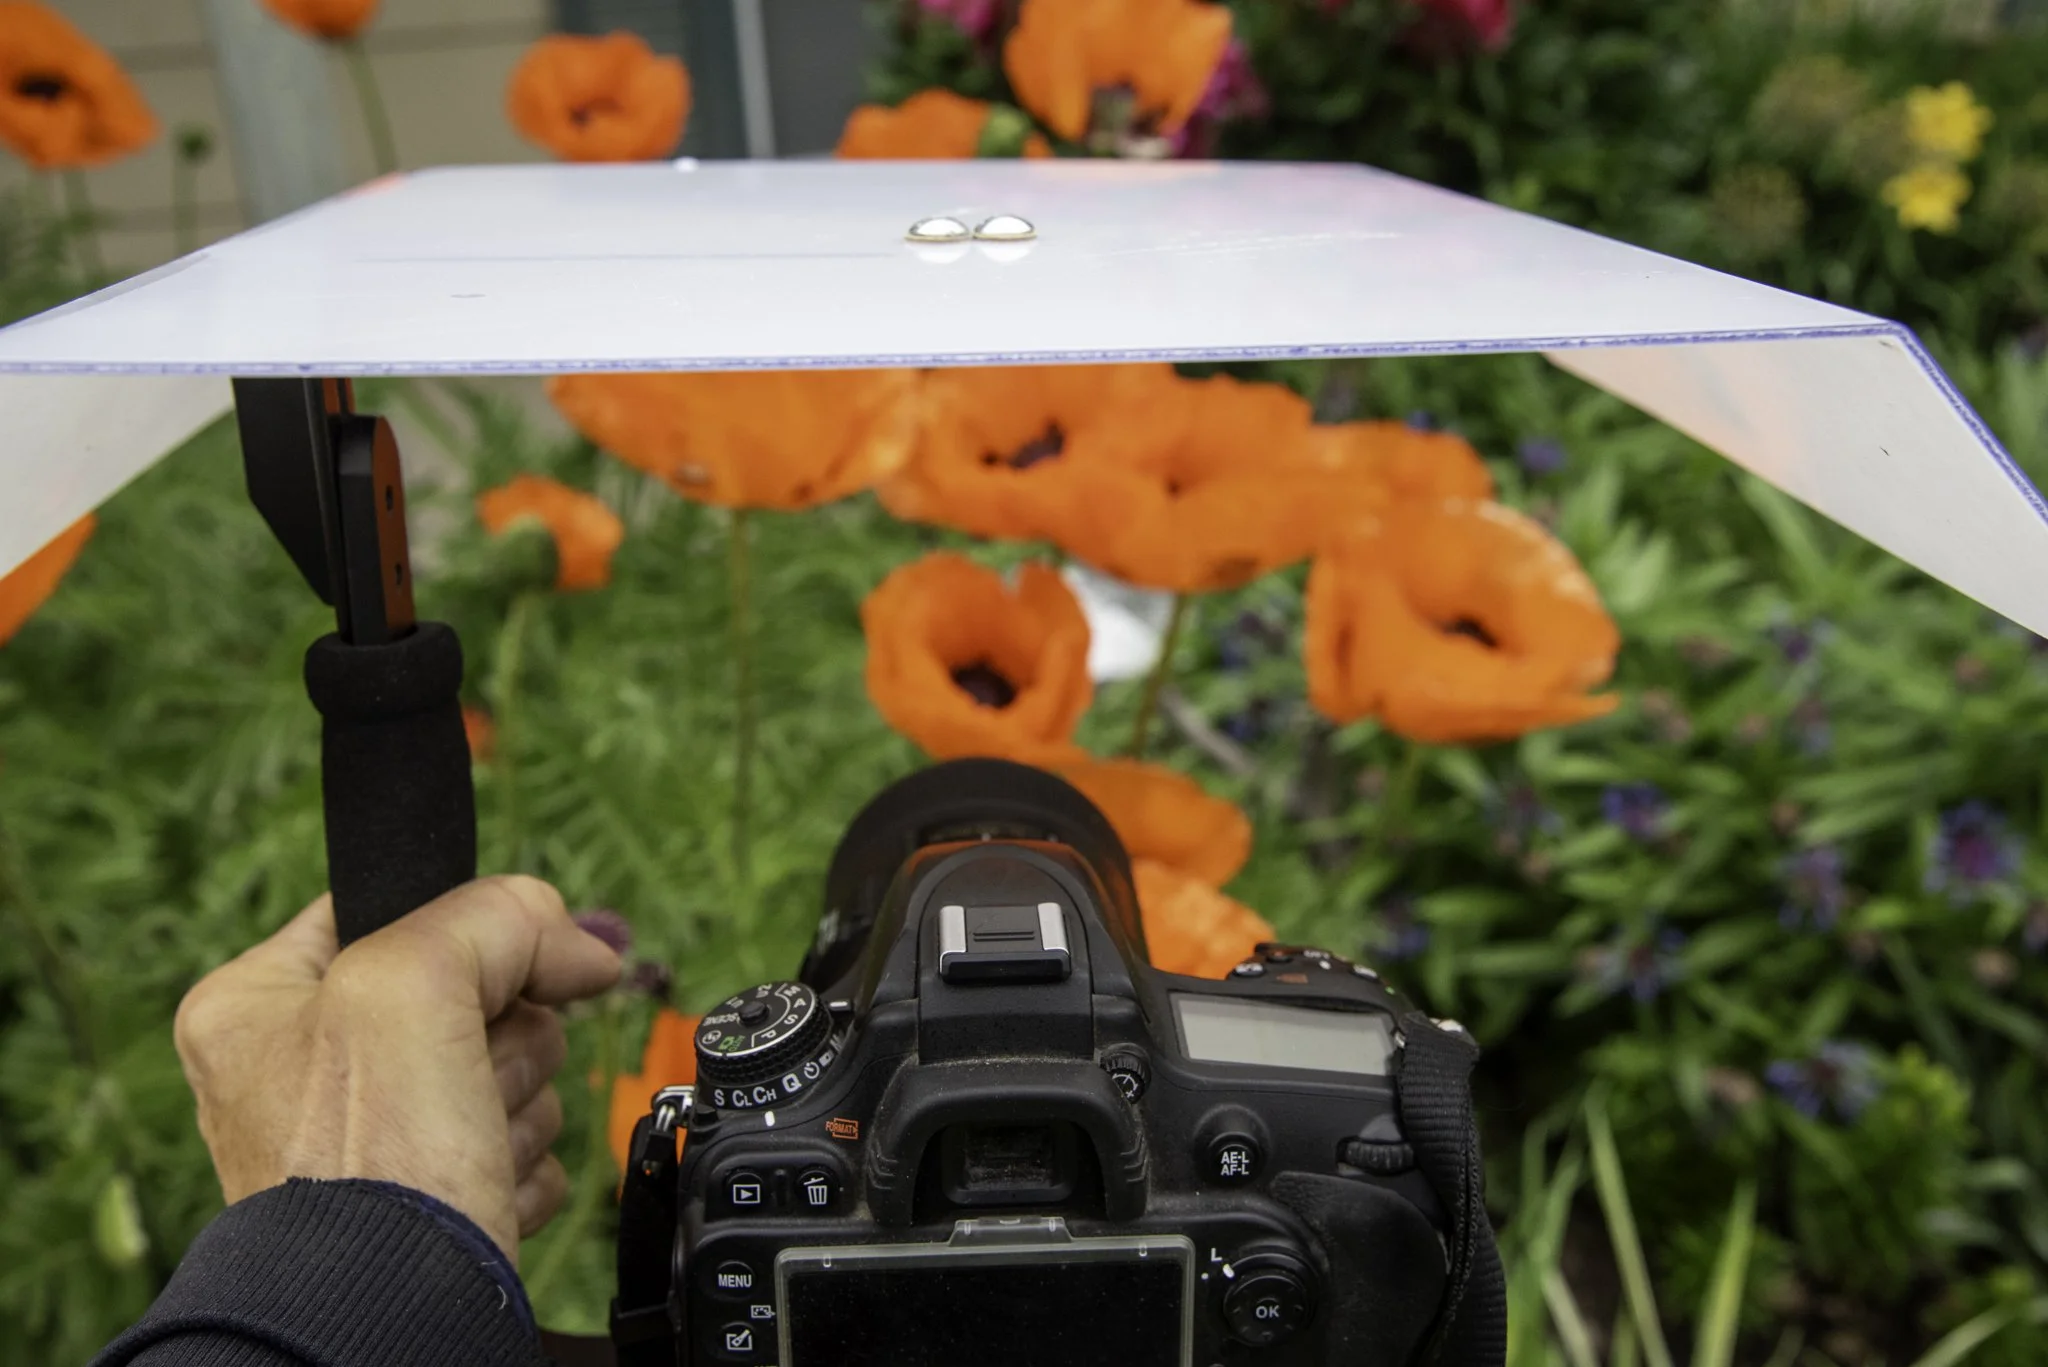
Testing the rainy-day camera gear protection.
Putting it all together:
I removed the hot shoe from the top of the external flash bracket.
Next, I rummaged around for two small nuts, bolts, and washers to attach the Lexan to the top of the flash bracket.
Positioning the cover on the bracket and over the camera and extended lens, I marked it for two pre-drill holes in the Lexan.
I drilled the holes and attached the cover.
Challenges (but it works).
The combination of the flash bracket and Lexan makes it heavier to hand-hold.
My original plan was to use this setup for the rainy-day sports shoot, but I decided to forgo it in favor of the lens hood rain protection for my camera gear because of the added weight and time duration.
The design does require the camera to be held at a fairly level angle, and at times the rain ran off and onto my rain coat sleeves.
In comparison, the lens hood rainy-day camera gear protection allowed for more flexibility.
Figuring out how to use this setup with my tripod wasn’t quite as simple as I first imagined.
Because the flash bracket attaches to the bottom of the camera, that meant I had to come up with another way to attach the camera to the tripod.
Additionally, the flexibility was reduced to adjusting the tripod legs only, as I attached the flash bracket to the tripod after removing the tripod head.
The advantage of using a cold shoe extension rail mounted on the top of the camera is the ability to use the tripod head with the setup.
I discovered one more challenge when I had a last-minute idea to use it with an external flash on the camera.
Unfortunately, the holes were not only in the wrong place, although that’s an easy fix; the flash head extends above it and is exposed to the elements.
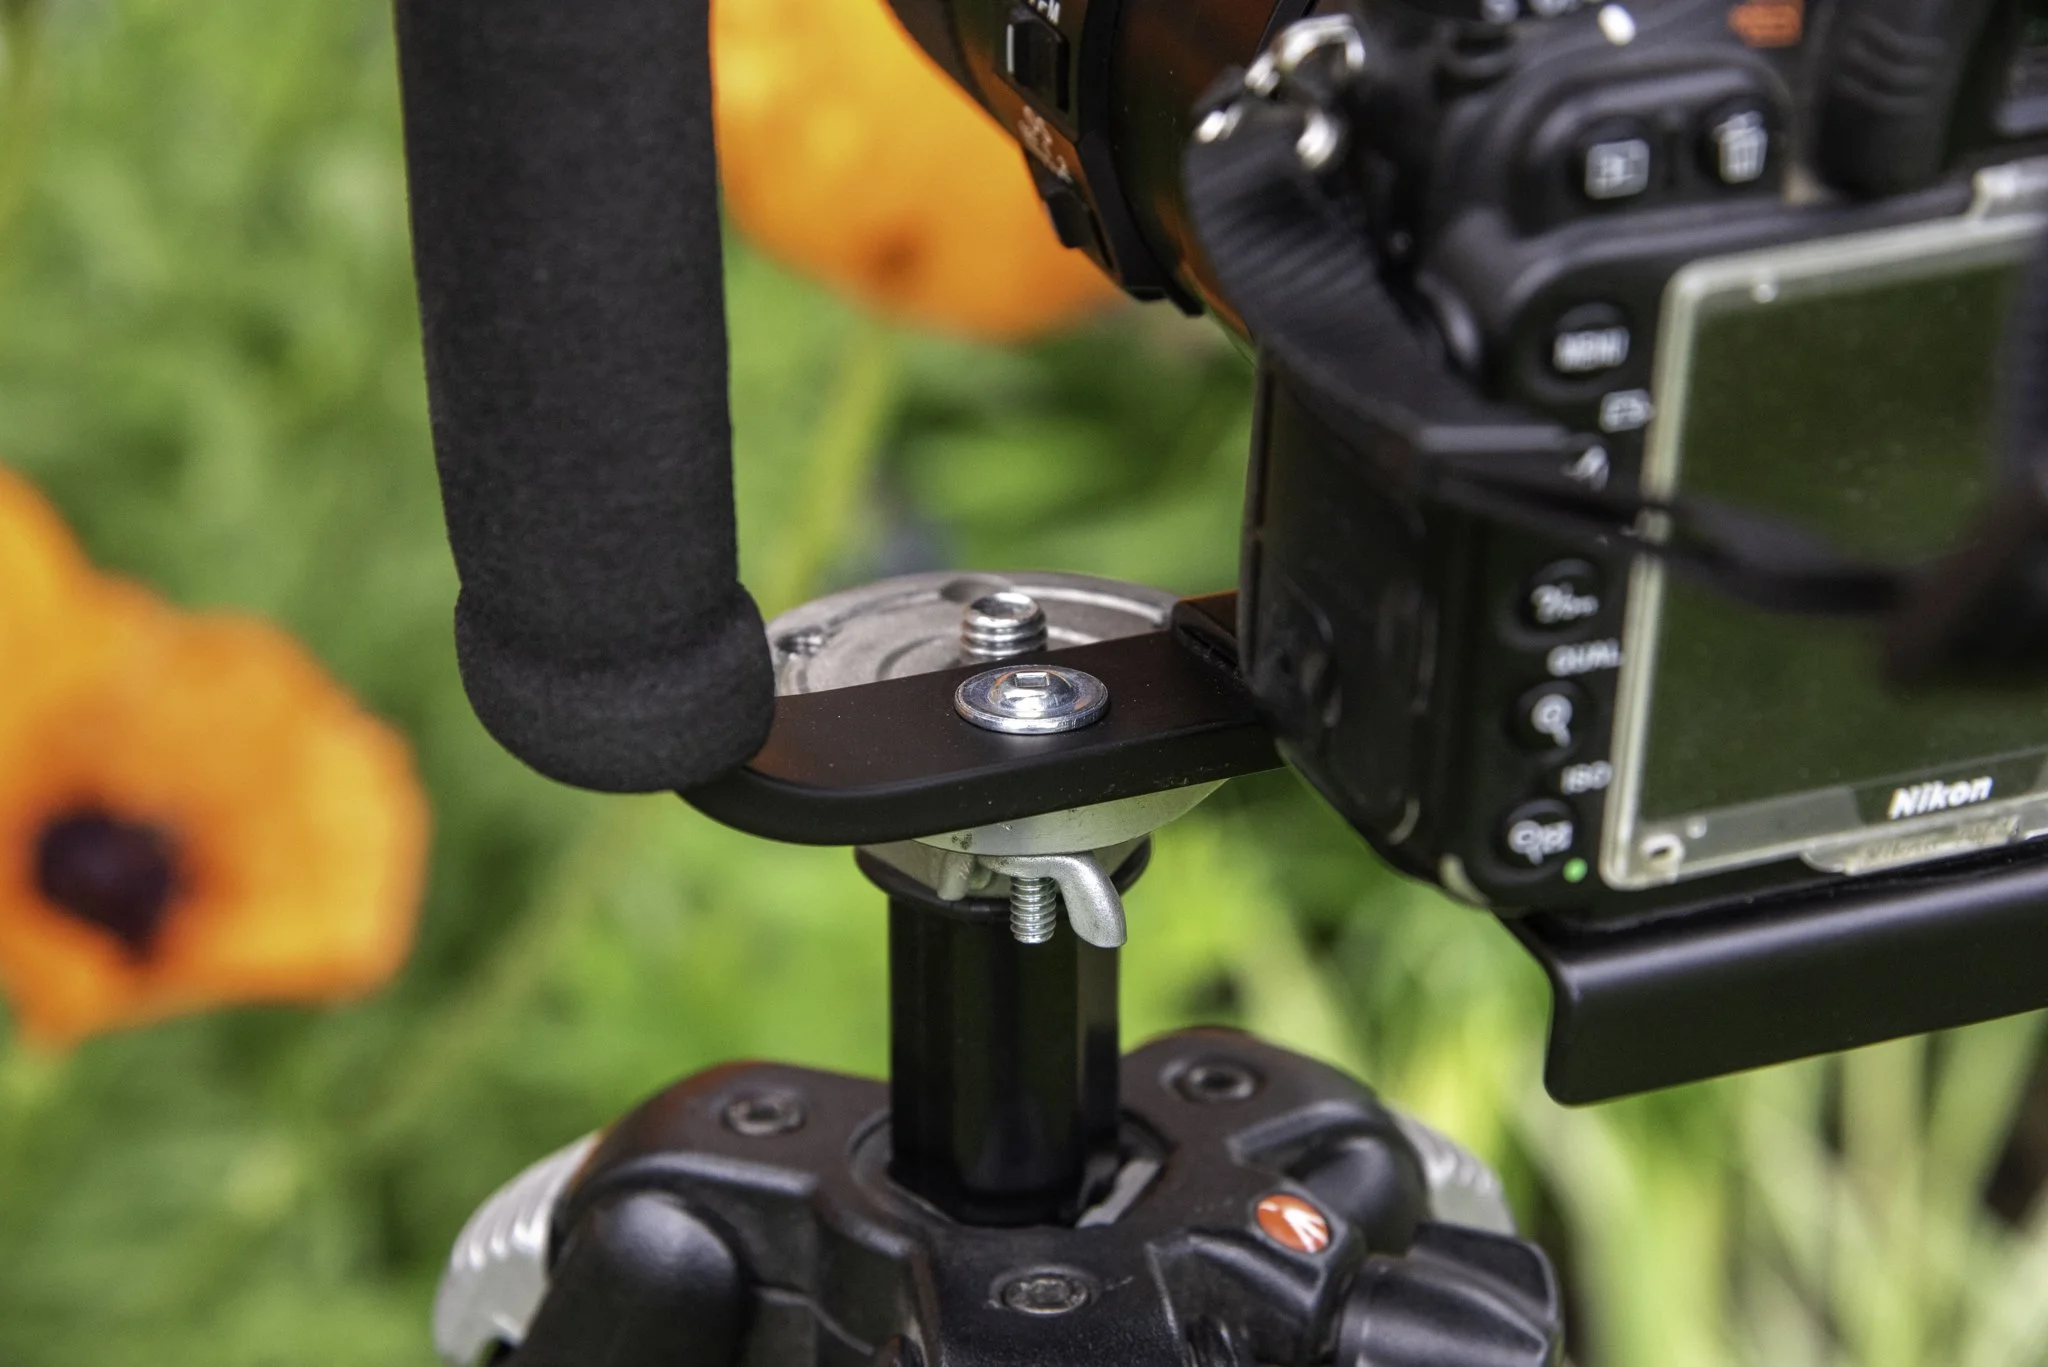
A close-up of the attached rainy-day photography camera gear protection.
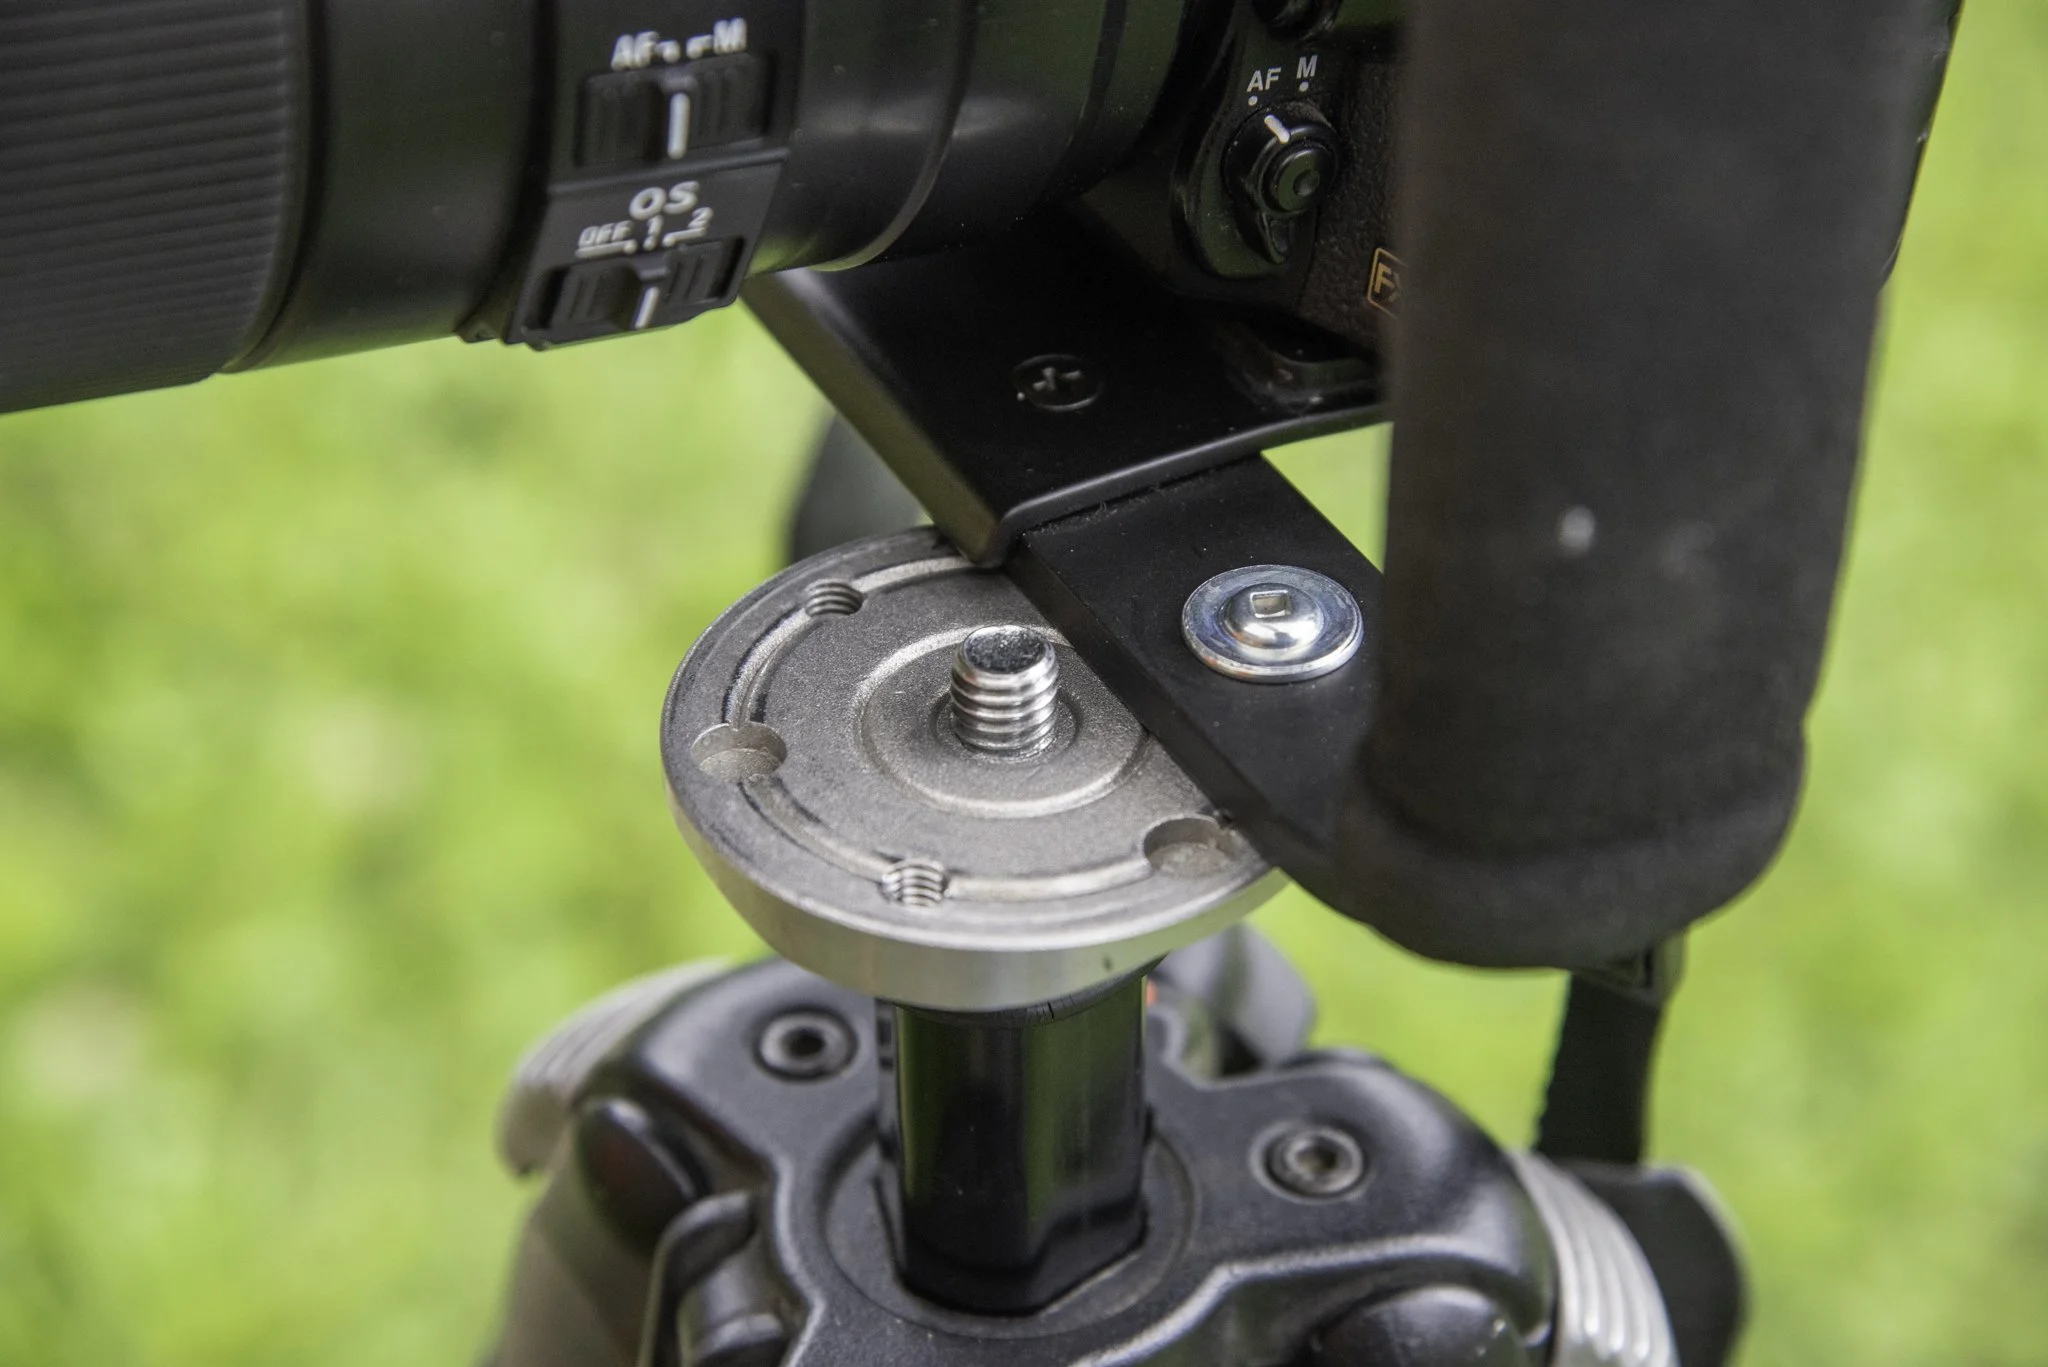
The attached flash bracket on the tripod head.
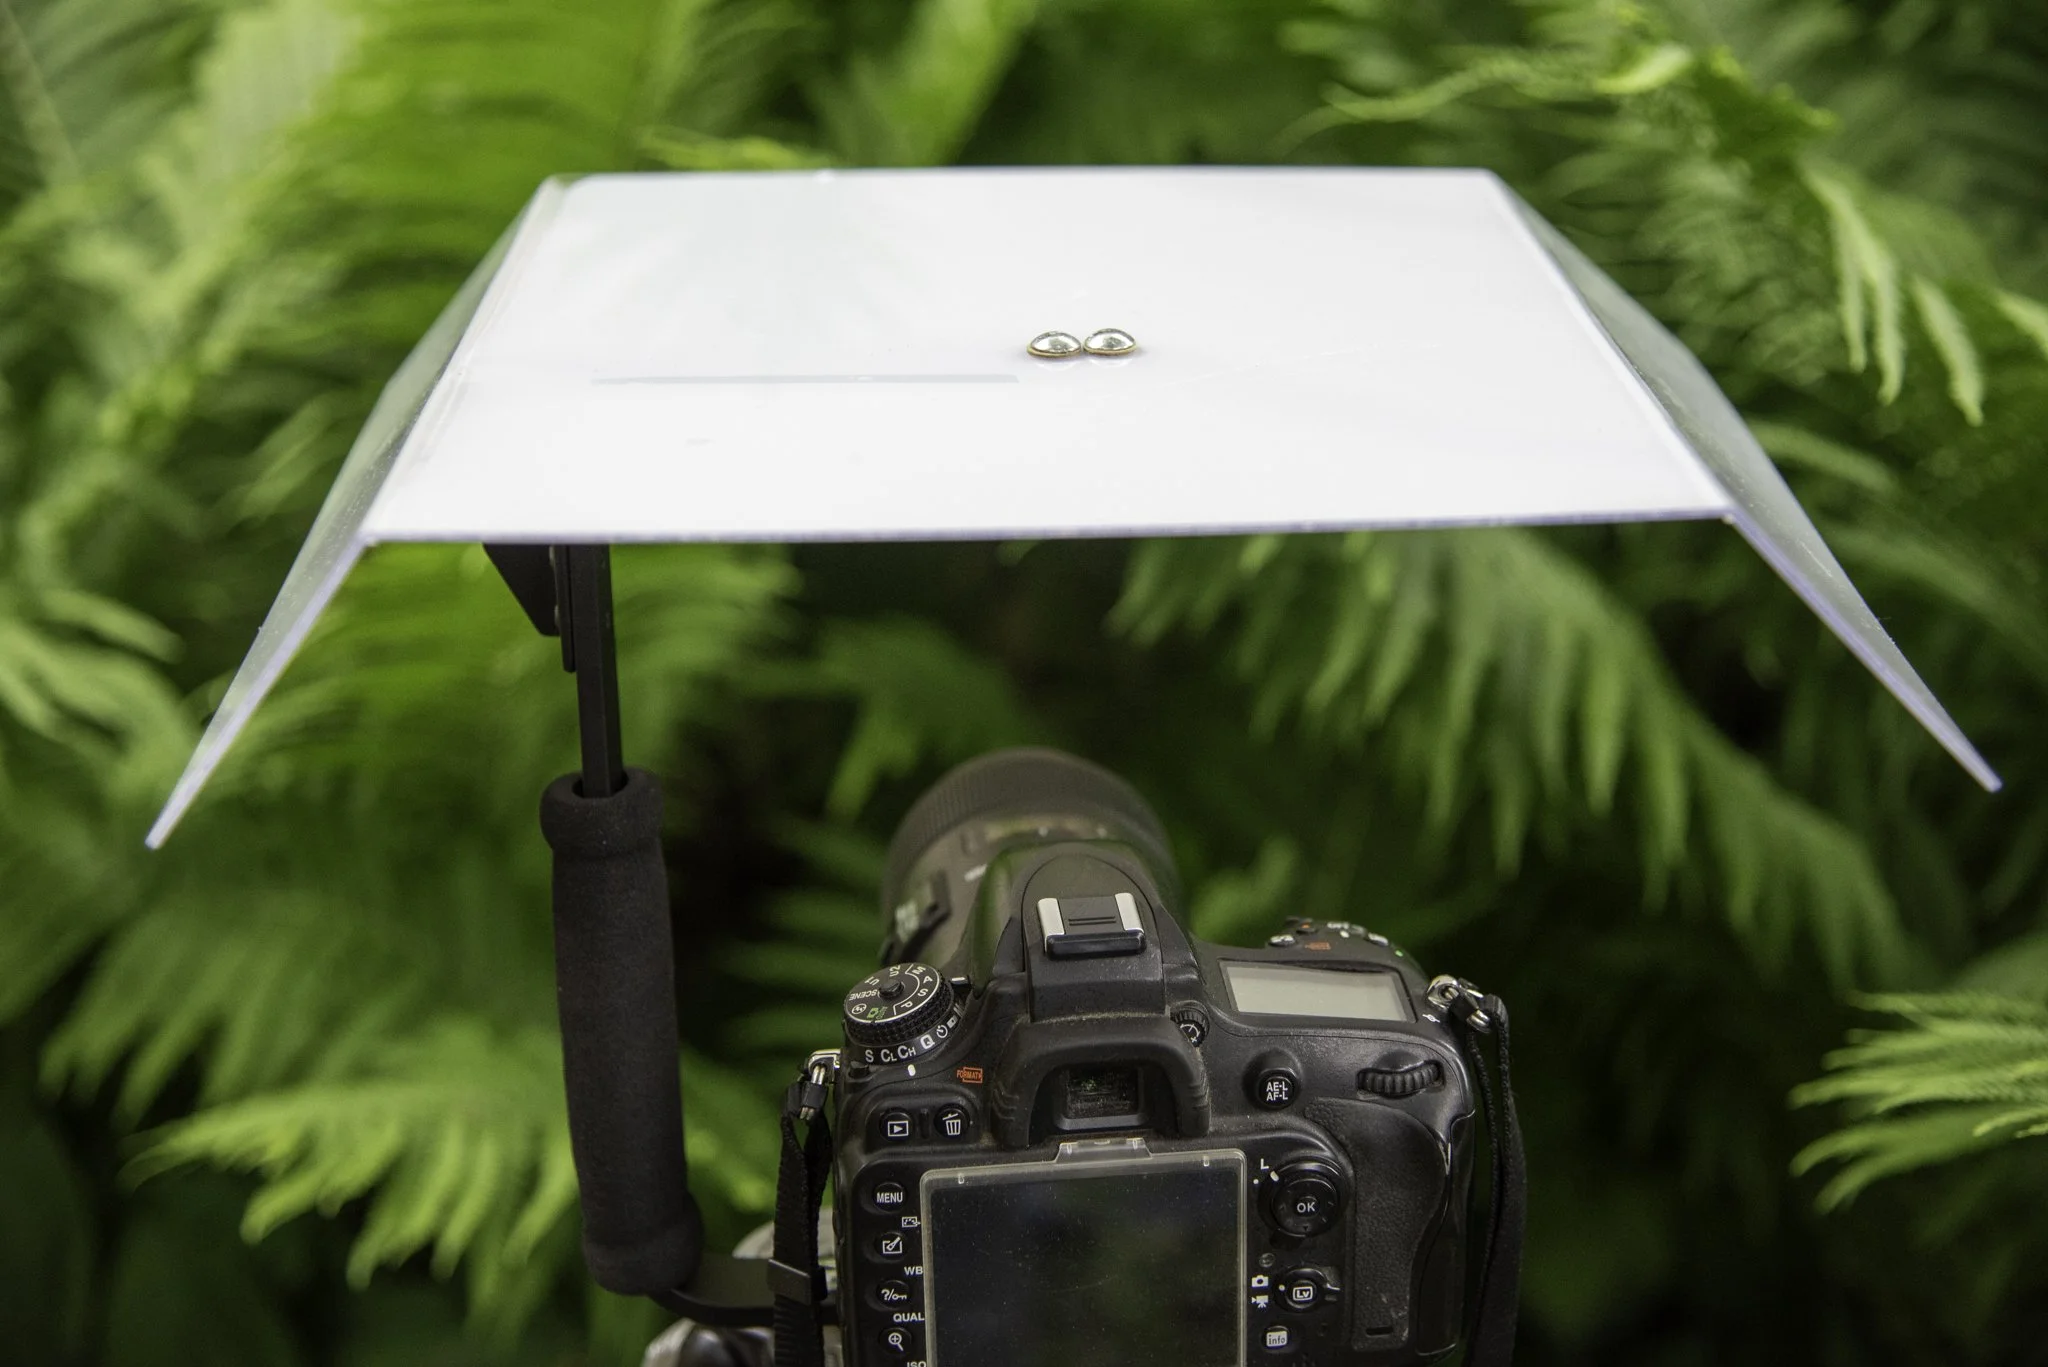
Ready for a photo shoot in the rain, utilizing a tripod.
Conclusion for rainy-day protection: two practical ways to protect your camera gear.
While I’m not completely over the moon with the final result, I do feel it has merit and will prove very useful and user-friendly in certain situations.
The flash bracket is comfortable to hold with the padded handle.
For brief hand-holding photo sessions, compared to a full day or afternoon, it was manageable for me, weight-wise.
During my practice runs, it worked as it was designed and kept my camera gear dry.
There was enough clearance for me to use the camera viewfinder and not bonk my head on the back of it, which is something to consider.
Accessing the buttons, dials, and especially the zoom ring was easy, although it does require a bit of hand position maneuverability.
When used with a tripod and requiring minimal adjustments, it was fantastic during my trials.
Along the way, it took some planning and modifying, but it worked satisfactorily in the end.
The advantage of already having a flash bracket made it feel more budget-friendly.
