

8 Beginner-Friendly Photography Tips When Venturing Out With Your Camera
Here, I share eight beginner-friendly photography tips as reminders or new ideas to consider when heading out on your fun photography shoot. The tips include composition, lighting, and equipment care.
1. Keep your equipment ready and clean
Be prepared and ready with a charged battery or two, and check that you have sufficient media storage for saving your images in the camera. Remember to keep the lens glass clean and use the recommended cloths.
When changing lenses, tilt the camera at a downward angle to help reduce the incidence of dust landing on your camera sensor for less pleasing photo results.

You may want to have several lens cleaning cloths and a spare battery.
2. What is your subject?
Could you consider what you want as the main subject and make it the central part of the image?
Experiment with isolating sections of your scene for a more substantial visual impact.
Take photos in a landscape (horizontal) and portrait (vertical) camera orientation.
Practice becoming more aware of distracting elements that don’t enhance your subject or scene, and do your best to eliminate them.

An example of isolating a portion of the subject and filling the frame, compared to seeing all of the horse and the handler.

A mountain scene provides the opportunity to photograph it in the horizontal, or landscape, orientation

The same mountain scene.
Comparing the results when photographed in the vertical, or portrait, orientation.
3. Crisp and clear detail
Take your time and allow the camera time to focus on your subject by gently pressing the shutter release button halfway down before fully pressing it to take the photo.
Use a tripod, beanbag, rock, post, or even your vehicle to help stabilize your camera for crisp images.
Remember to check your camera and lens options for vibration reduction (Nikon), image stabilization (Canon), or optical stabilization (Sigma).
Engaging this feature helps prevent blur in your photos during minimal camera shake (movement) when hand-holding your camera.
Remember to turn it OFF when using a tripod. Because shake reduction attempts to keep your equipment stable, leaving it ON may result in minimal camera shake, the opposite of what you want.
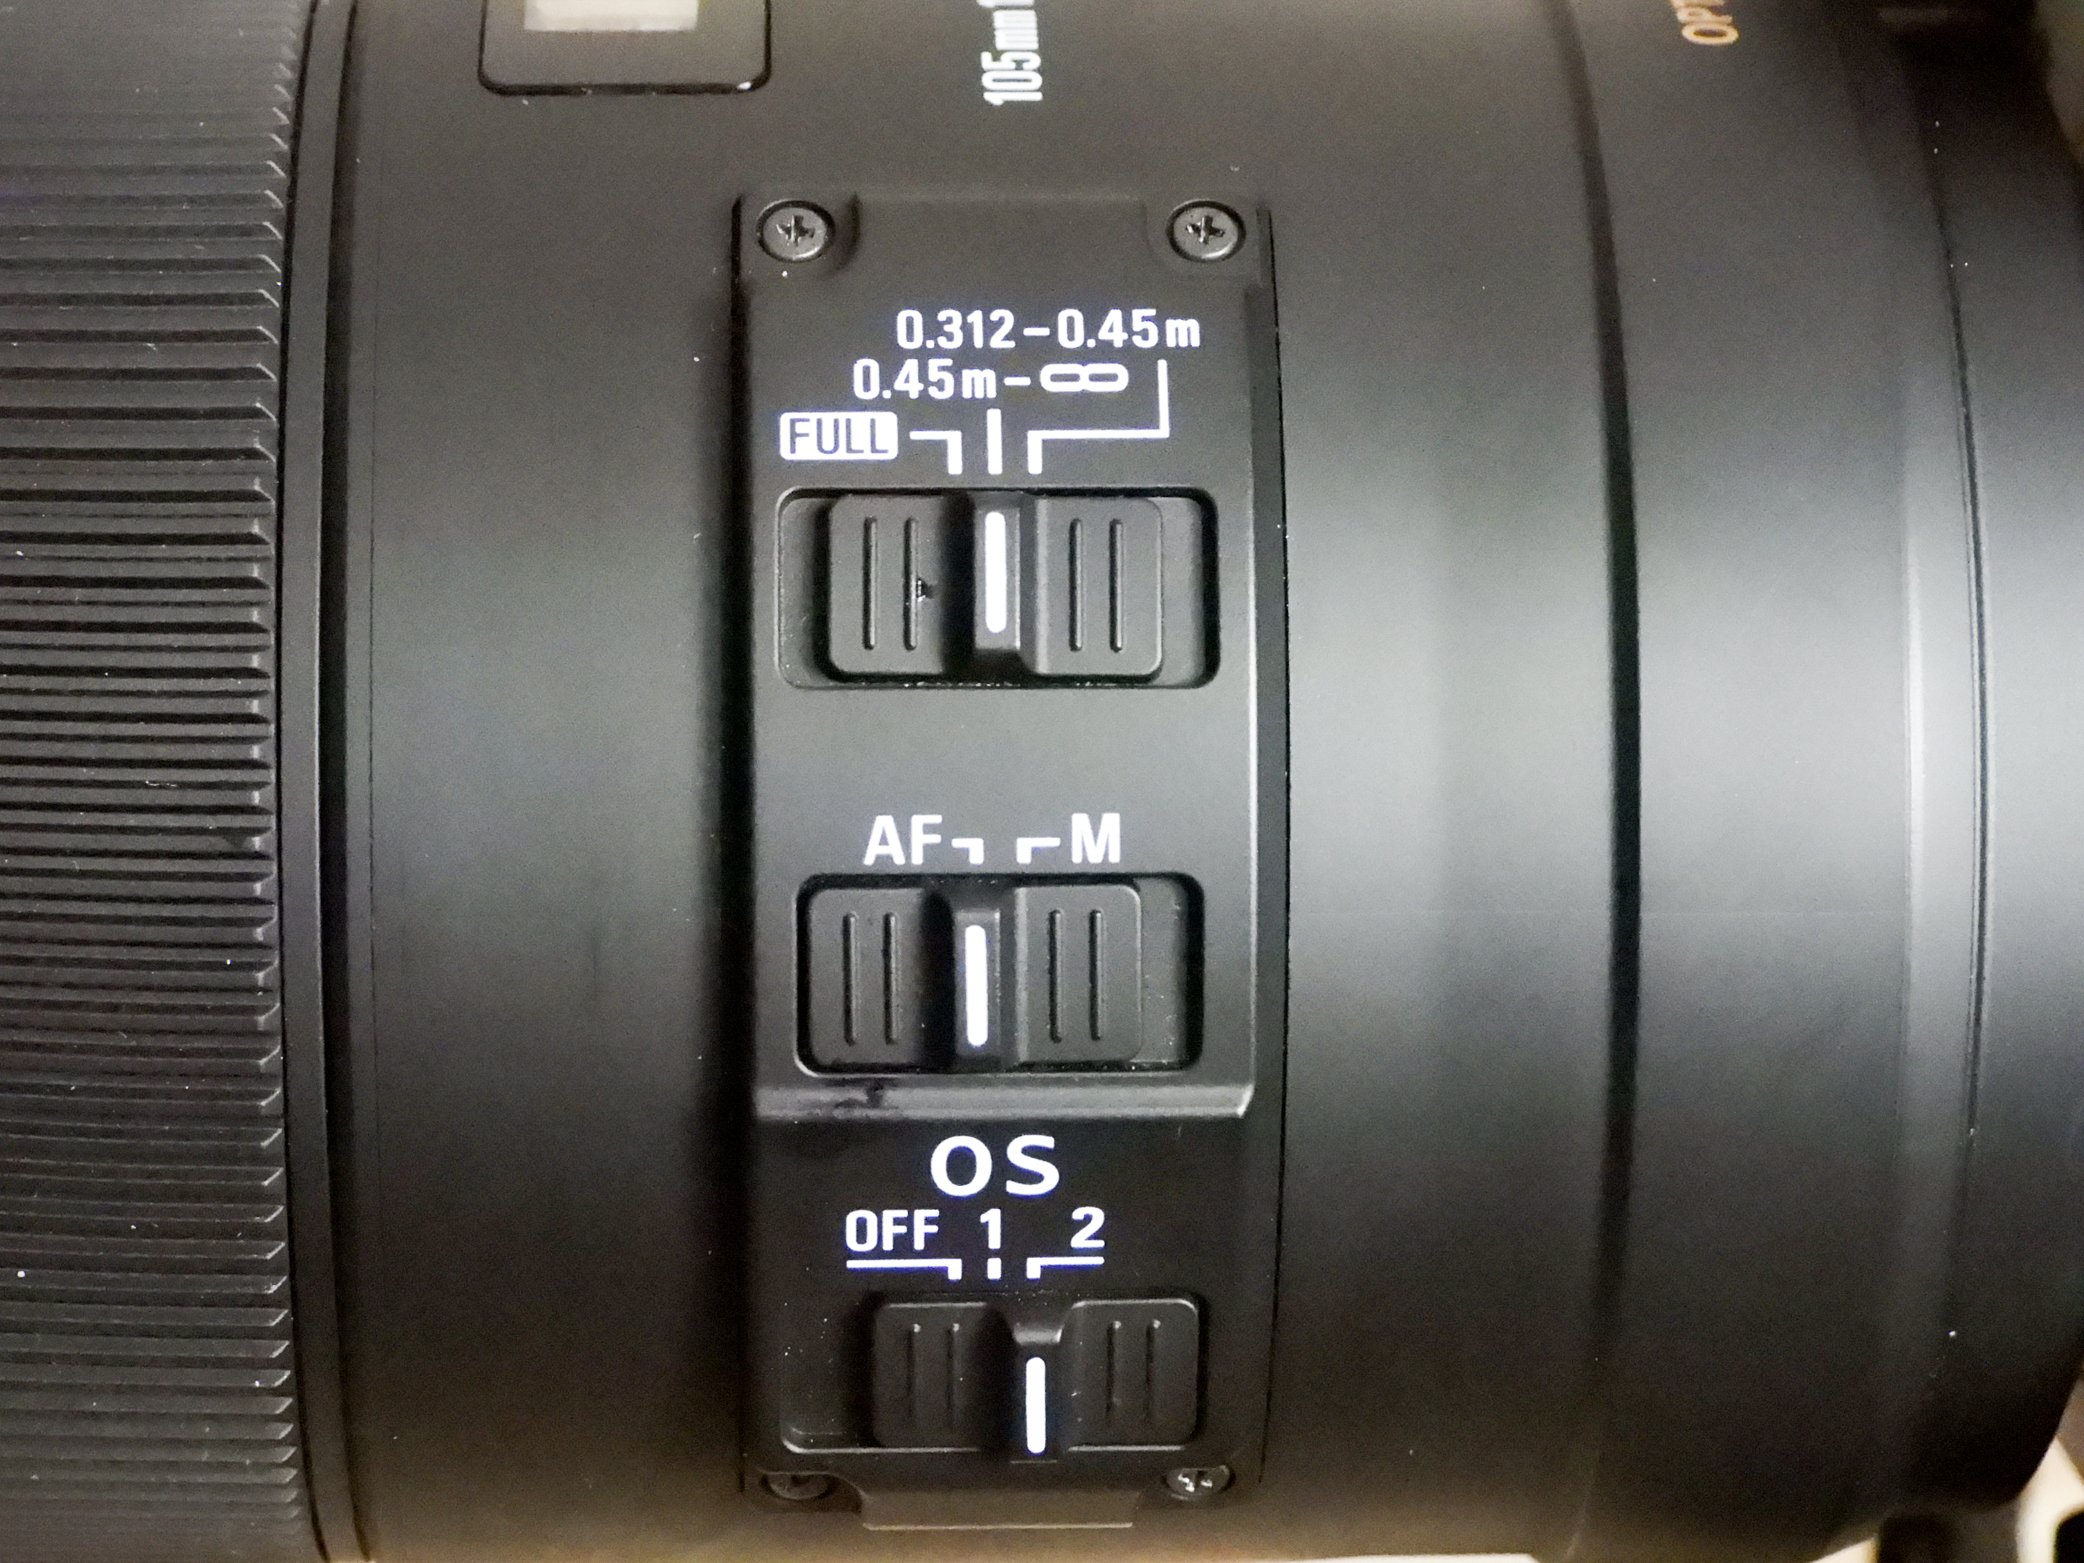
This is an example of the optical stabilization control (OS) designed to reduce camera shake with this lens. If your camera, lens, or both have this feature, I suggest checking your manuals for instructions and guidance on the correct use.

When the subject moves, focusing deliberately and using a shutter speed that is fast enough helps capture the moment.
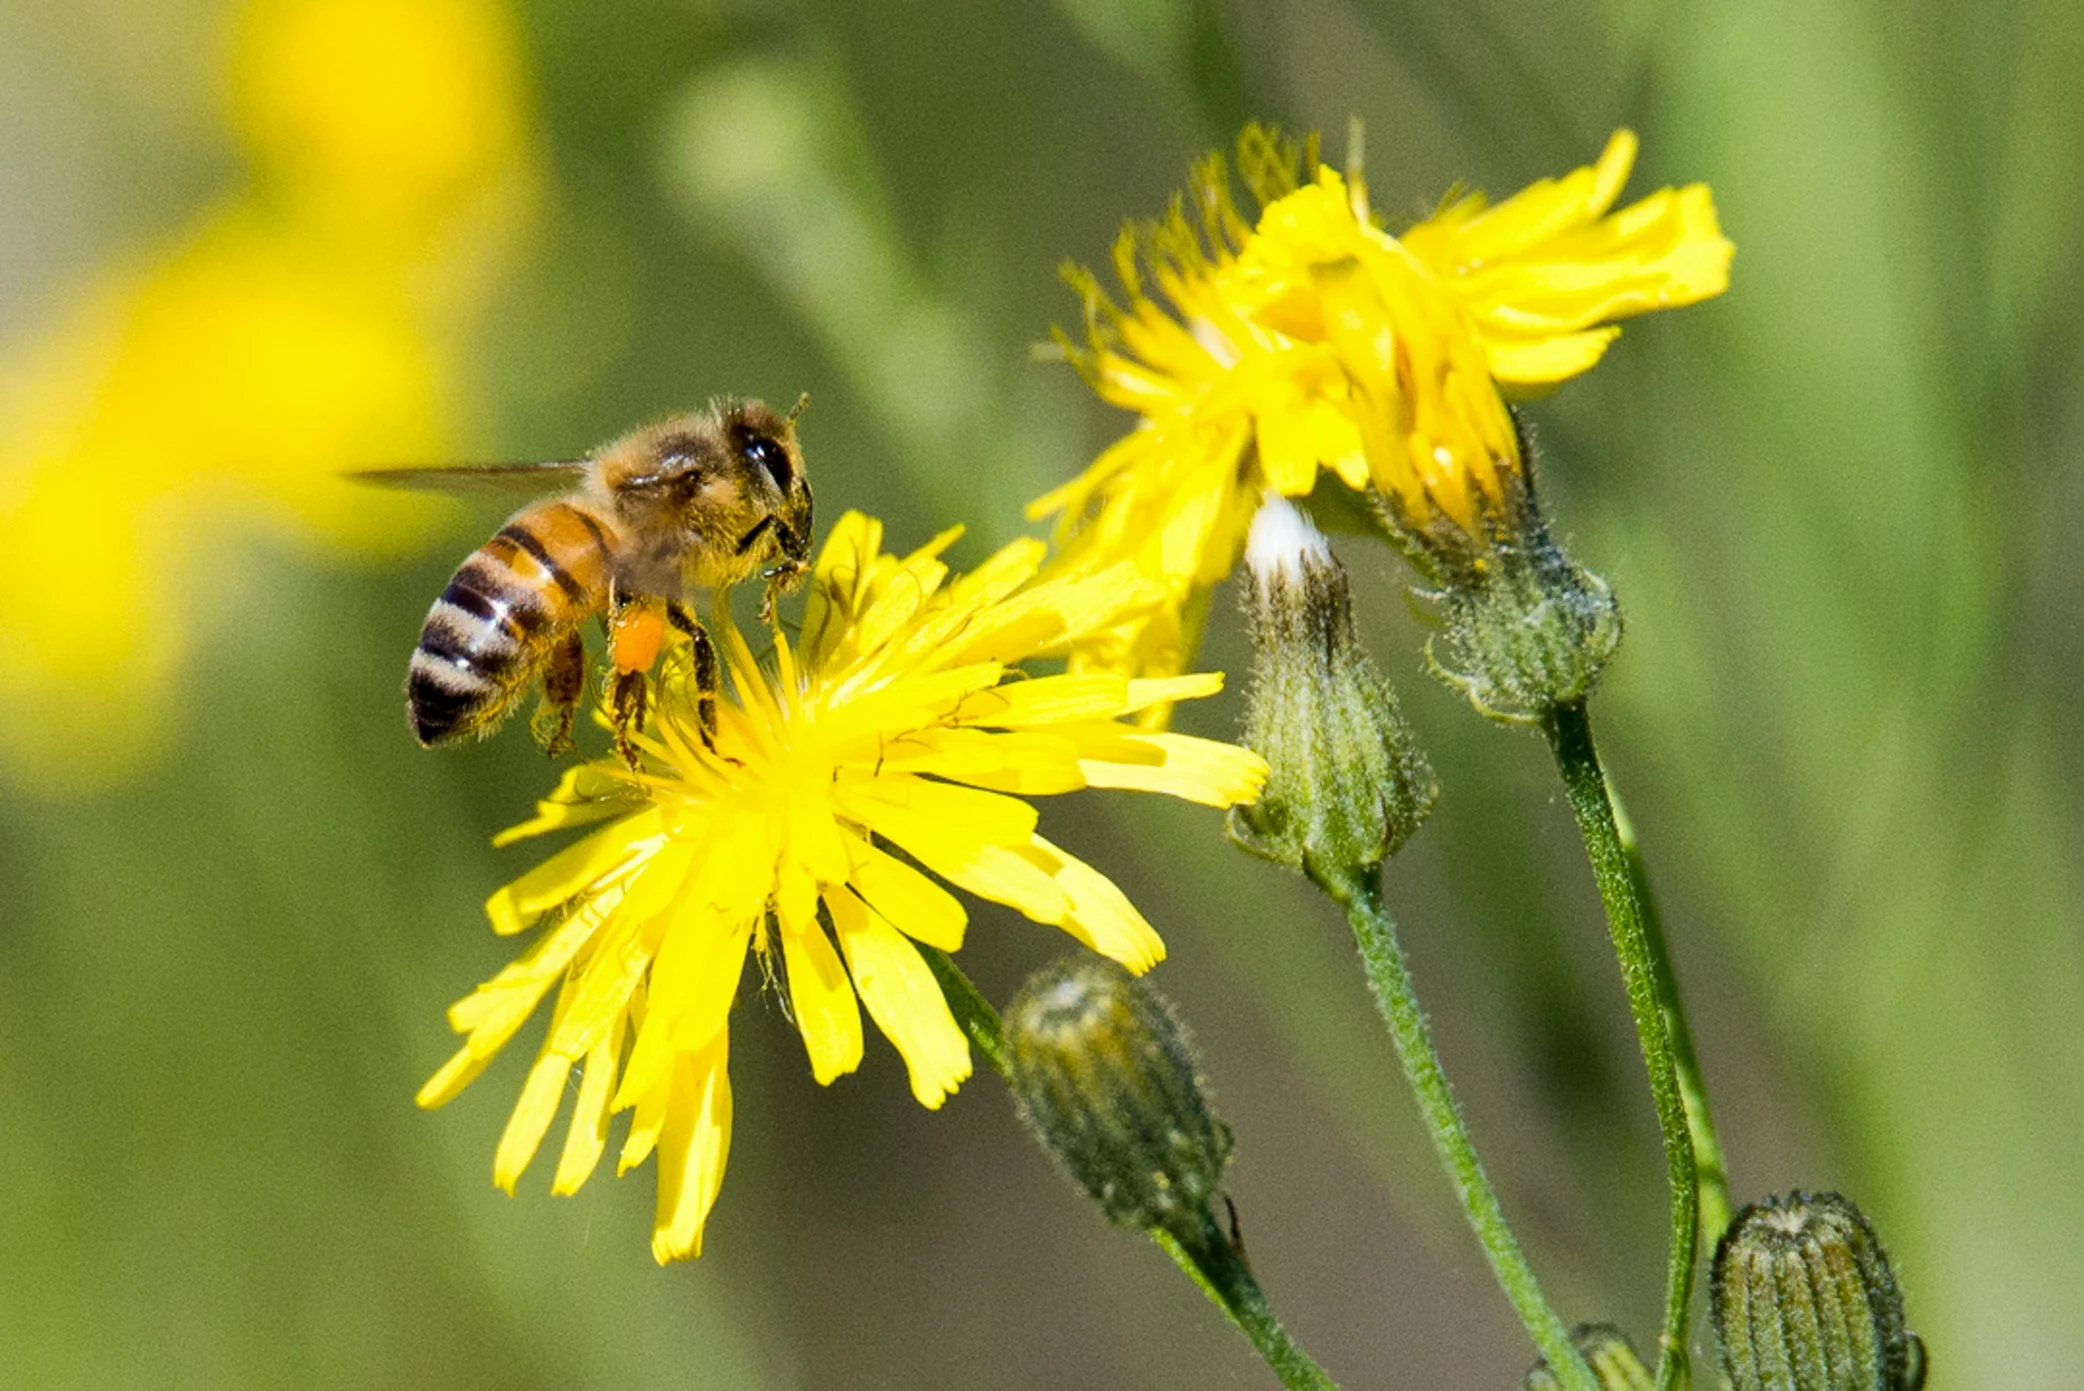
When photographing small subjects close up, steadying the camera on a tripod can make the difference between a blurry result caused by camera shake and a well-detailed capture.
4. Change your perspective
Please look at photo opportunities by changing your perspective and position.
Consider photographing from different heights. For example:
Eye level.
Elevate yourself to a higher position.
Kneel or crouch down.
Lie on the ground.
Use your intuition for creative results.
Move to another position to photograph your subject from a different perspective.

Could you photograph your subject from a low level, matching its height to your position?

Consider taking a photo from a position higher than usual. What might you see differently?

Lying on the ground allowed me to compose for the Columbian Ground Squirrel at eye level and capture behaviour within its environment.
5. Observing the light
As you become more aware of your surroundings, you’ll begin to appreciate how the changing light throughout the day affects your photos.
Experiment with different lighting to your advantage and improve your results.
Overcast daylight often reveals more detail.
Capturing “catch light” in your subject’s eyes brings a feeling of more life to the eyes.
Harsh sunlight often results in areas that are too bright or where details are lost in the shadows.

Can you see the “catch light” or sparkle in the eye of this Ruffed Grouse and the Columbian Ground Squirrel above, compared to it being less evident in the ram below?

Taking photos with
cloud cover helps
avoid harsh contrast
between shadows
and highlights.
Additionally, the
environment is
included although
the
background is
blurred to
minimize
distractions, using
the
camera
aperture settings.

Cloud cover shows details in the Mallard Duck feathers.

Here, the Mallard Duck feathers are seen in a softer golden light.
6. Take the photo
When time is of the essence or an opportunity presents itself, take a photo to the best of your ability, even if that means using the camera’s automatic mode. Then, when heading out on a photography adventure, have your camera within easy reach and ready for the opportunities.
Do your best to avoid being caught thinking you must first figure out your settings.
Or figuring out your perspective.
Which lens is the best one to use?
Only to discover the moment has passed you by.
Instead, prepare as best as possible with your current skill level to be ready for the moment.

Before leaving home, I place my opened camera bag on the front seat beside me, remove the lens cap, and be ready to grab it in a flurry of seconds.

Prepare for whatever it takes to make you feel able to capture a moment—if that means shooting in the Auto mode setting, go for it.
7. Get it right in the camera
As your skills progress confidently, and you learn to do your best to get it right in the camera, you’ll avoid unnecessary hours of editing and sitting at your computer if that’s not your idea of fun.
Initially, this may mean using the automatic camera mode as you become more familiar and comfortable with your camera and practicing composition while discovering what you love taking photos of.
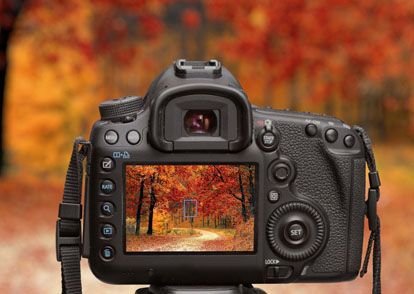
You can use the camera playback feature to review pictures.
8. Protective UV and skylight filters
Filters may be used to protect the glass on the front of the camera lens. Using protective filters is a personal choice with pros and cons.
Pros: They help protect the lens glass from scratches, dirt, and damage if it hits a hard surface or the camera is accidentally dropped.
Filters help even out lighting contrasts, such as with an evenly lit landscape but with too bright a sky. A filter helps reduce the amount of light in the sky for a more even exposure.
Cons: The filters will reduce the amount of light admitted through the lens, even though it’s minimal and may be barely noticeable.
Some question the logic of paying for good lens glass and covering it with a lesser-quality filter.
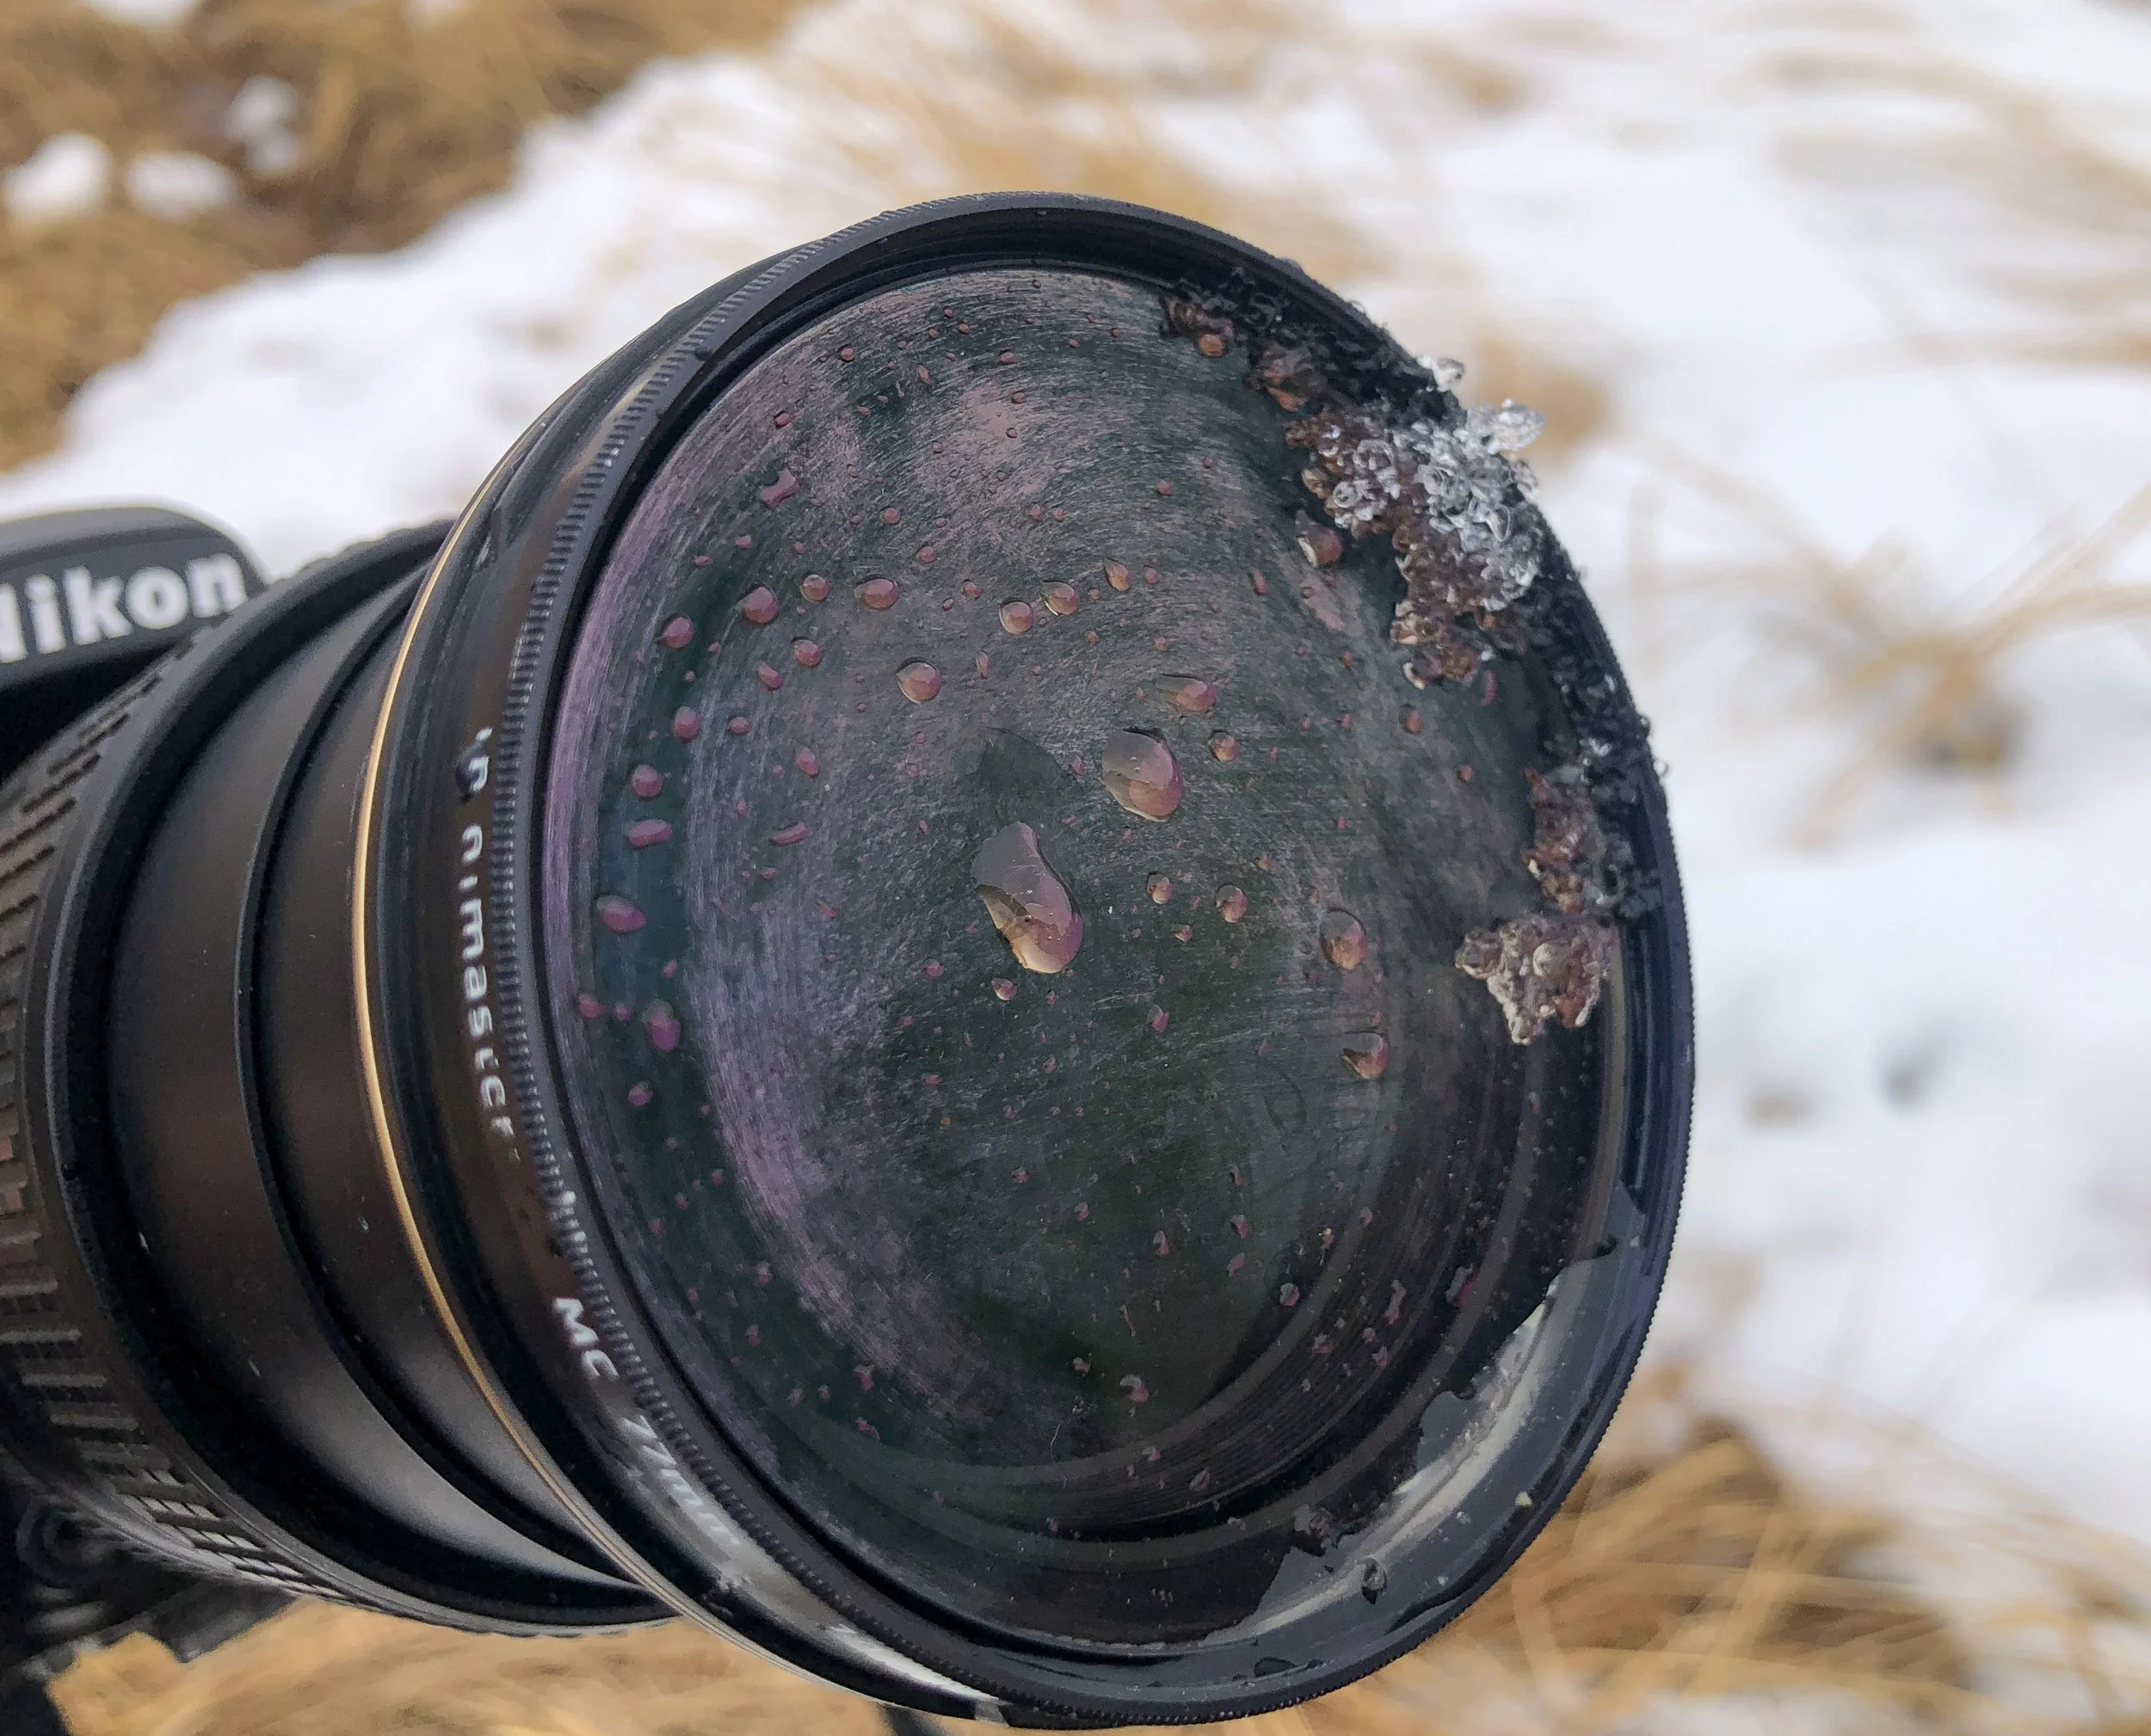
A lens filter helps protect the lens glass when the unexpected happens.
In Conclusion
You have been introduced to 8 beginner-friendly photography tips but without all the confusing technical jargon.
It’s often easy to overcomplicate photography, especially when you want answers to all your questions right now. I get that.
Even if your takeaway is only one of the 8 beginner-friendly photography tips for now, you are adding to your arsenal of comprehension while having more fun taking photos.
Disclosure: angiepattersonphotography.com is a participant in the Amazon Services LLC Associates Program designed to provide a way for websites to earn advertising revenues by advertising and linking to Amazon.com or .ca. As an Amazon Associate, I earn from qualifying purchases.